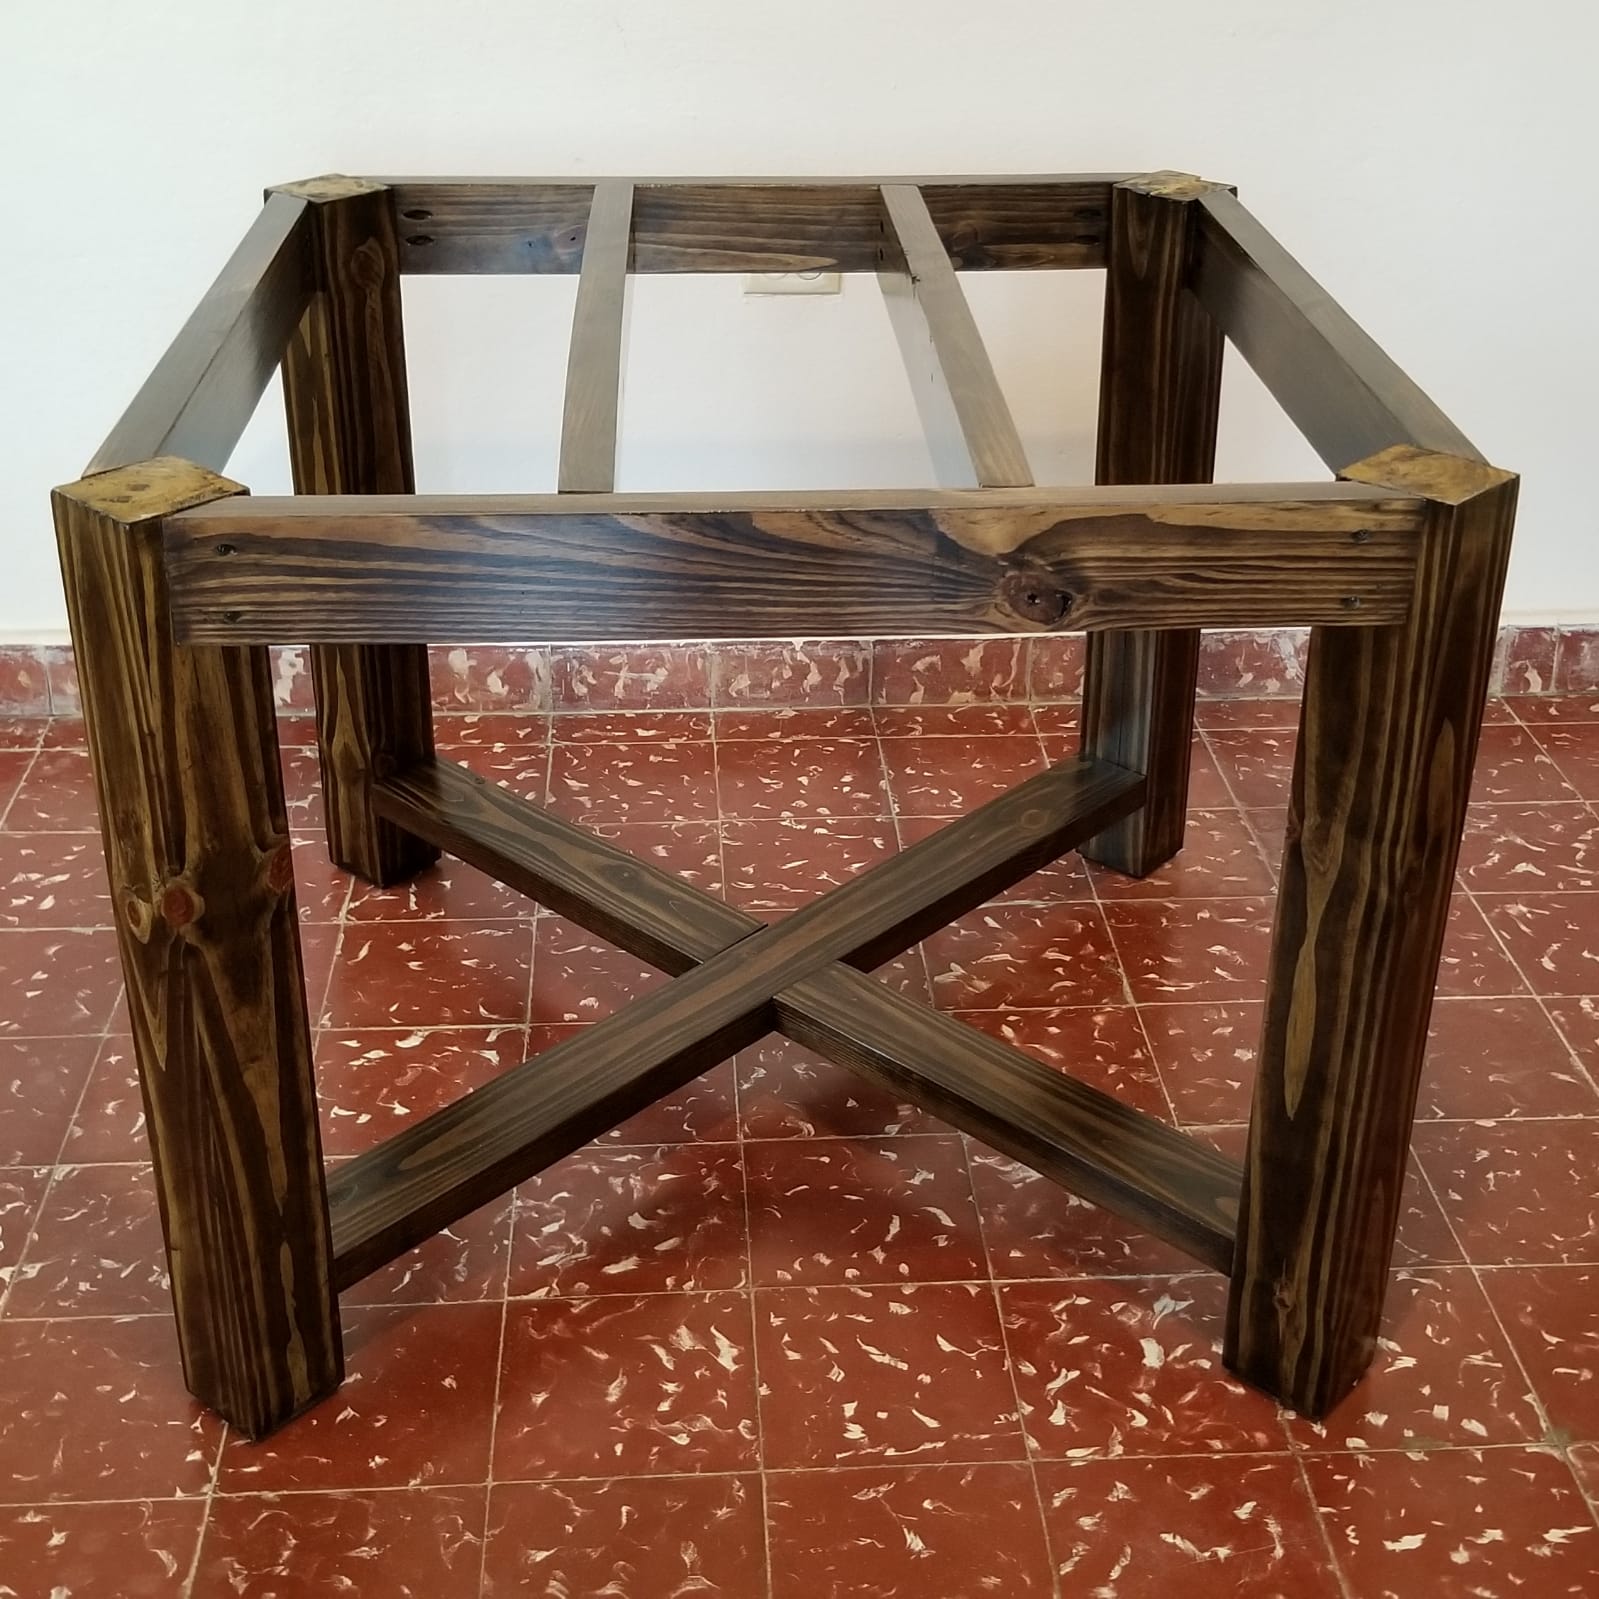
Here is final update on the Square Table. Before epoxy:
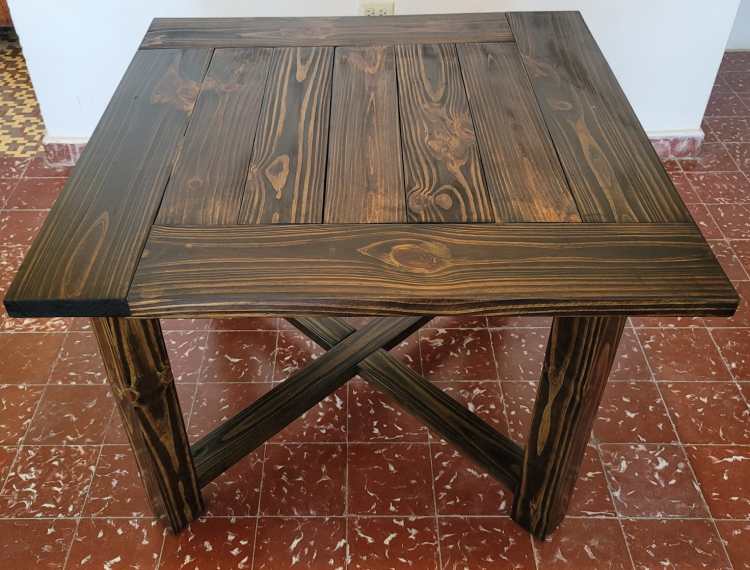
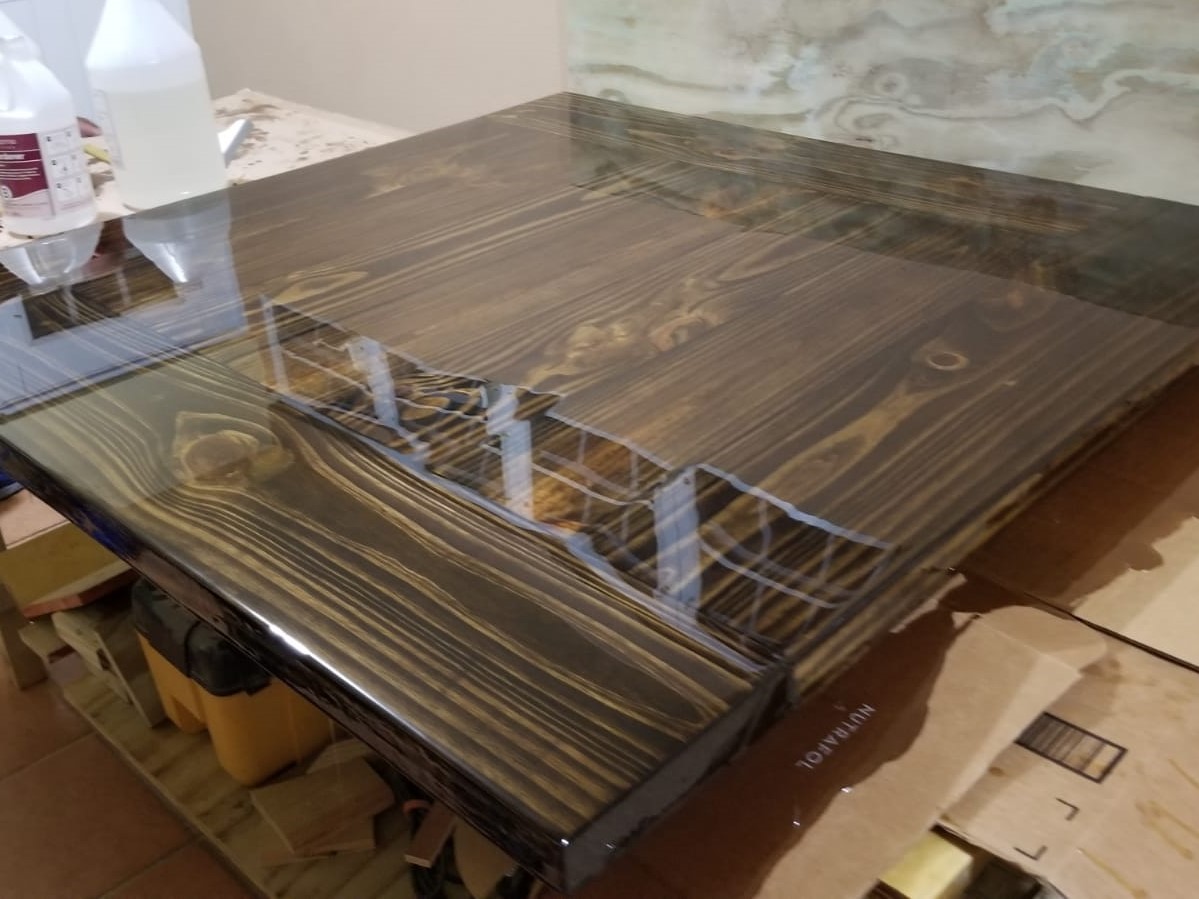
After epoxy:

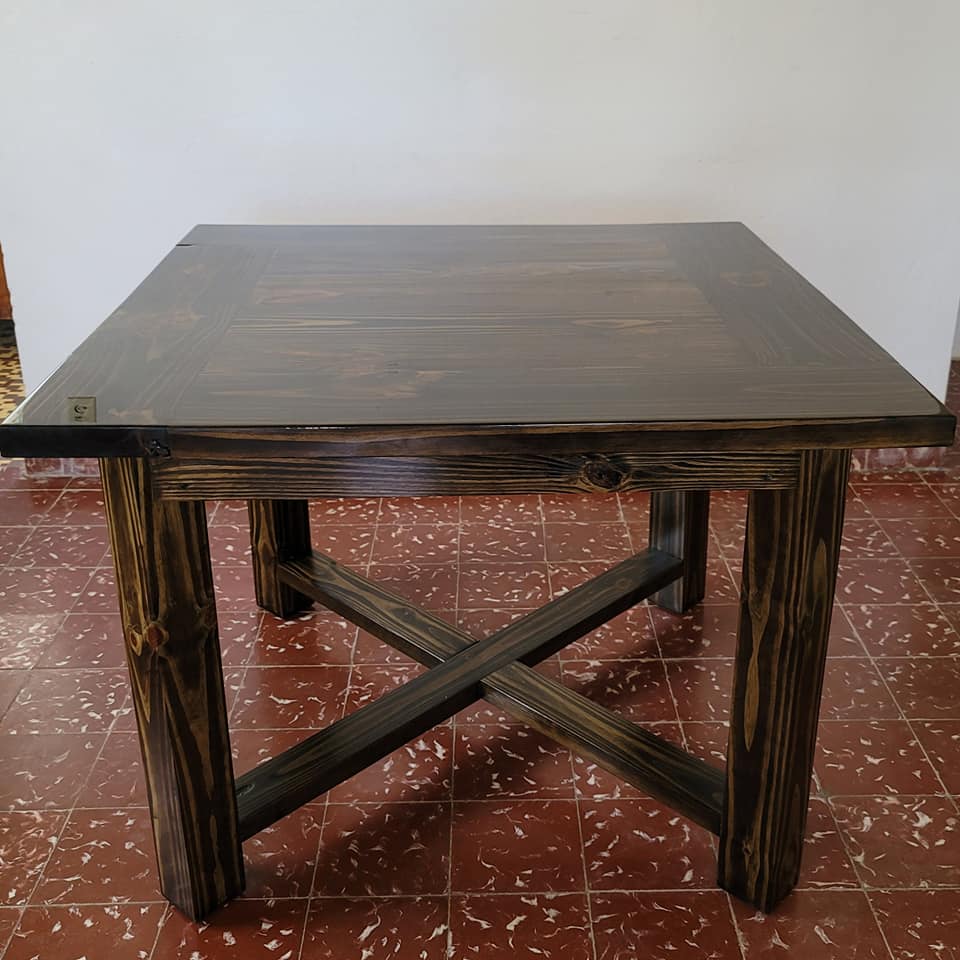
Next, I will start to work on the chairs.
DIY Projects: Computers, Ham Radio, Woodwork

Here is final update on the Square Table. Before epoxy:
After epoxy:
Next, I will start to work on the chairs.
After building the micro shop and due to COVID-19 had to place wood working into pause. Now I have dedicated some space as workshop and started again.
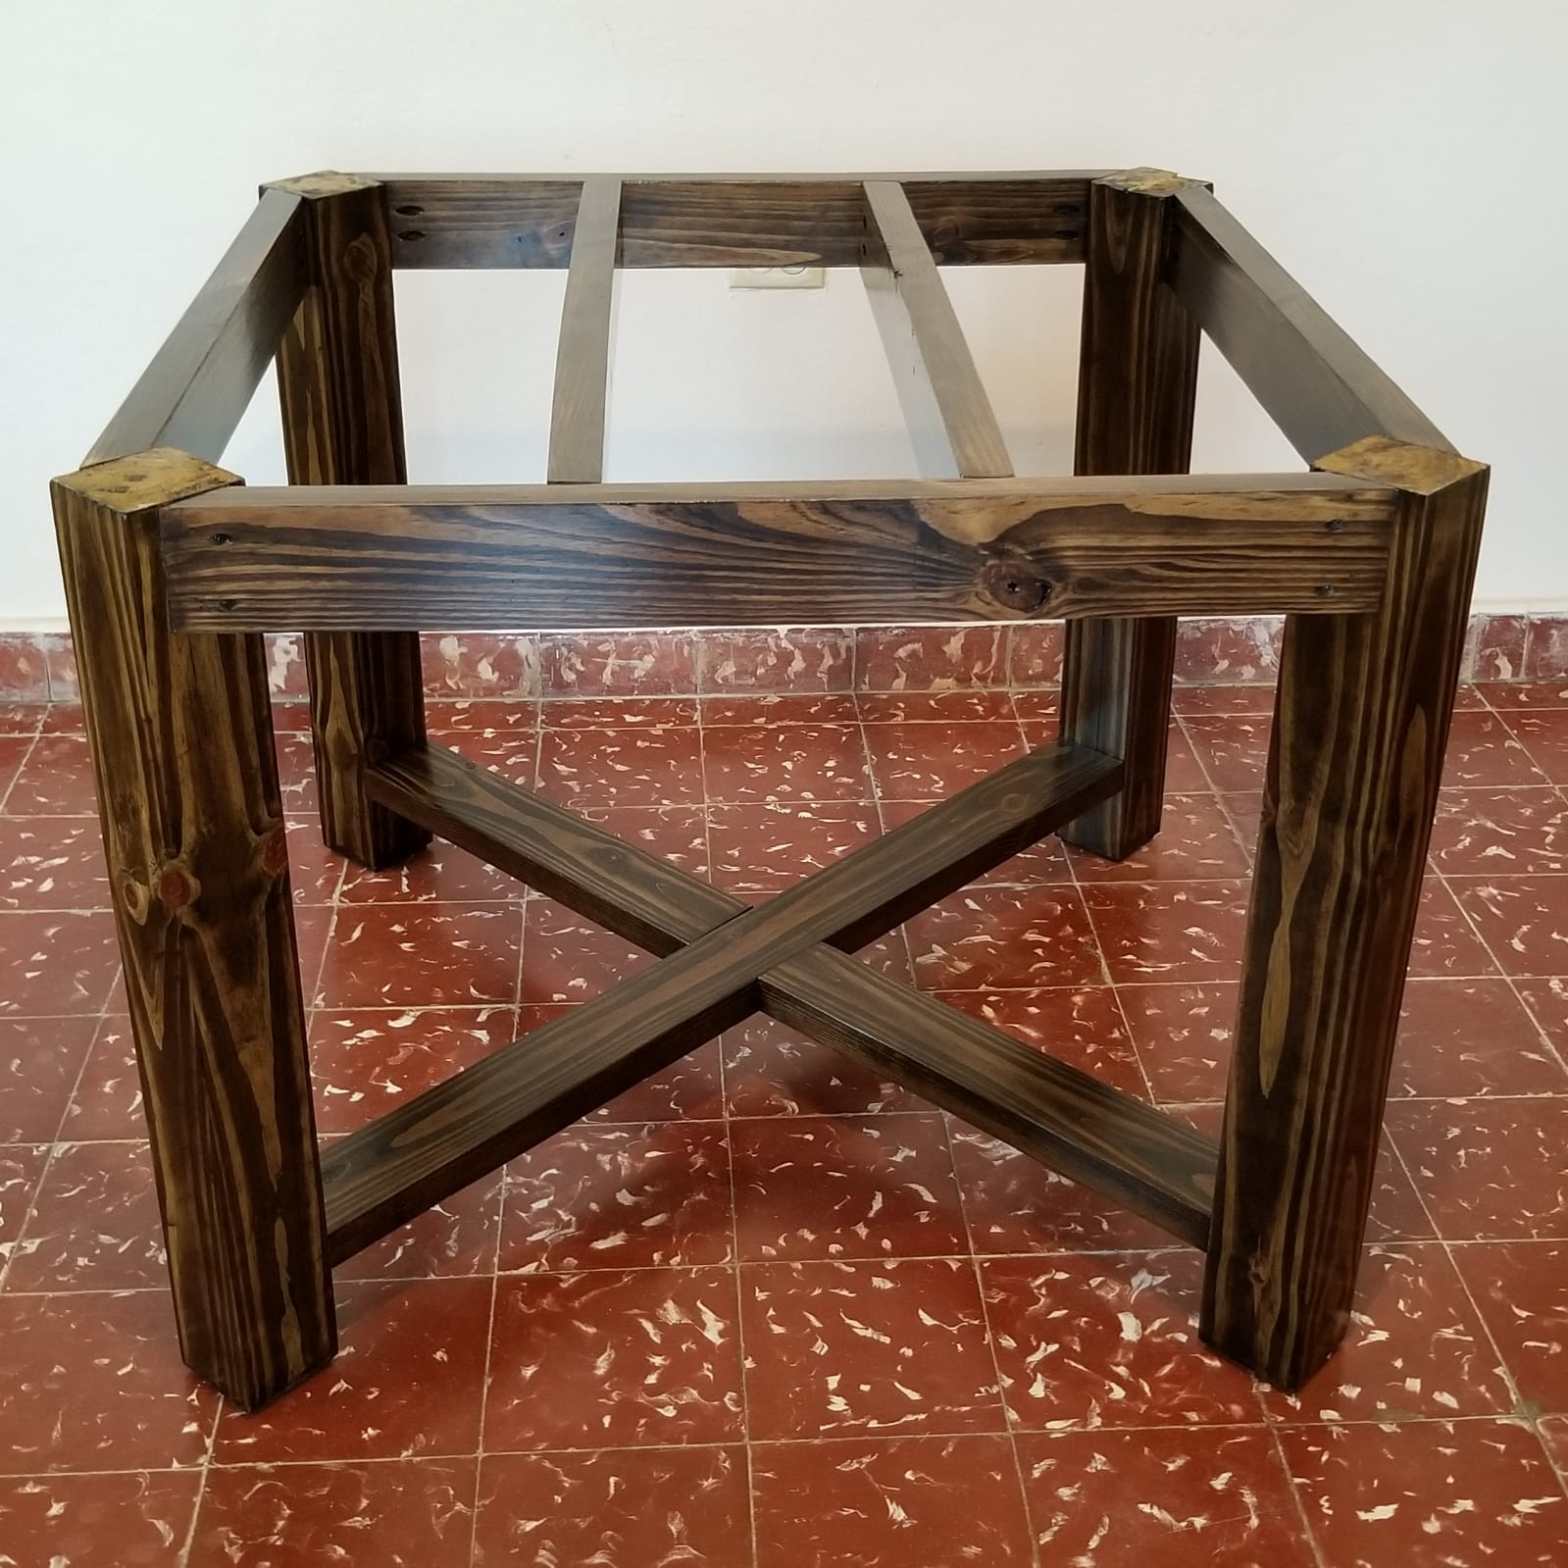
I’m building a farmhouse table using this as guide. Started by building the base with 2×4 and 4×4 pressure treated pine. Did a pre-stain with Minwax Dark Walnut.
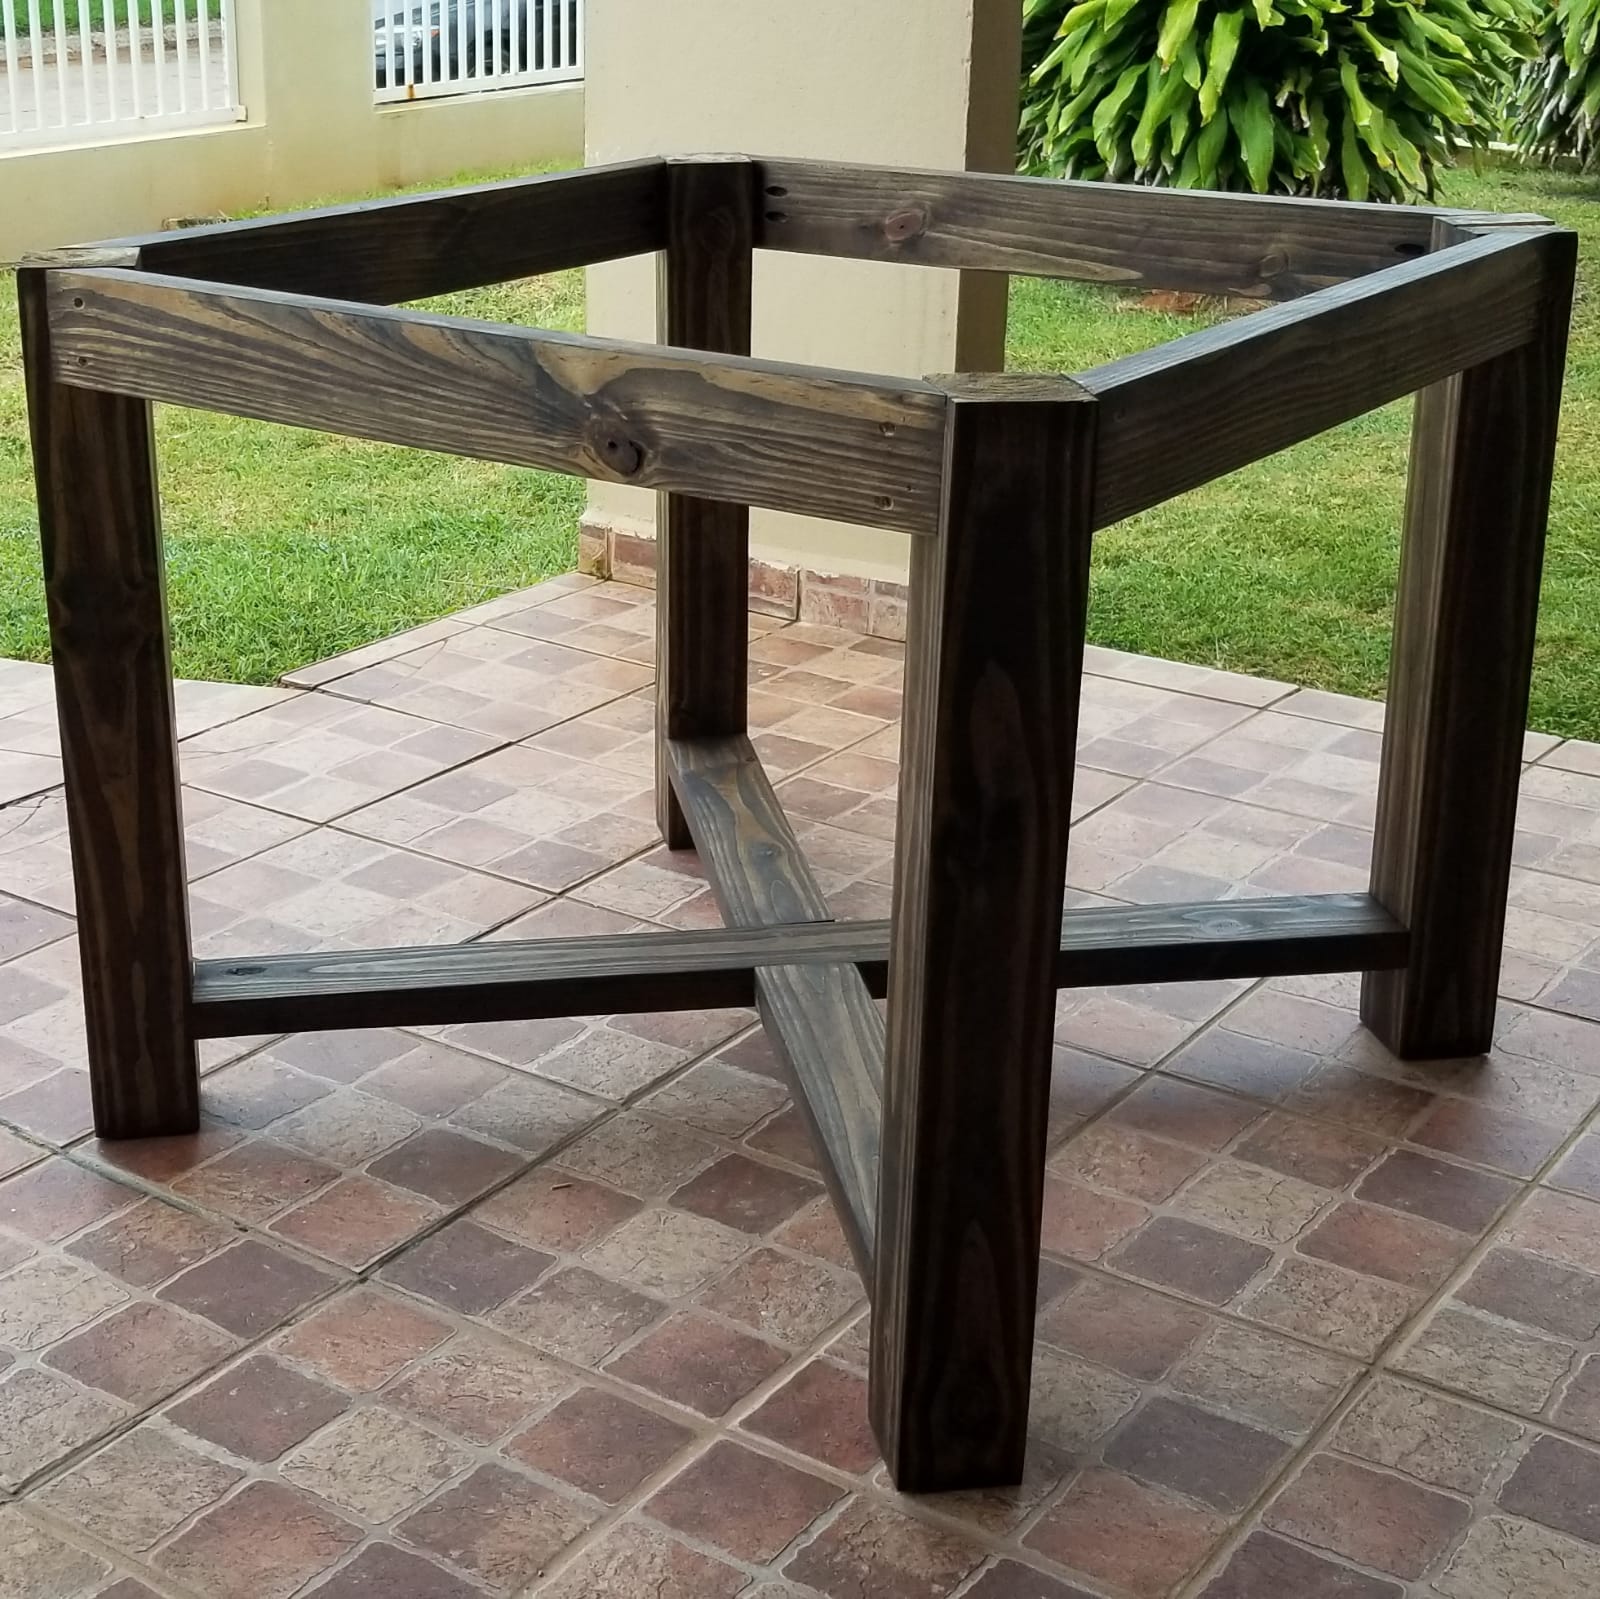
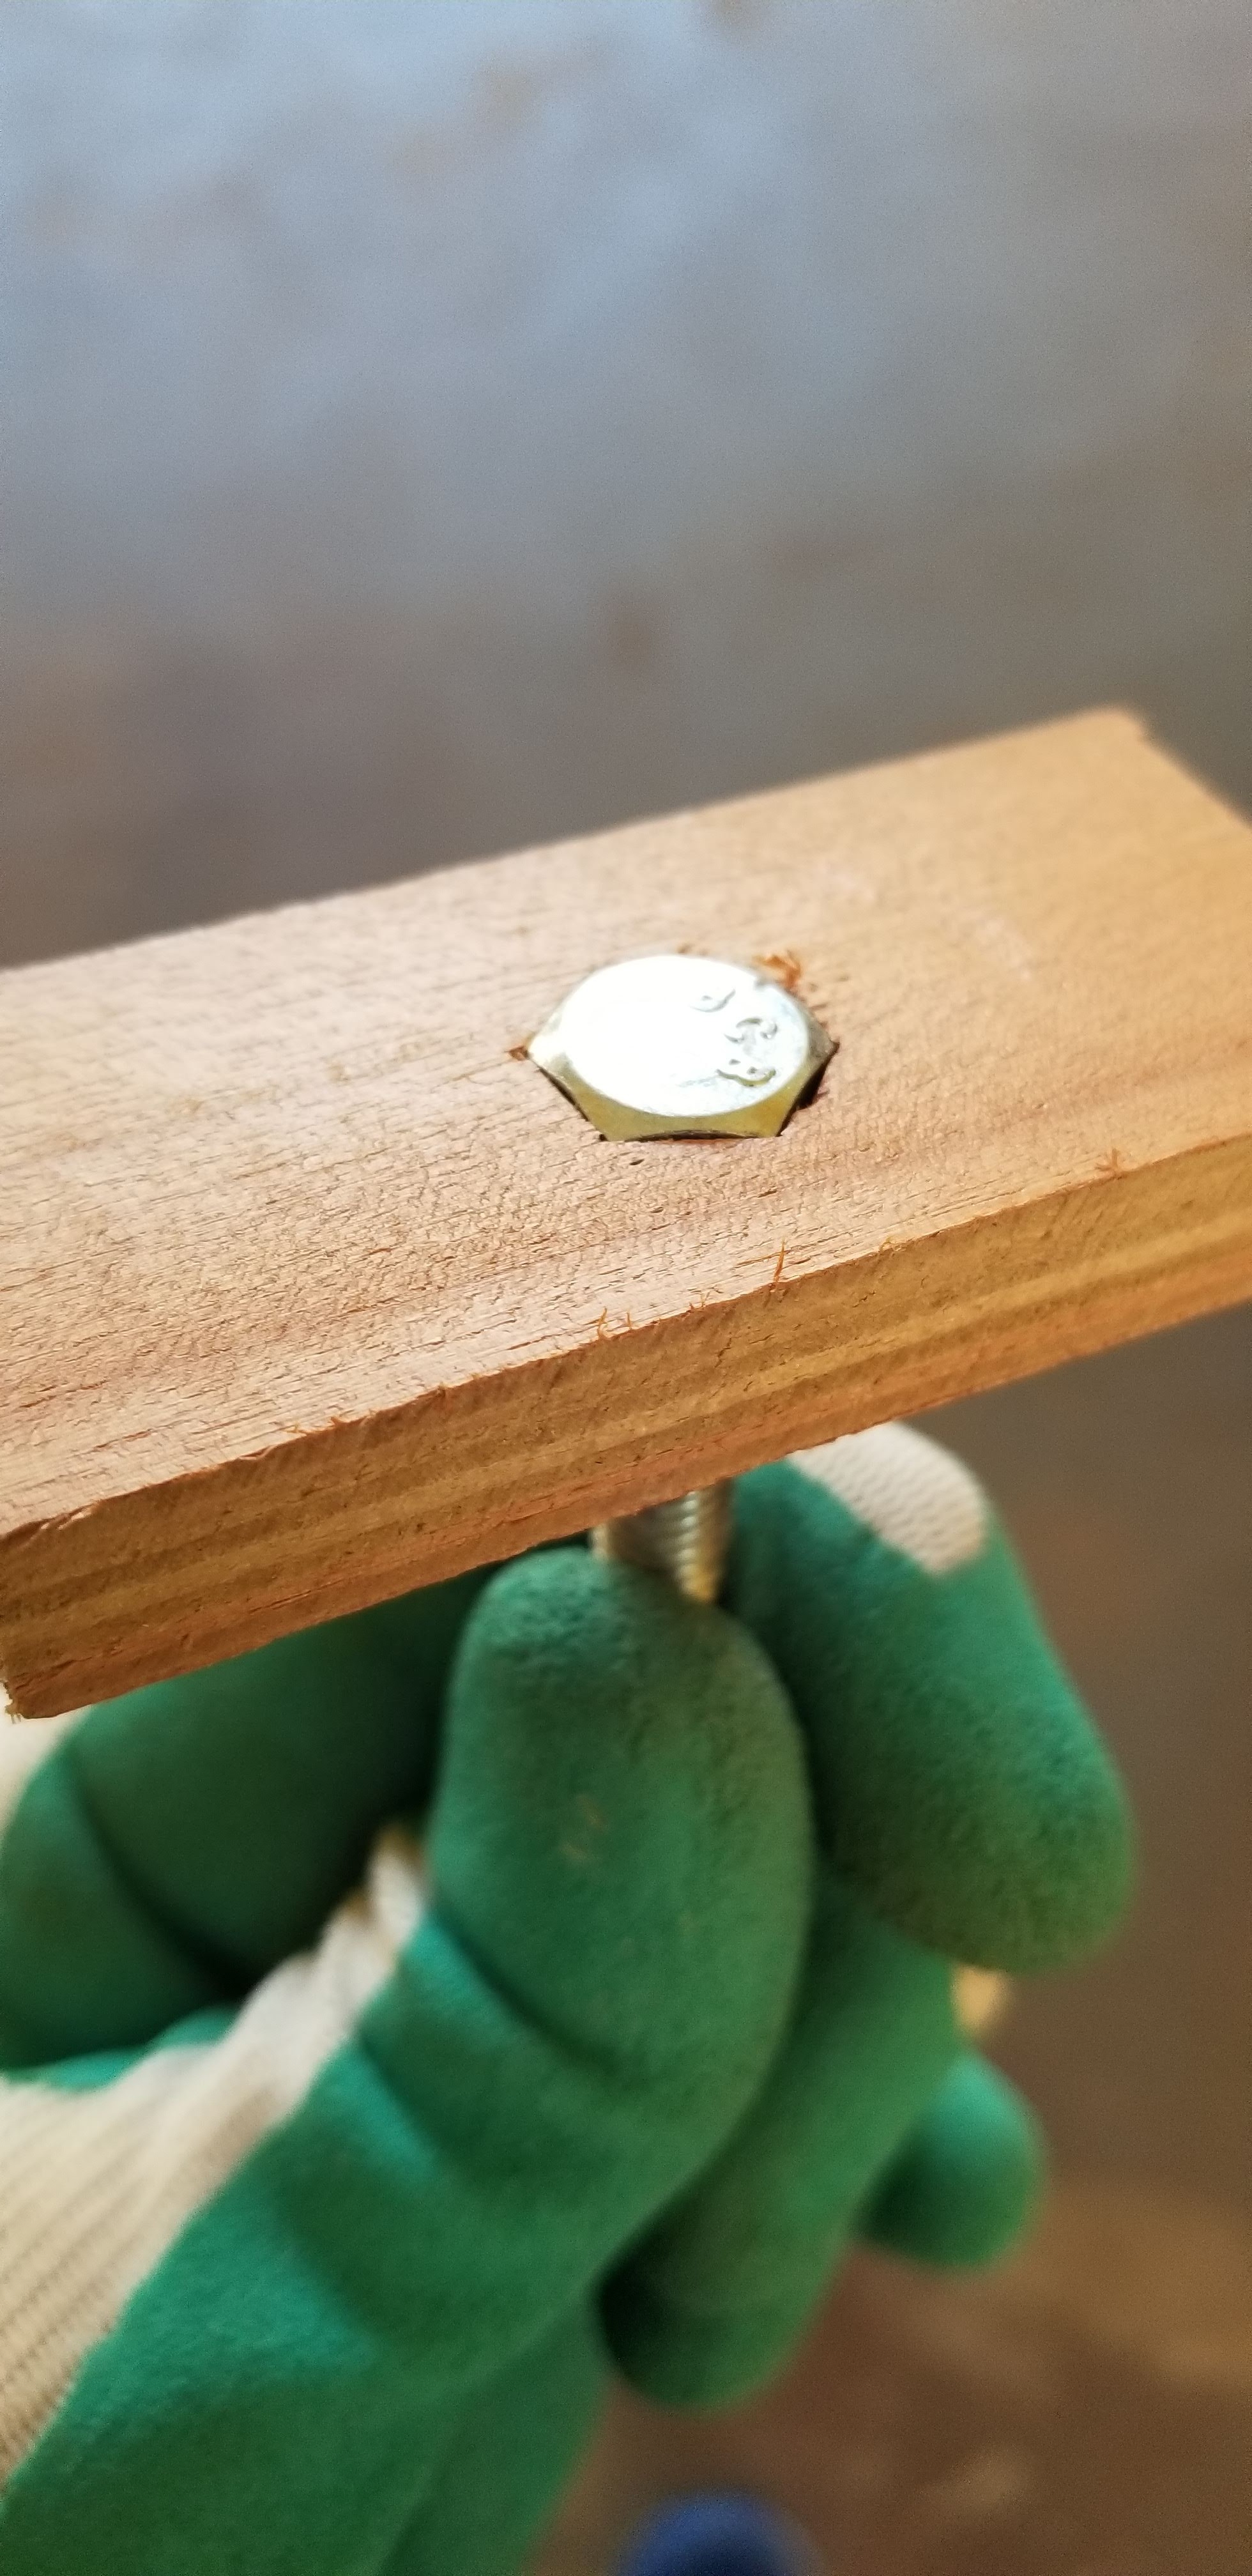
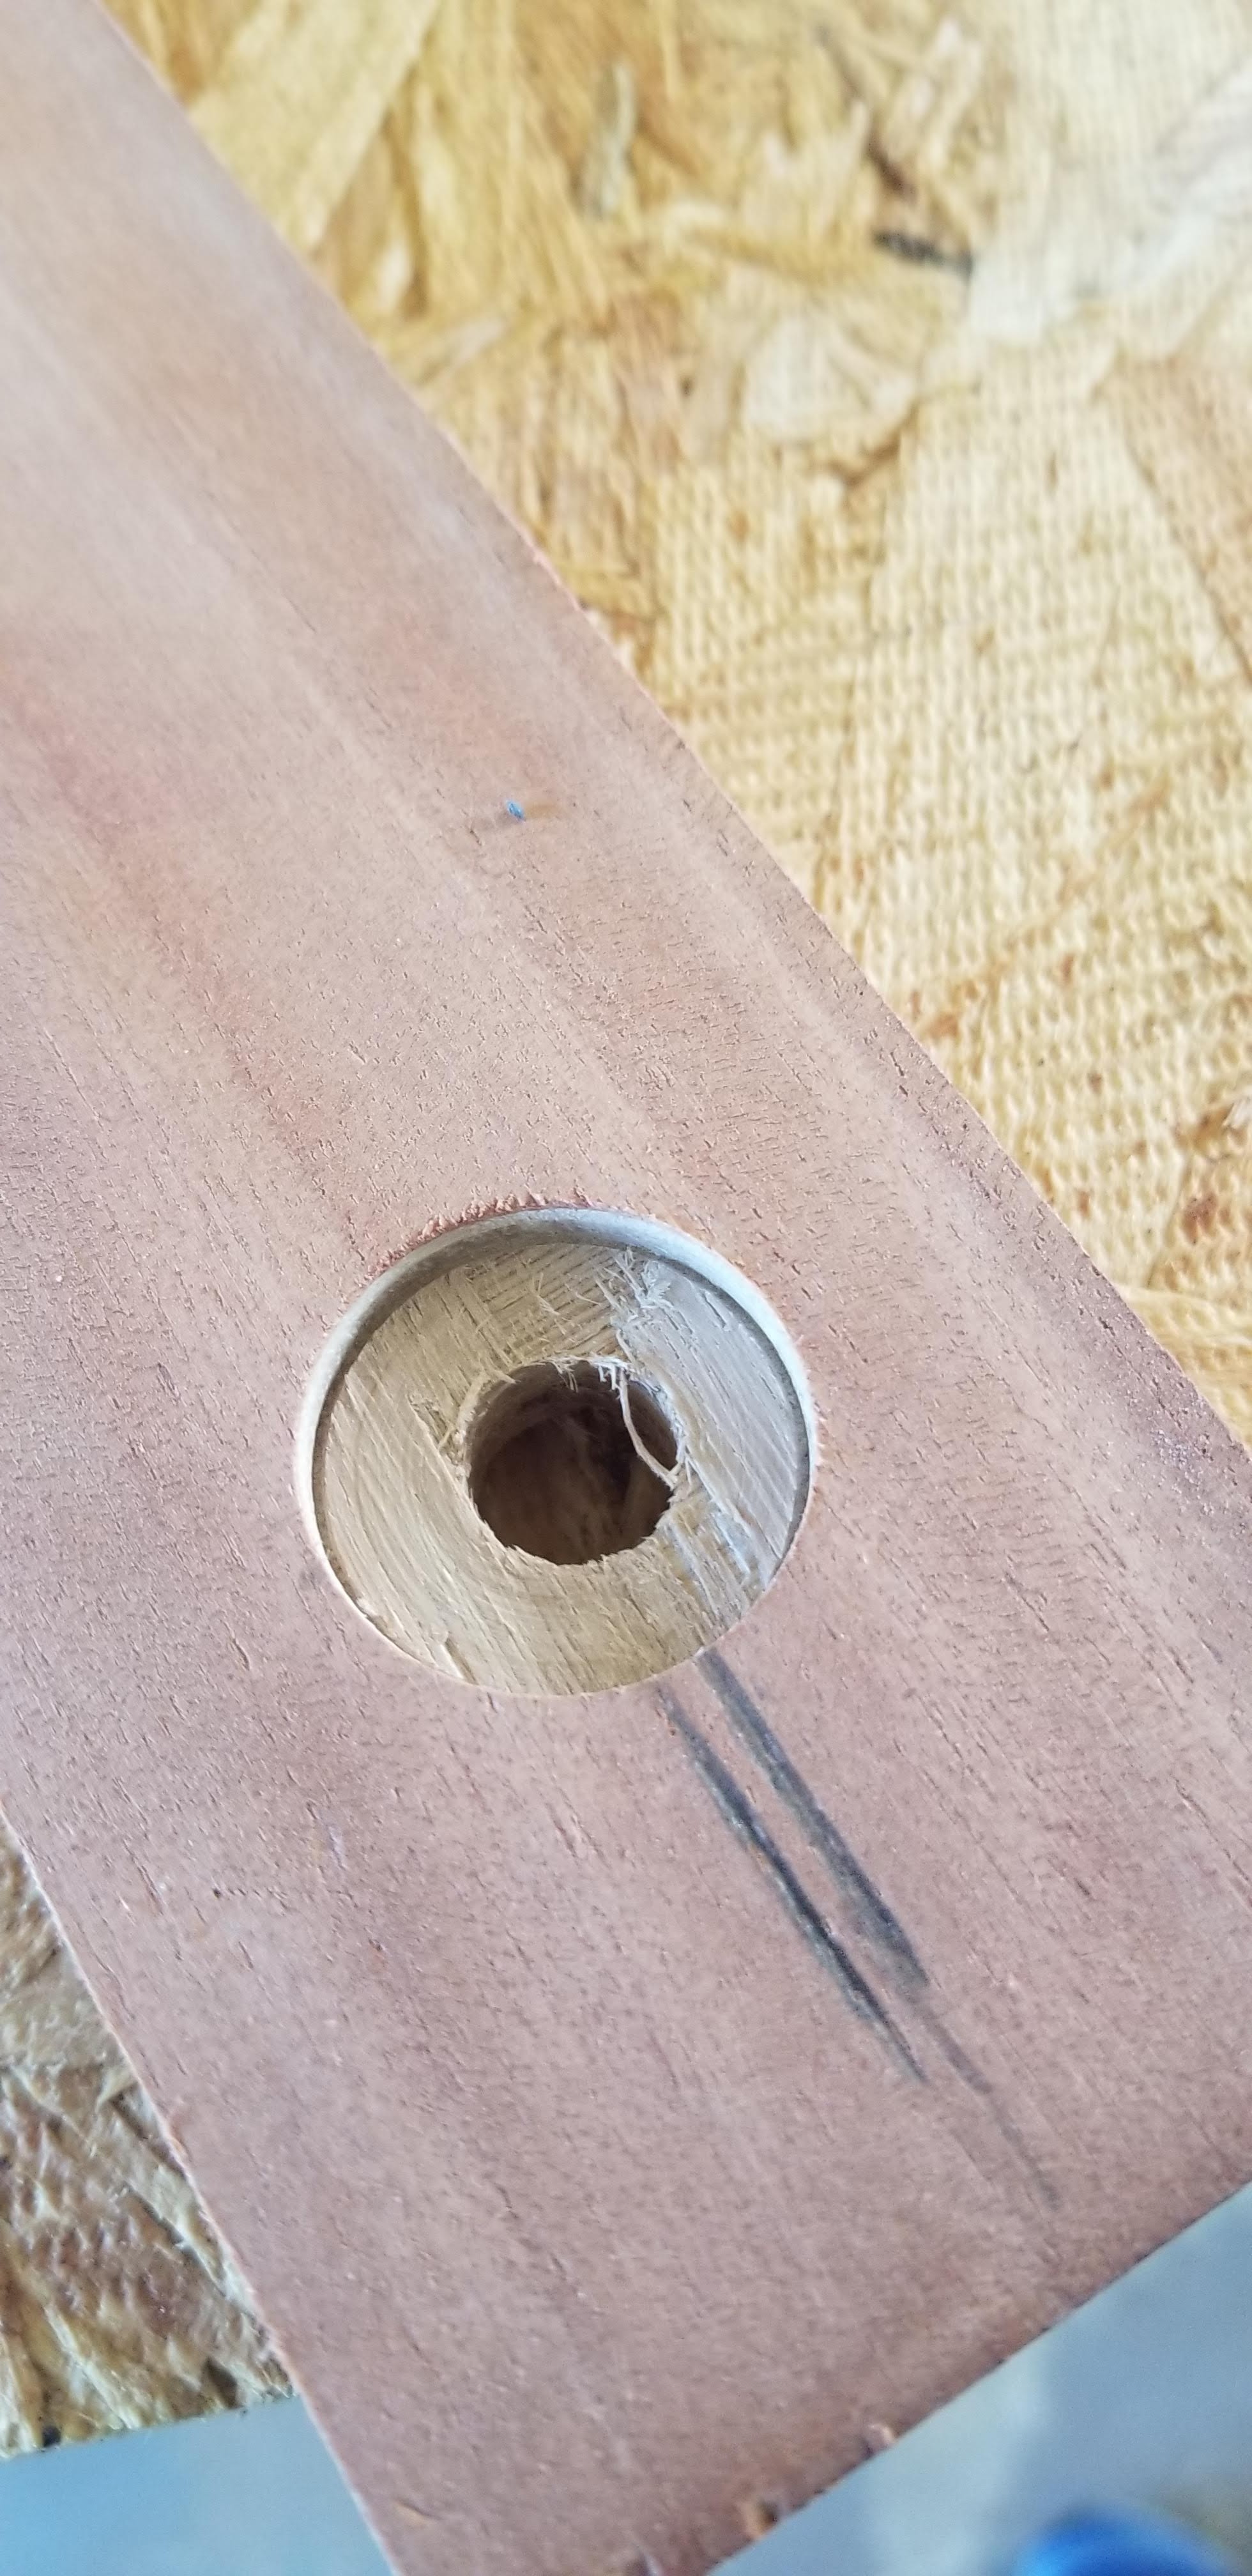
The pocket holes on the 2×4 on the base top didn’t worked, the angle made the 2×4 “slide” on top of the 4×4. Fixed it with 3″ inch deck screws from the outer side with a deep counter sink to hide them a bit.

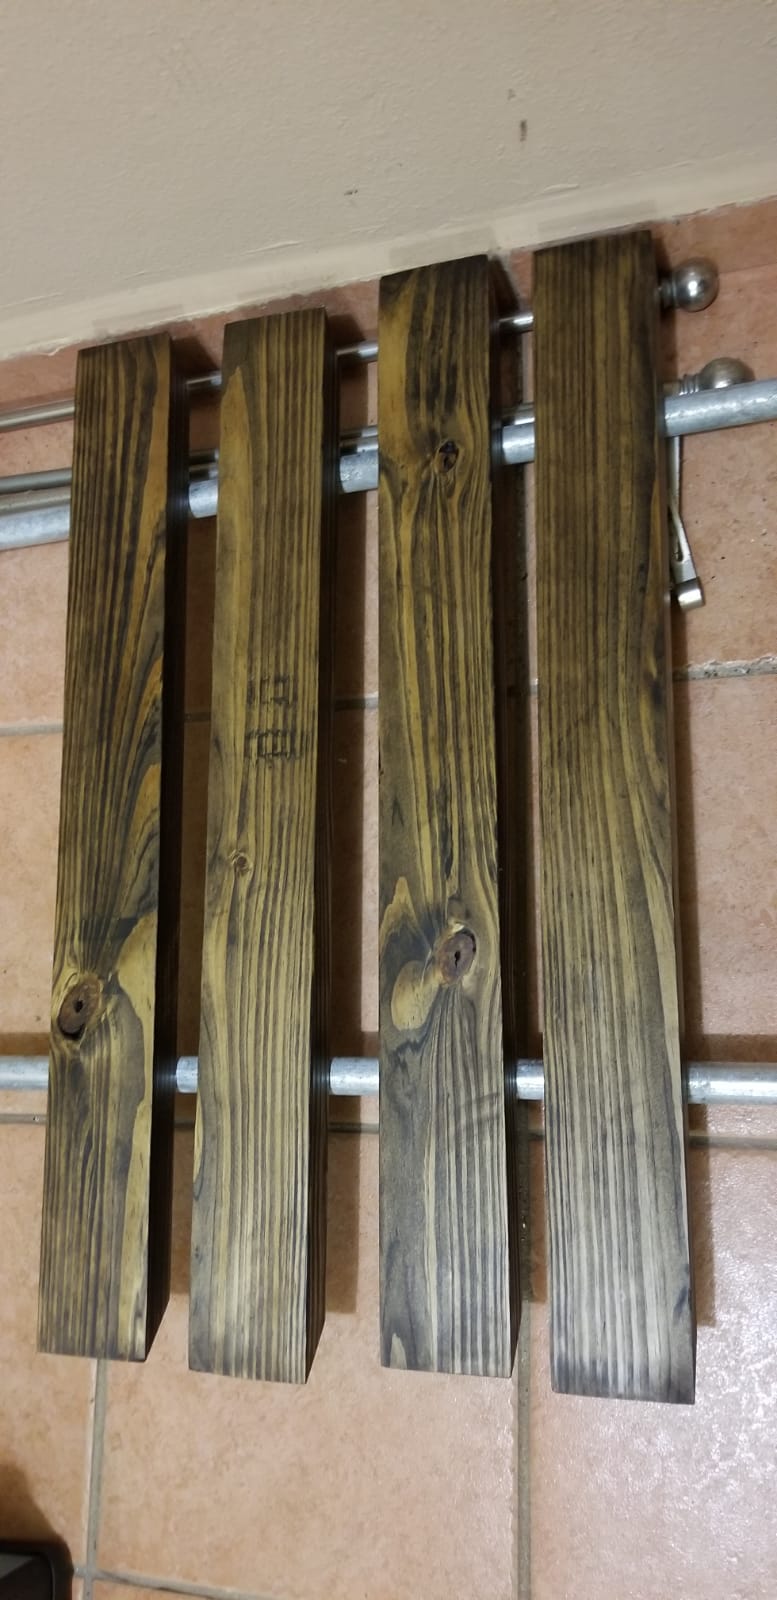
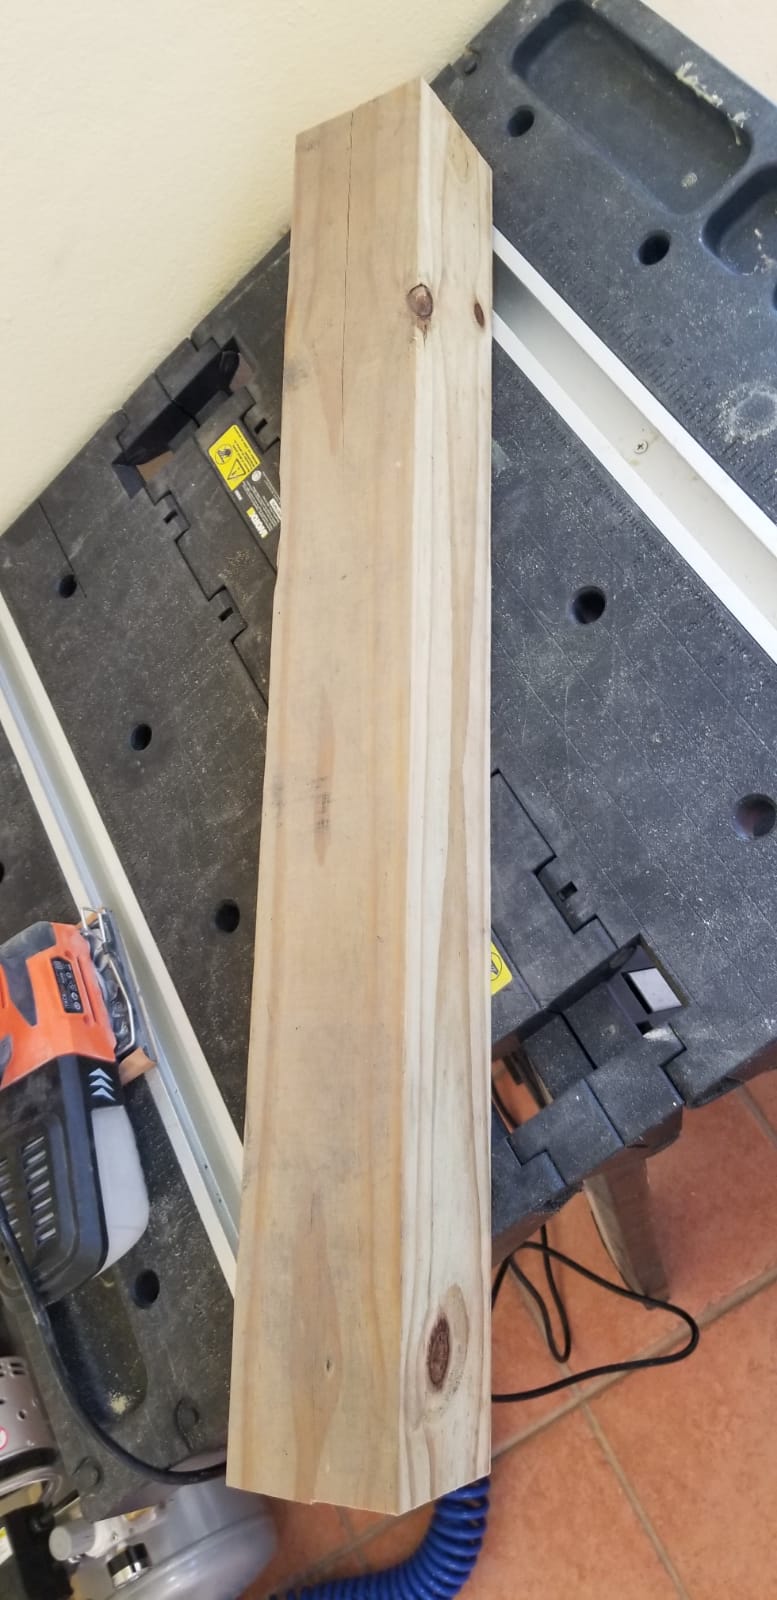
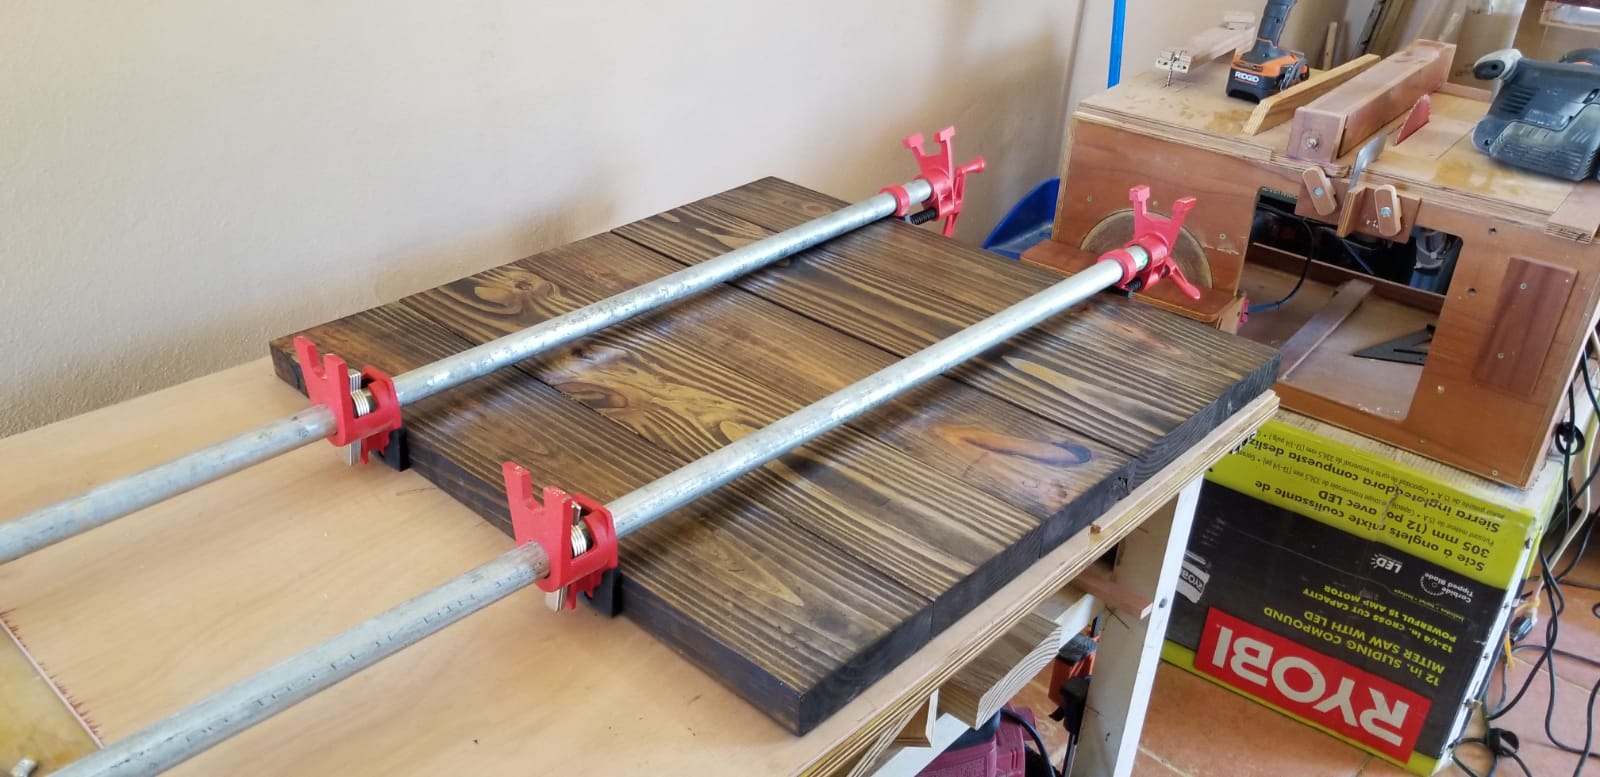
Now I’m working on the table top by joining 2×6 and tying them up with 2×8.

My wife finished the base of the table with Minwax Polycrylic matte.
That’s it for now. The next steps are to do a stain touch up to the top, and finish it with an Epoxy glaze.
“Life has no limitations except the ones you make.”
— Les Brown.
Welcome to my blog. I like DIY projects. Here I will post some of them. They range from wood work and ham radio to computer systems and cooking. Hope you like them.
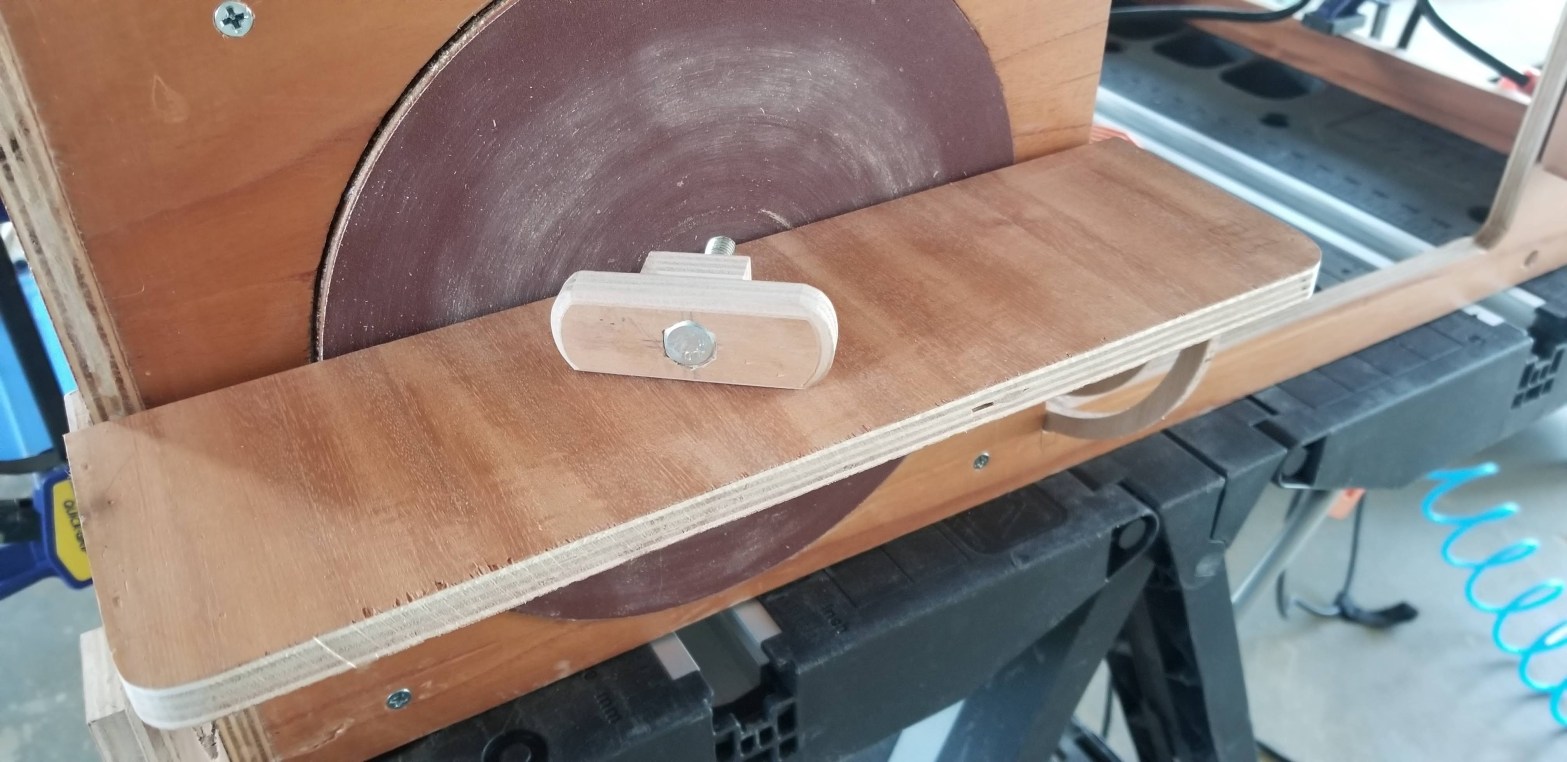
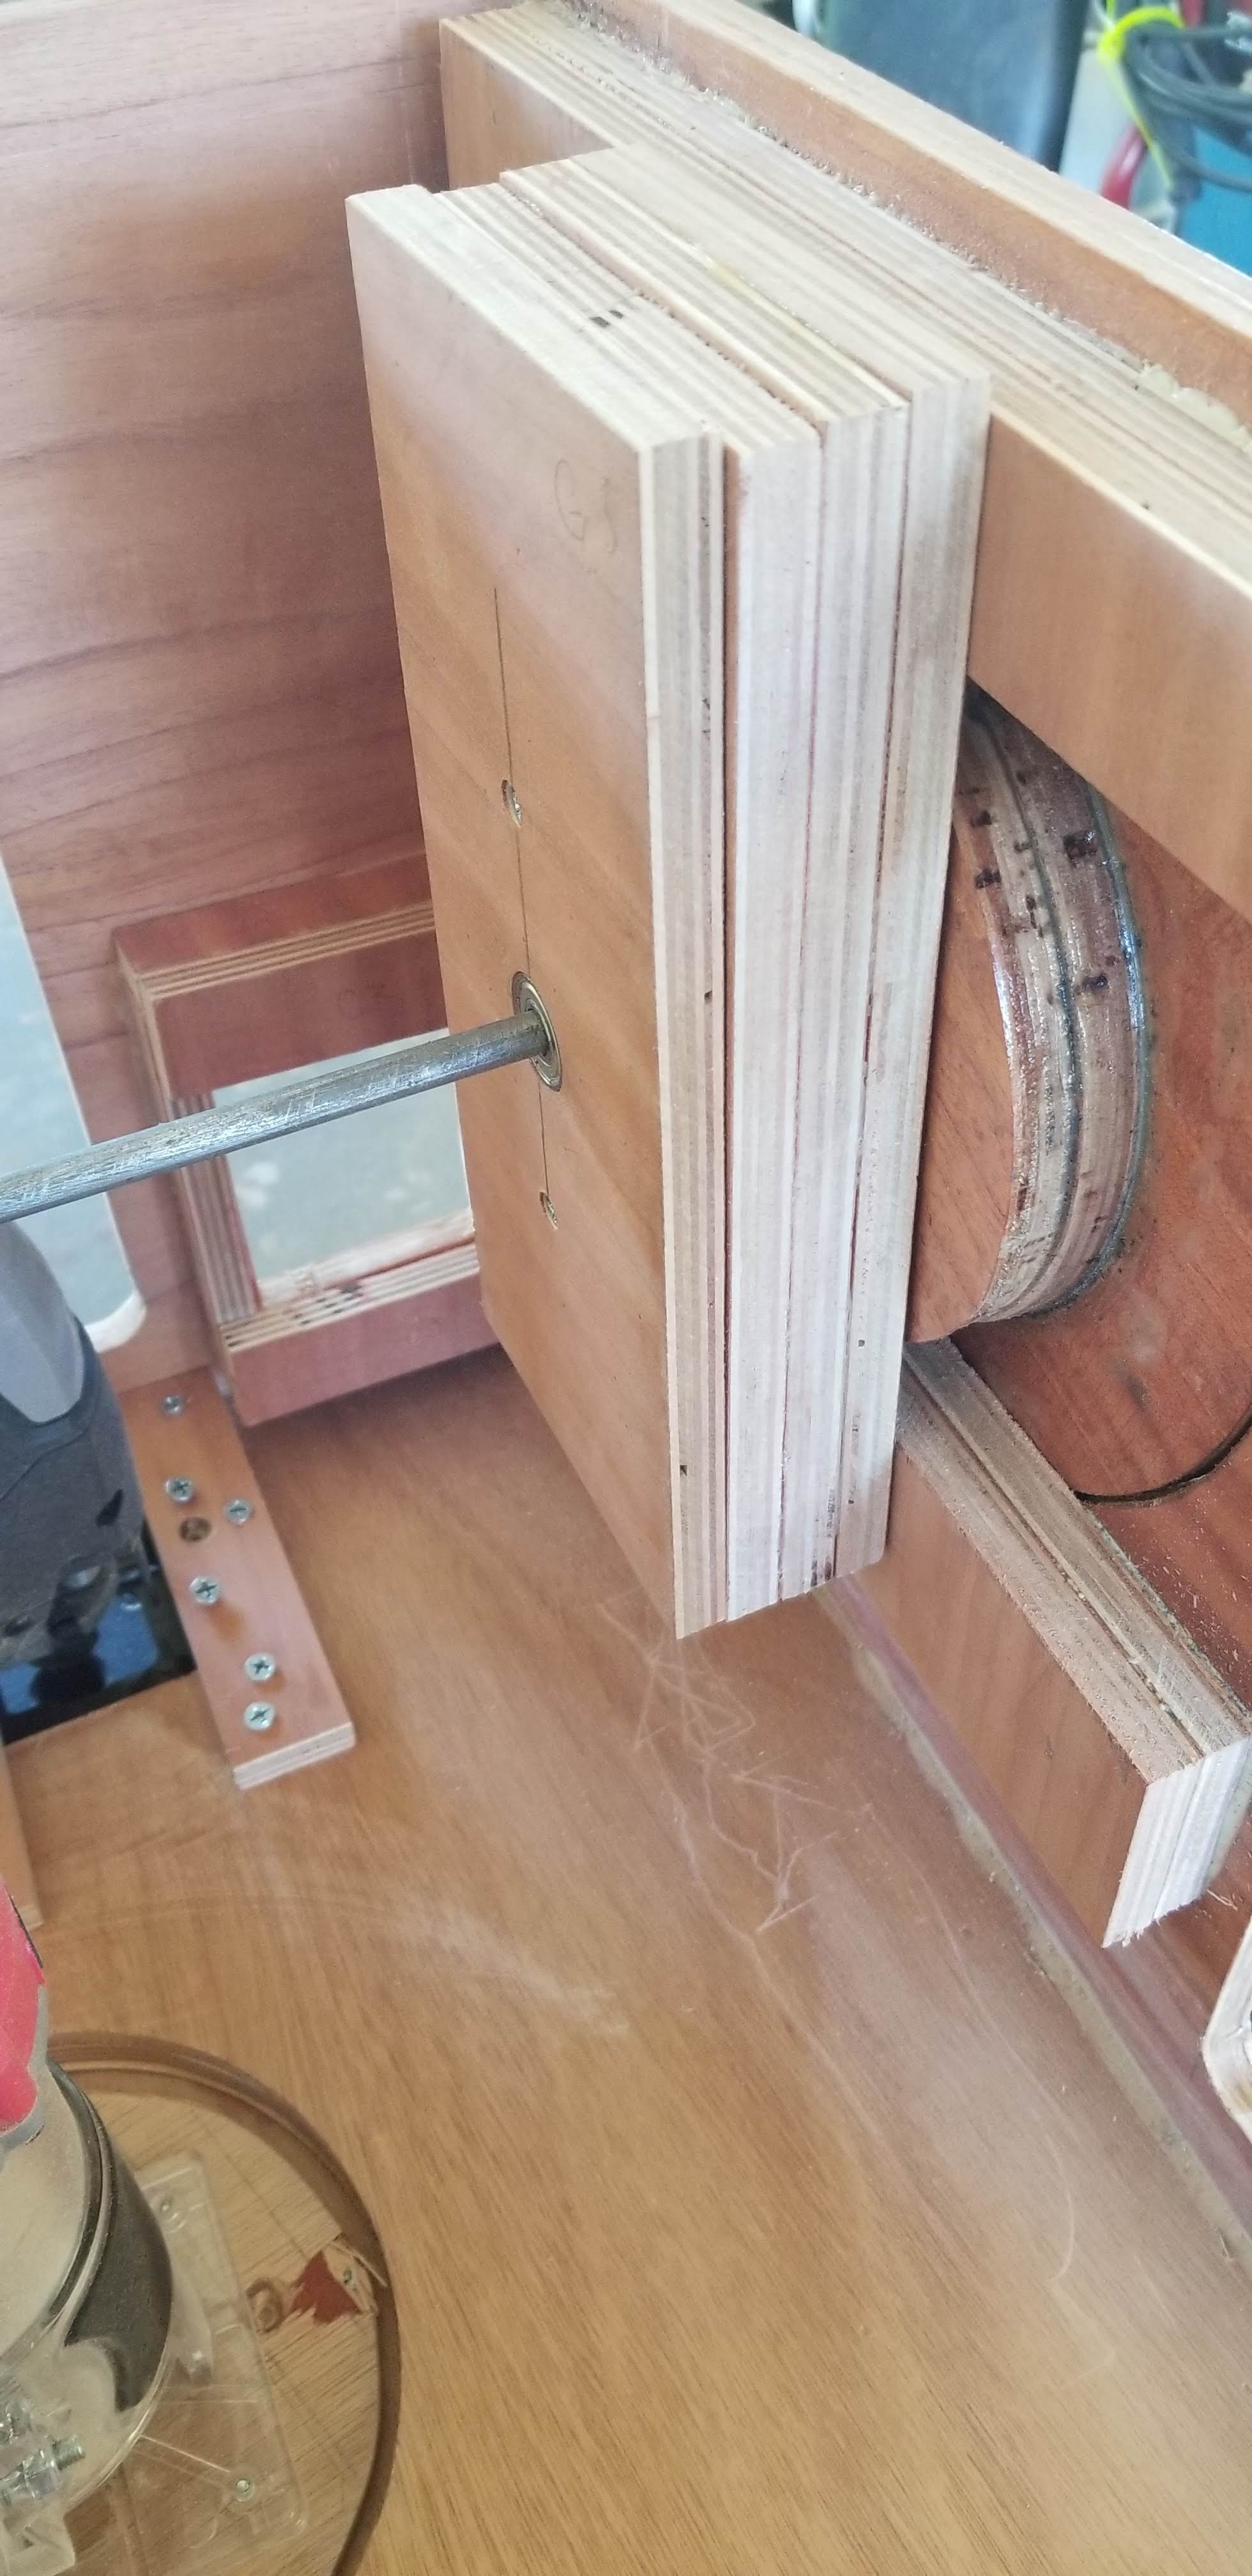
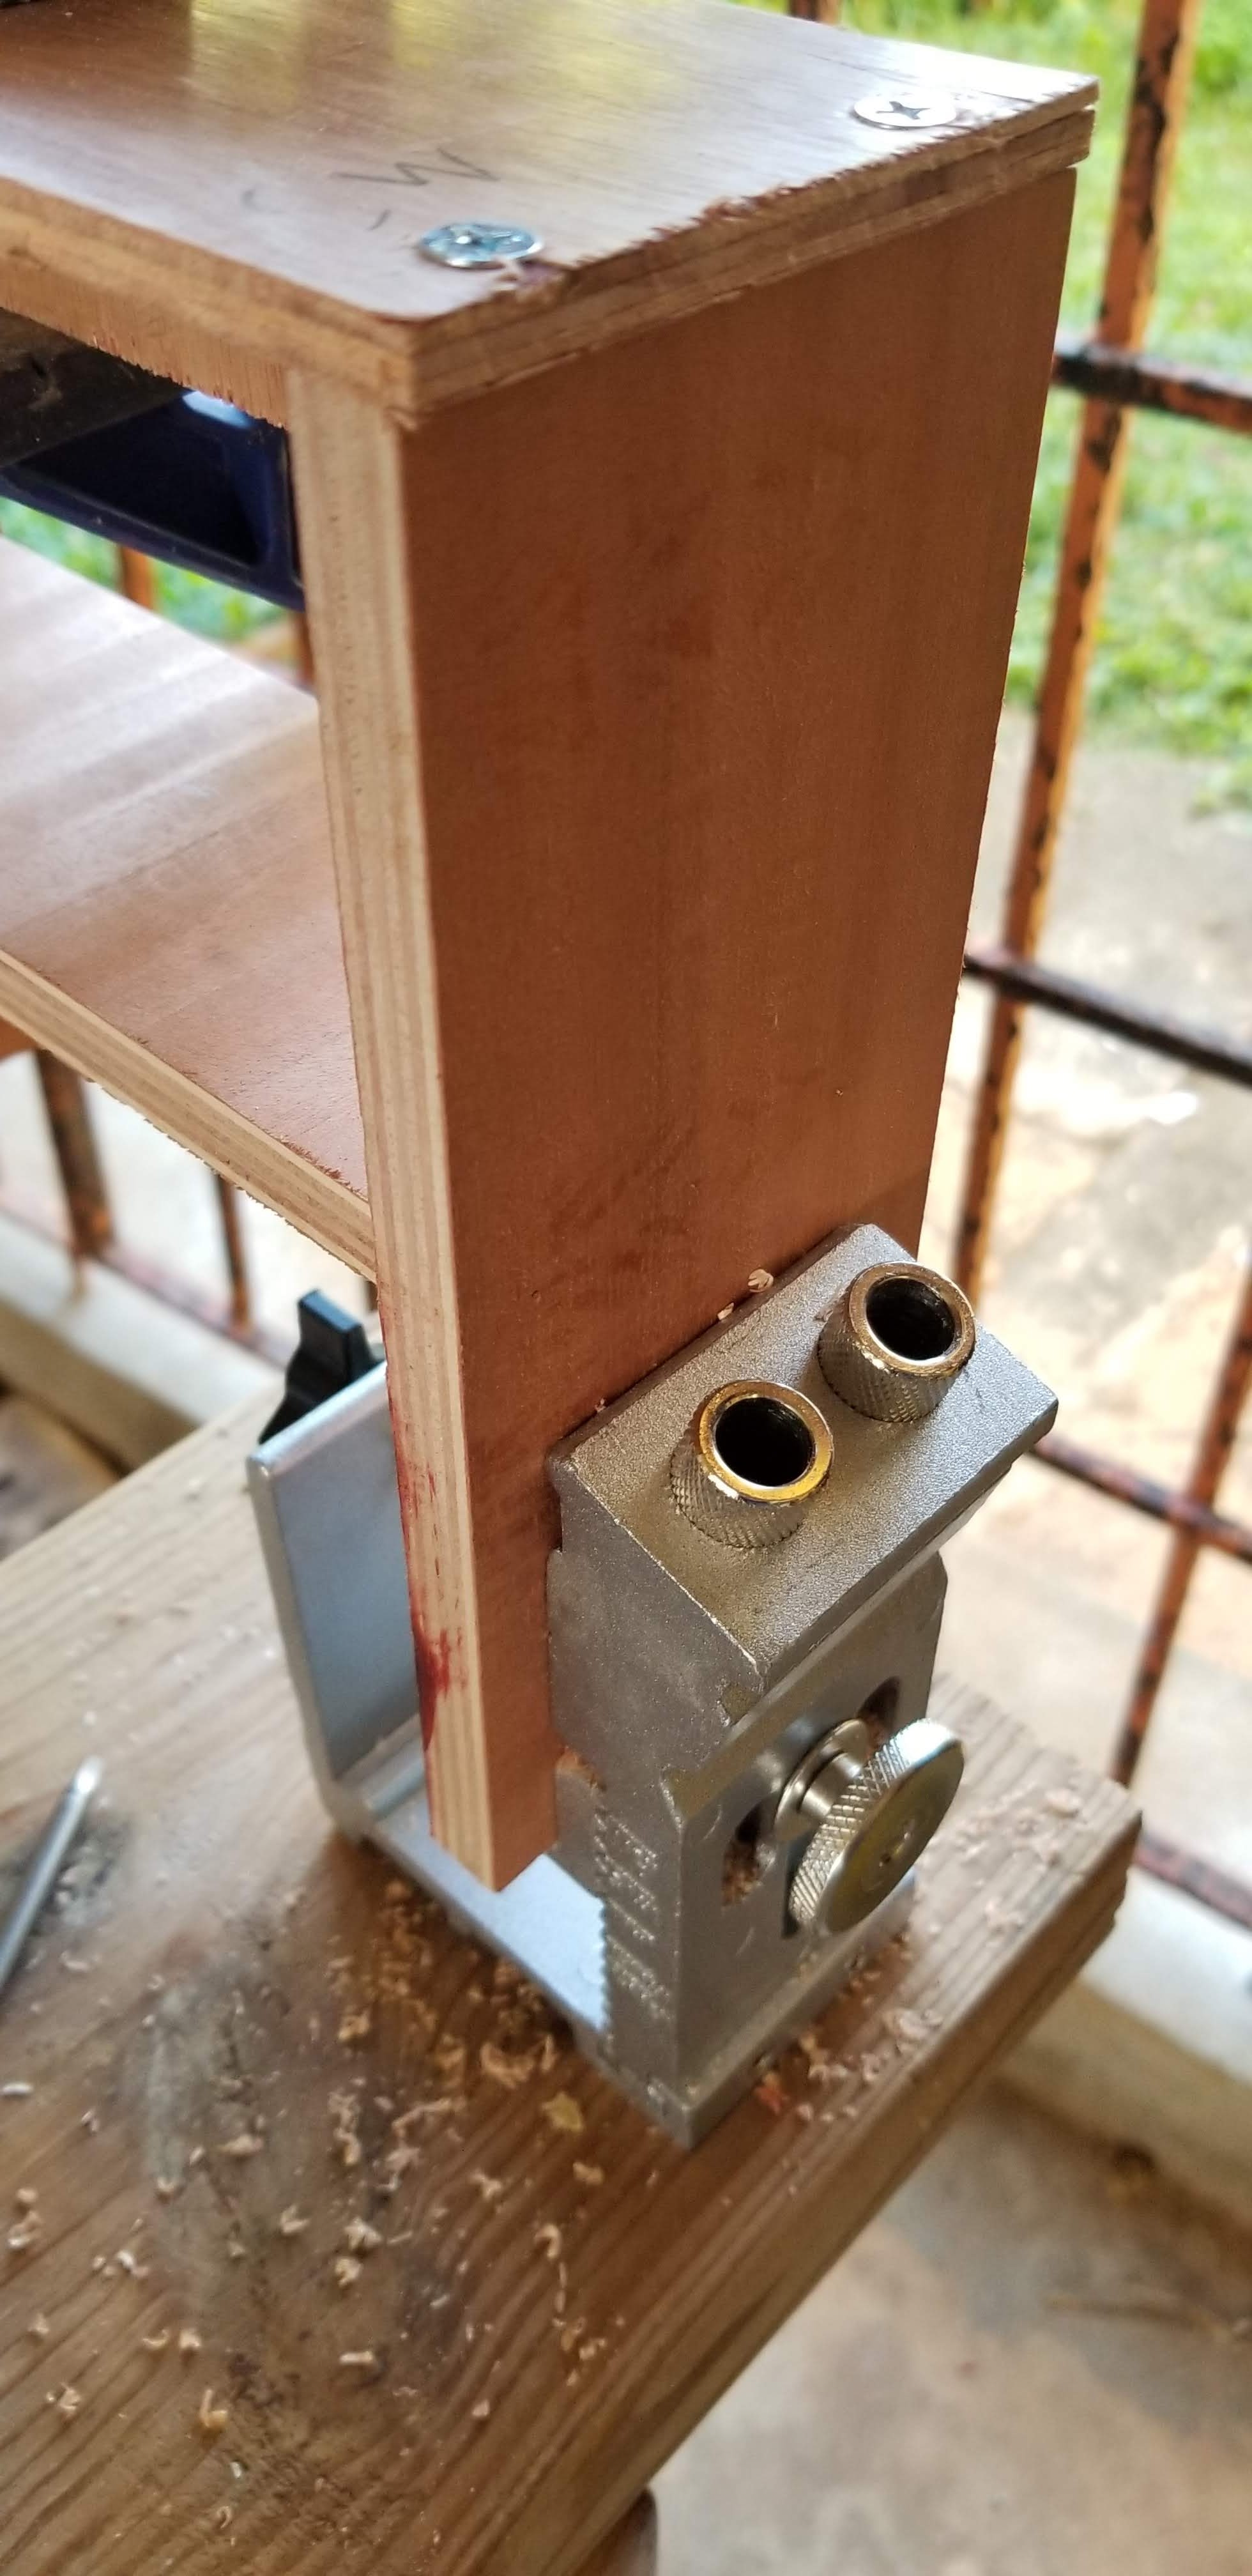
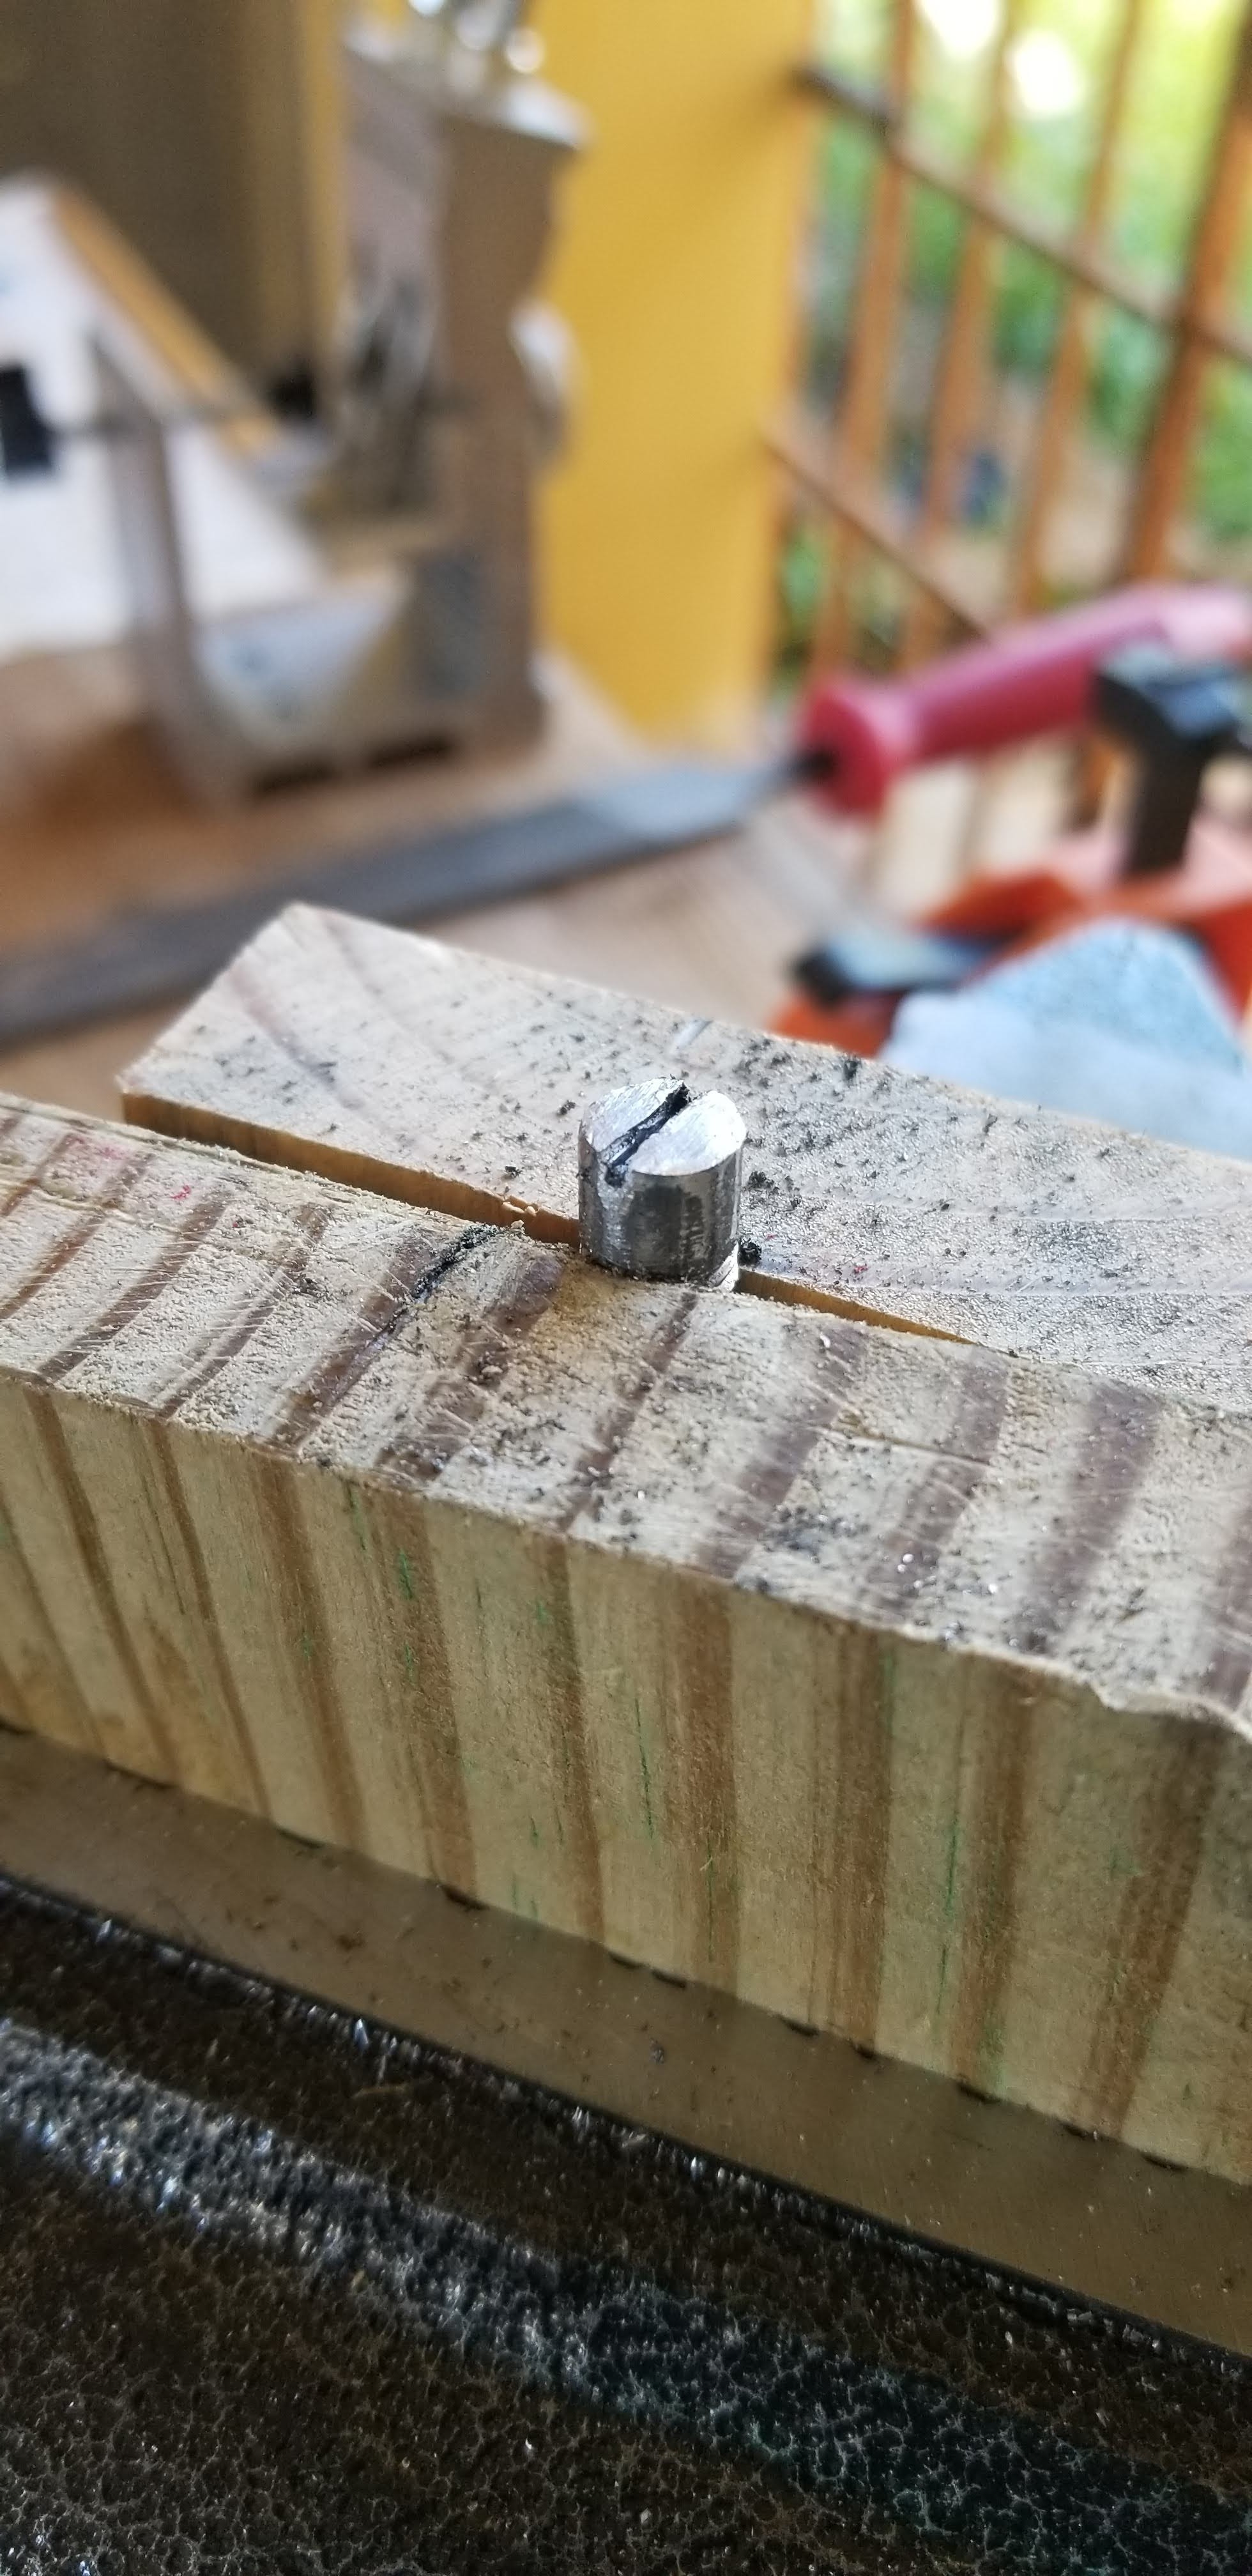
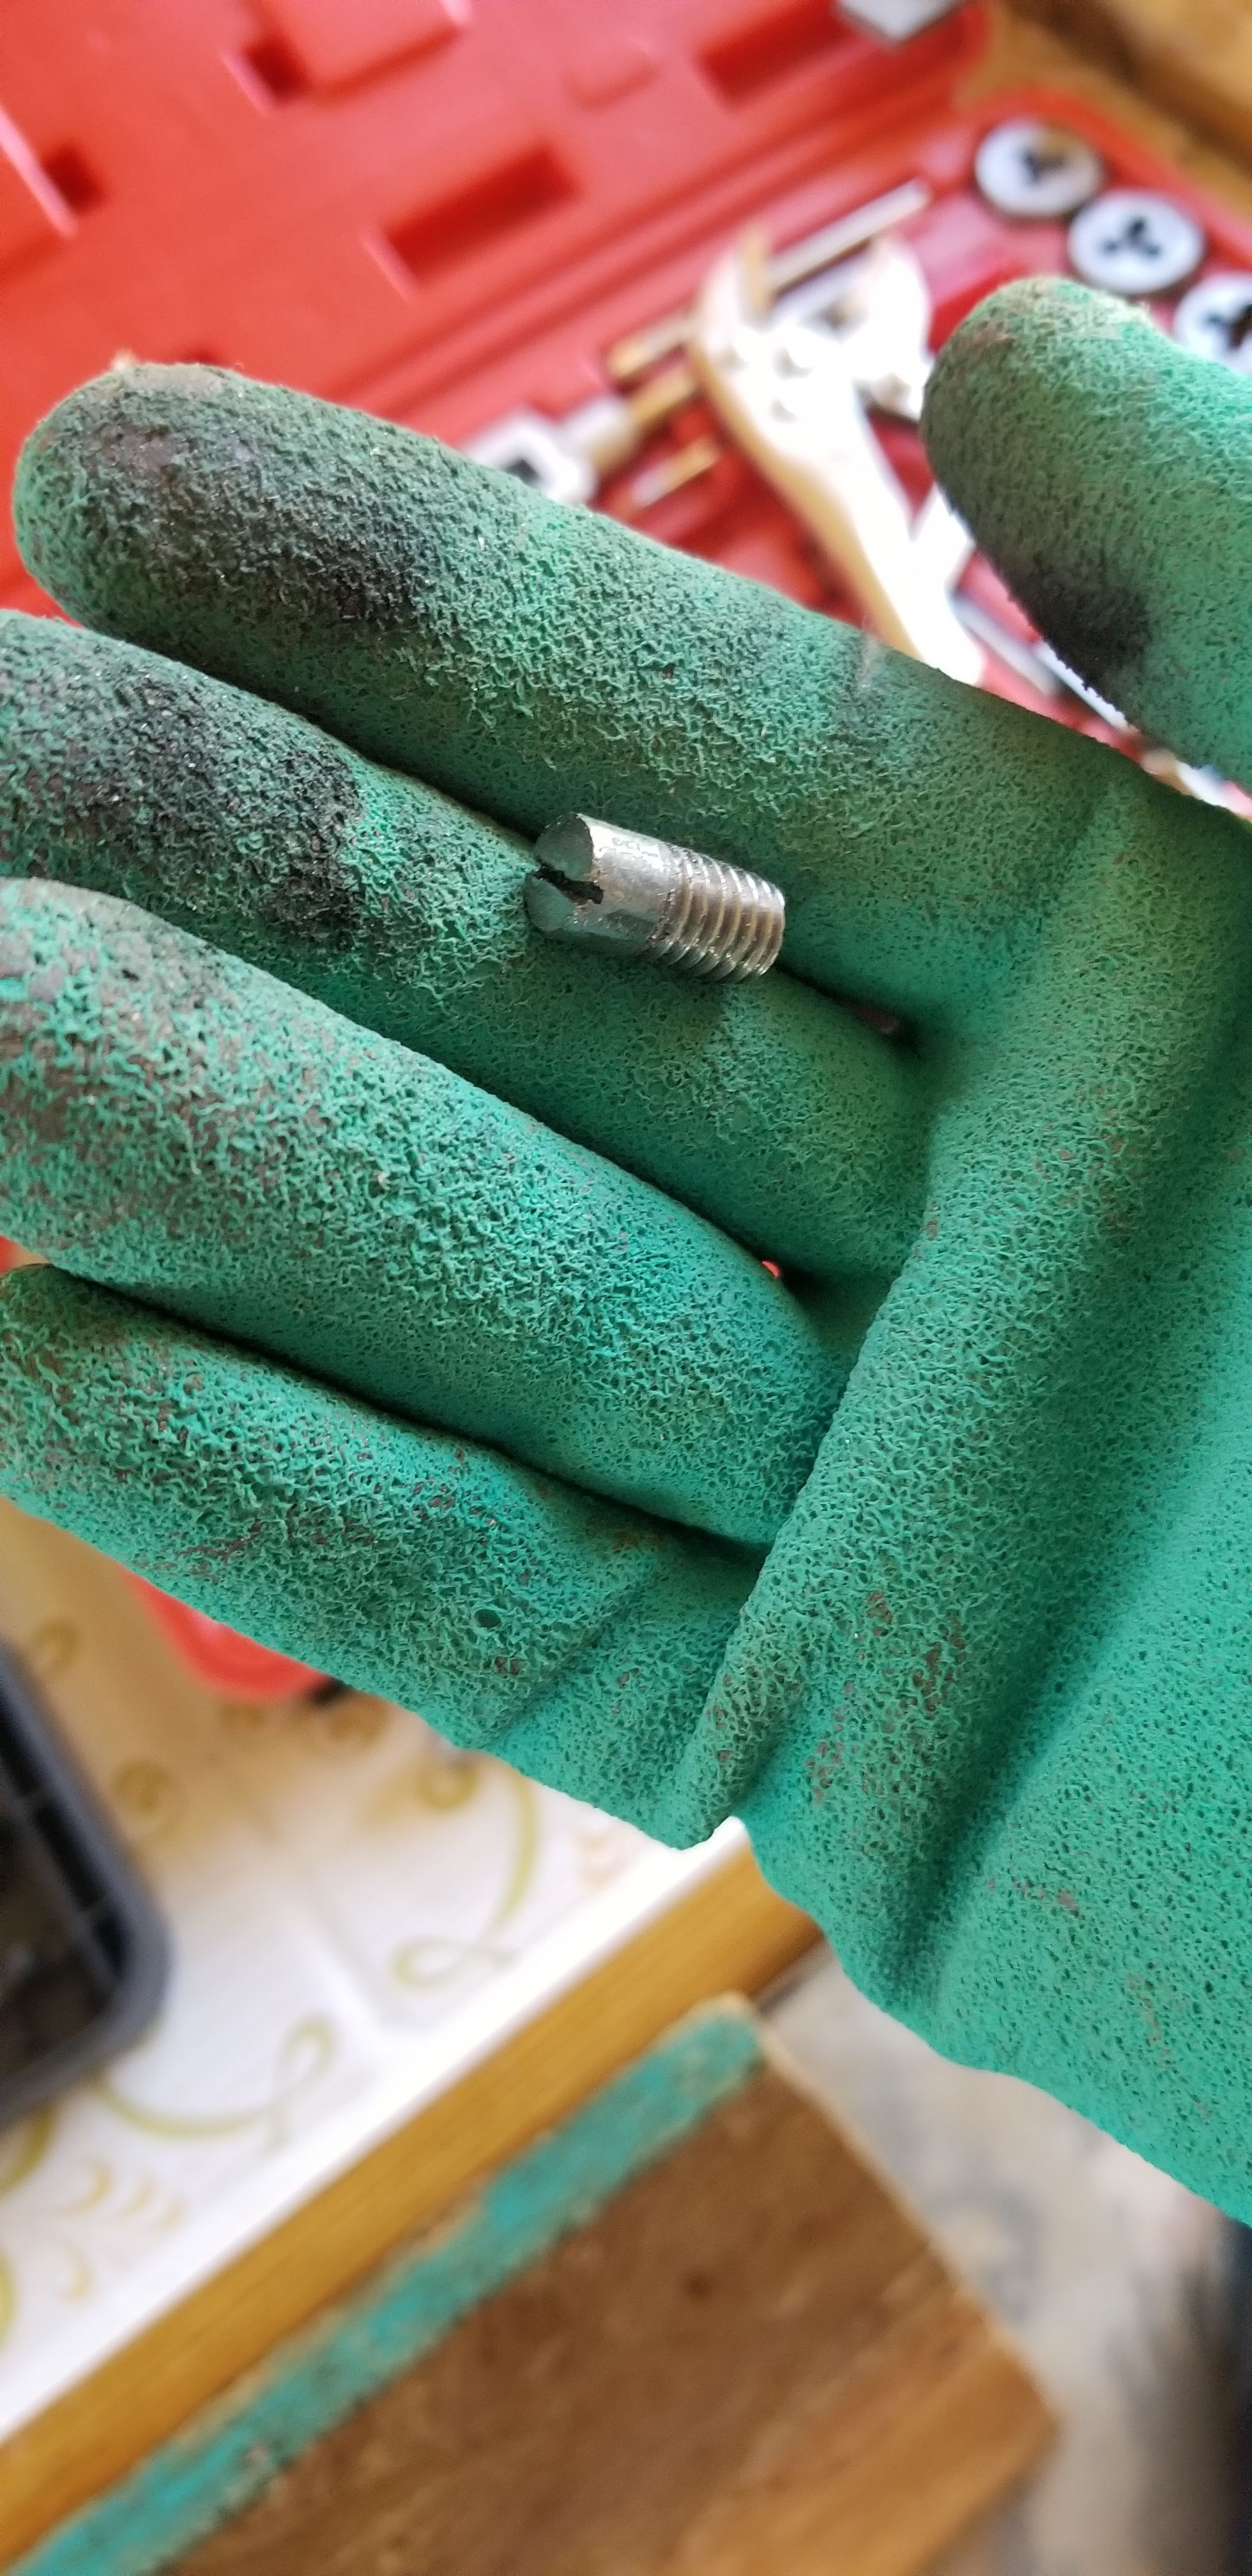
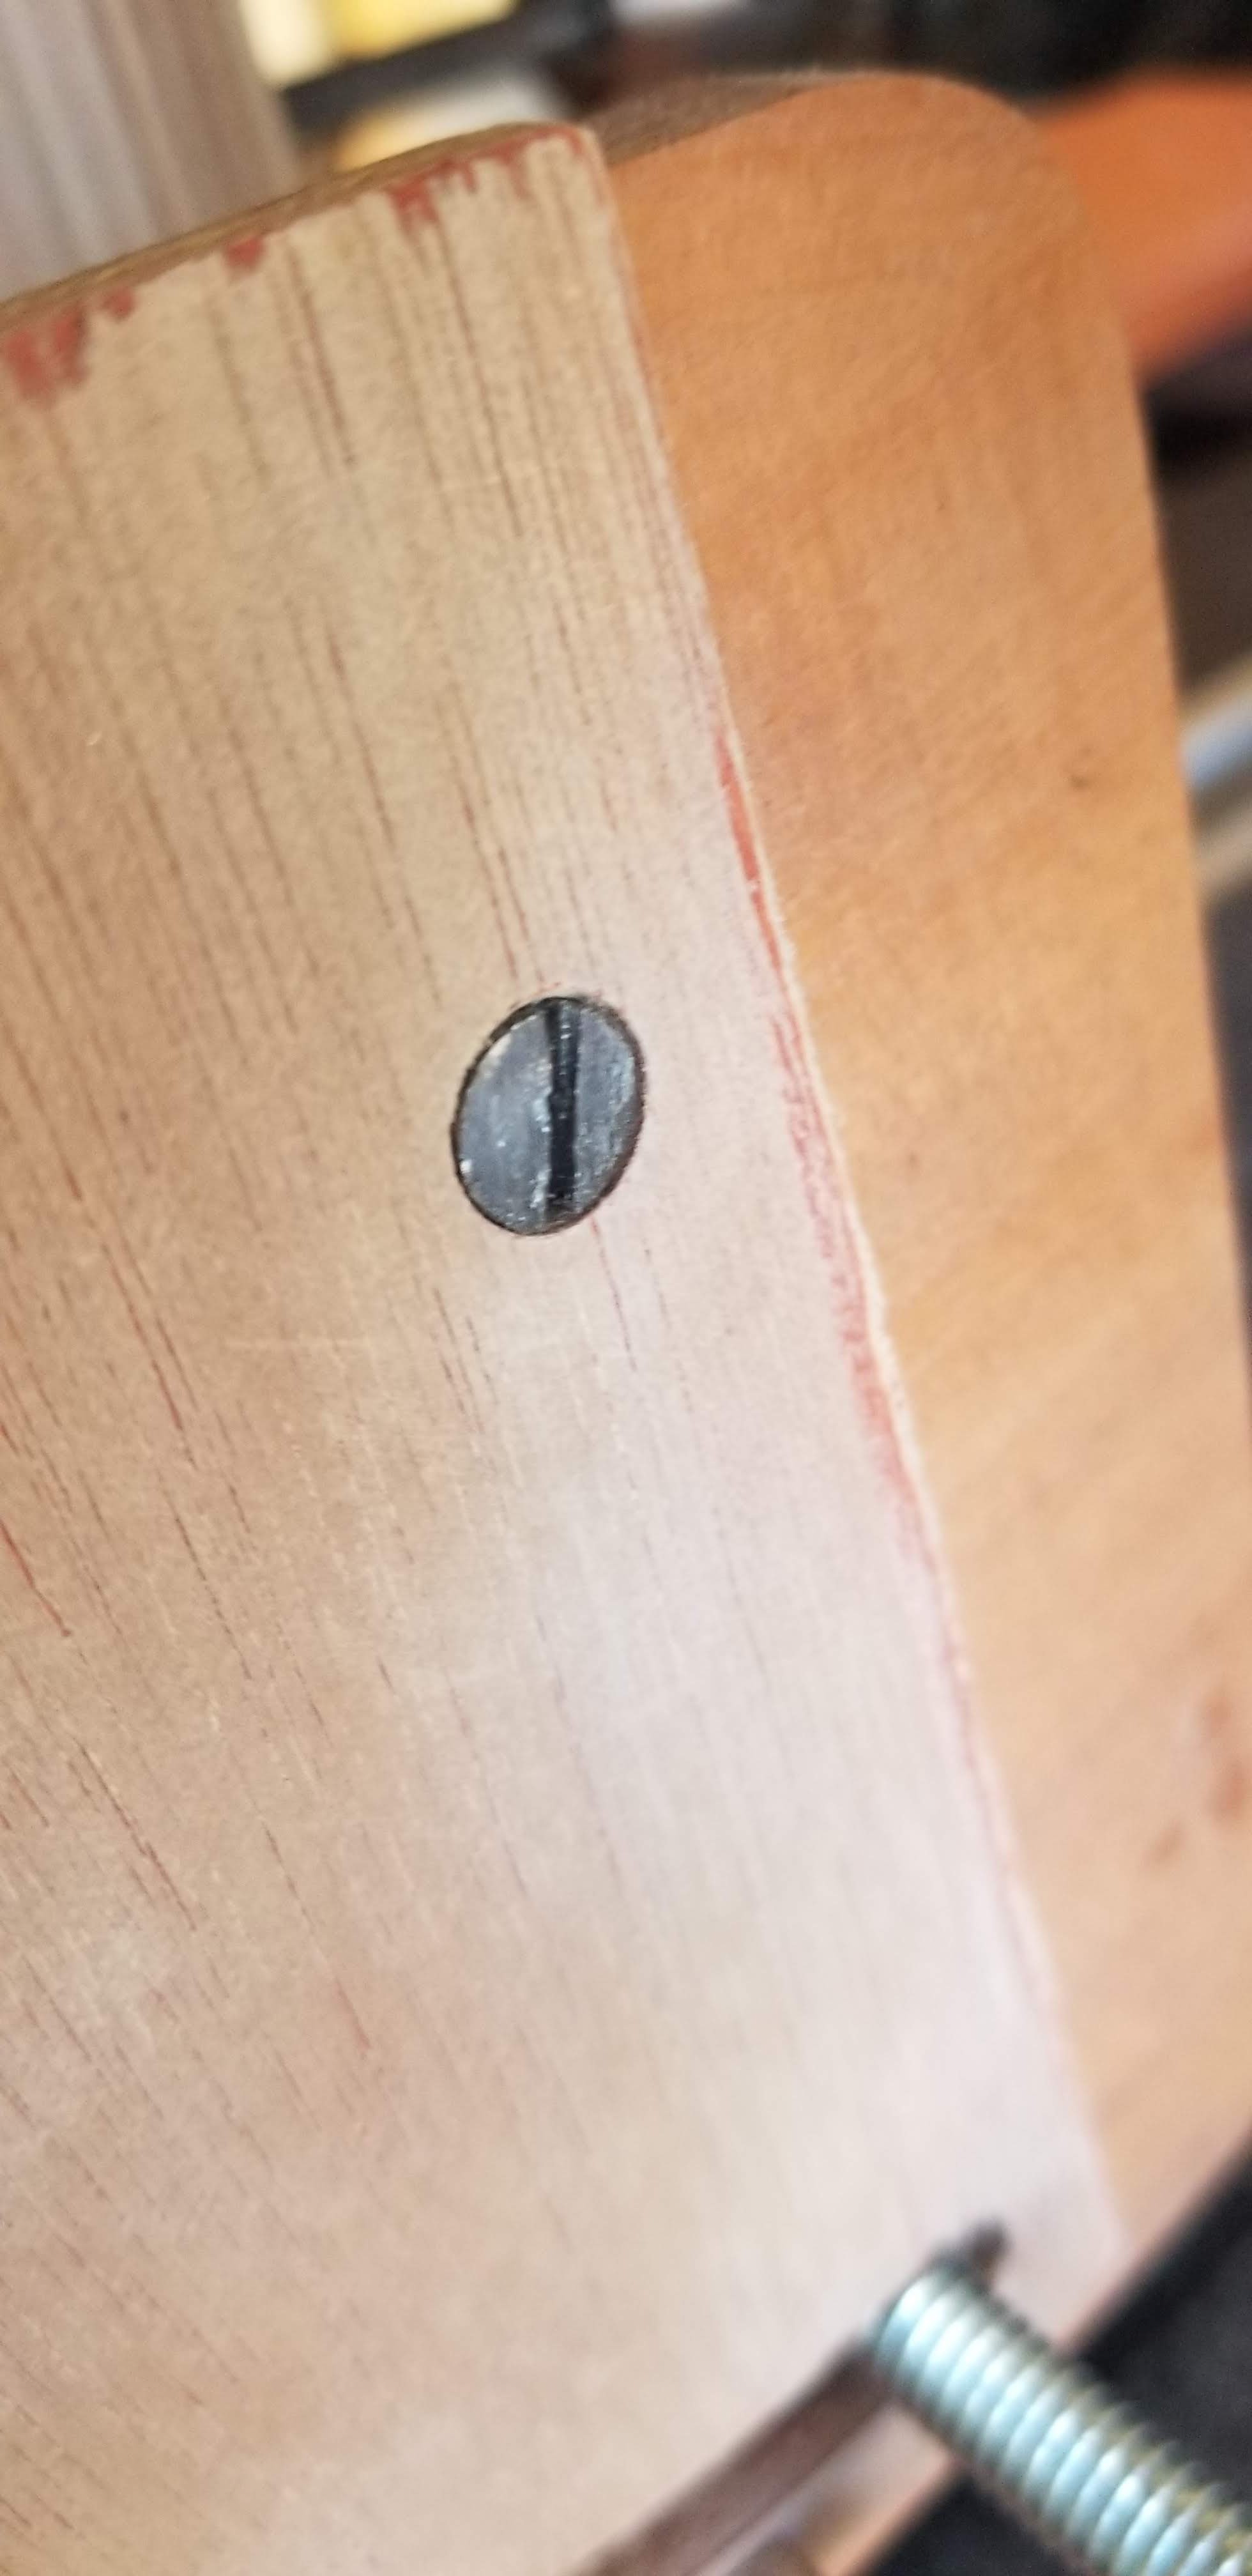
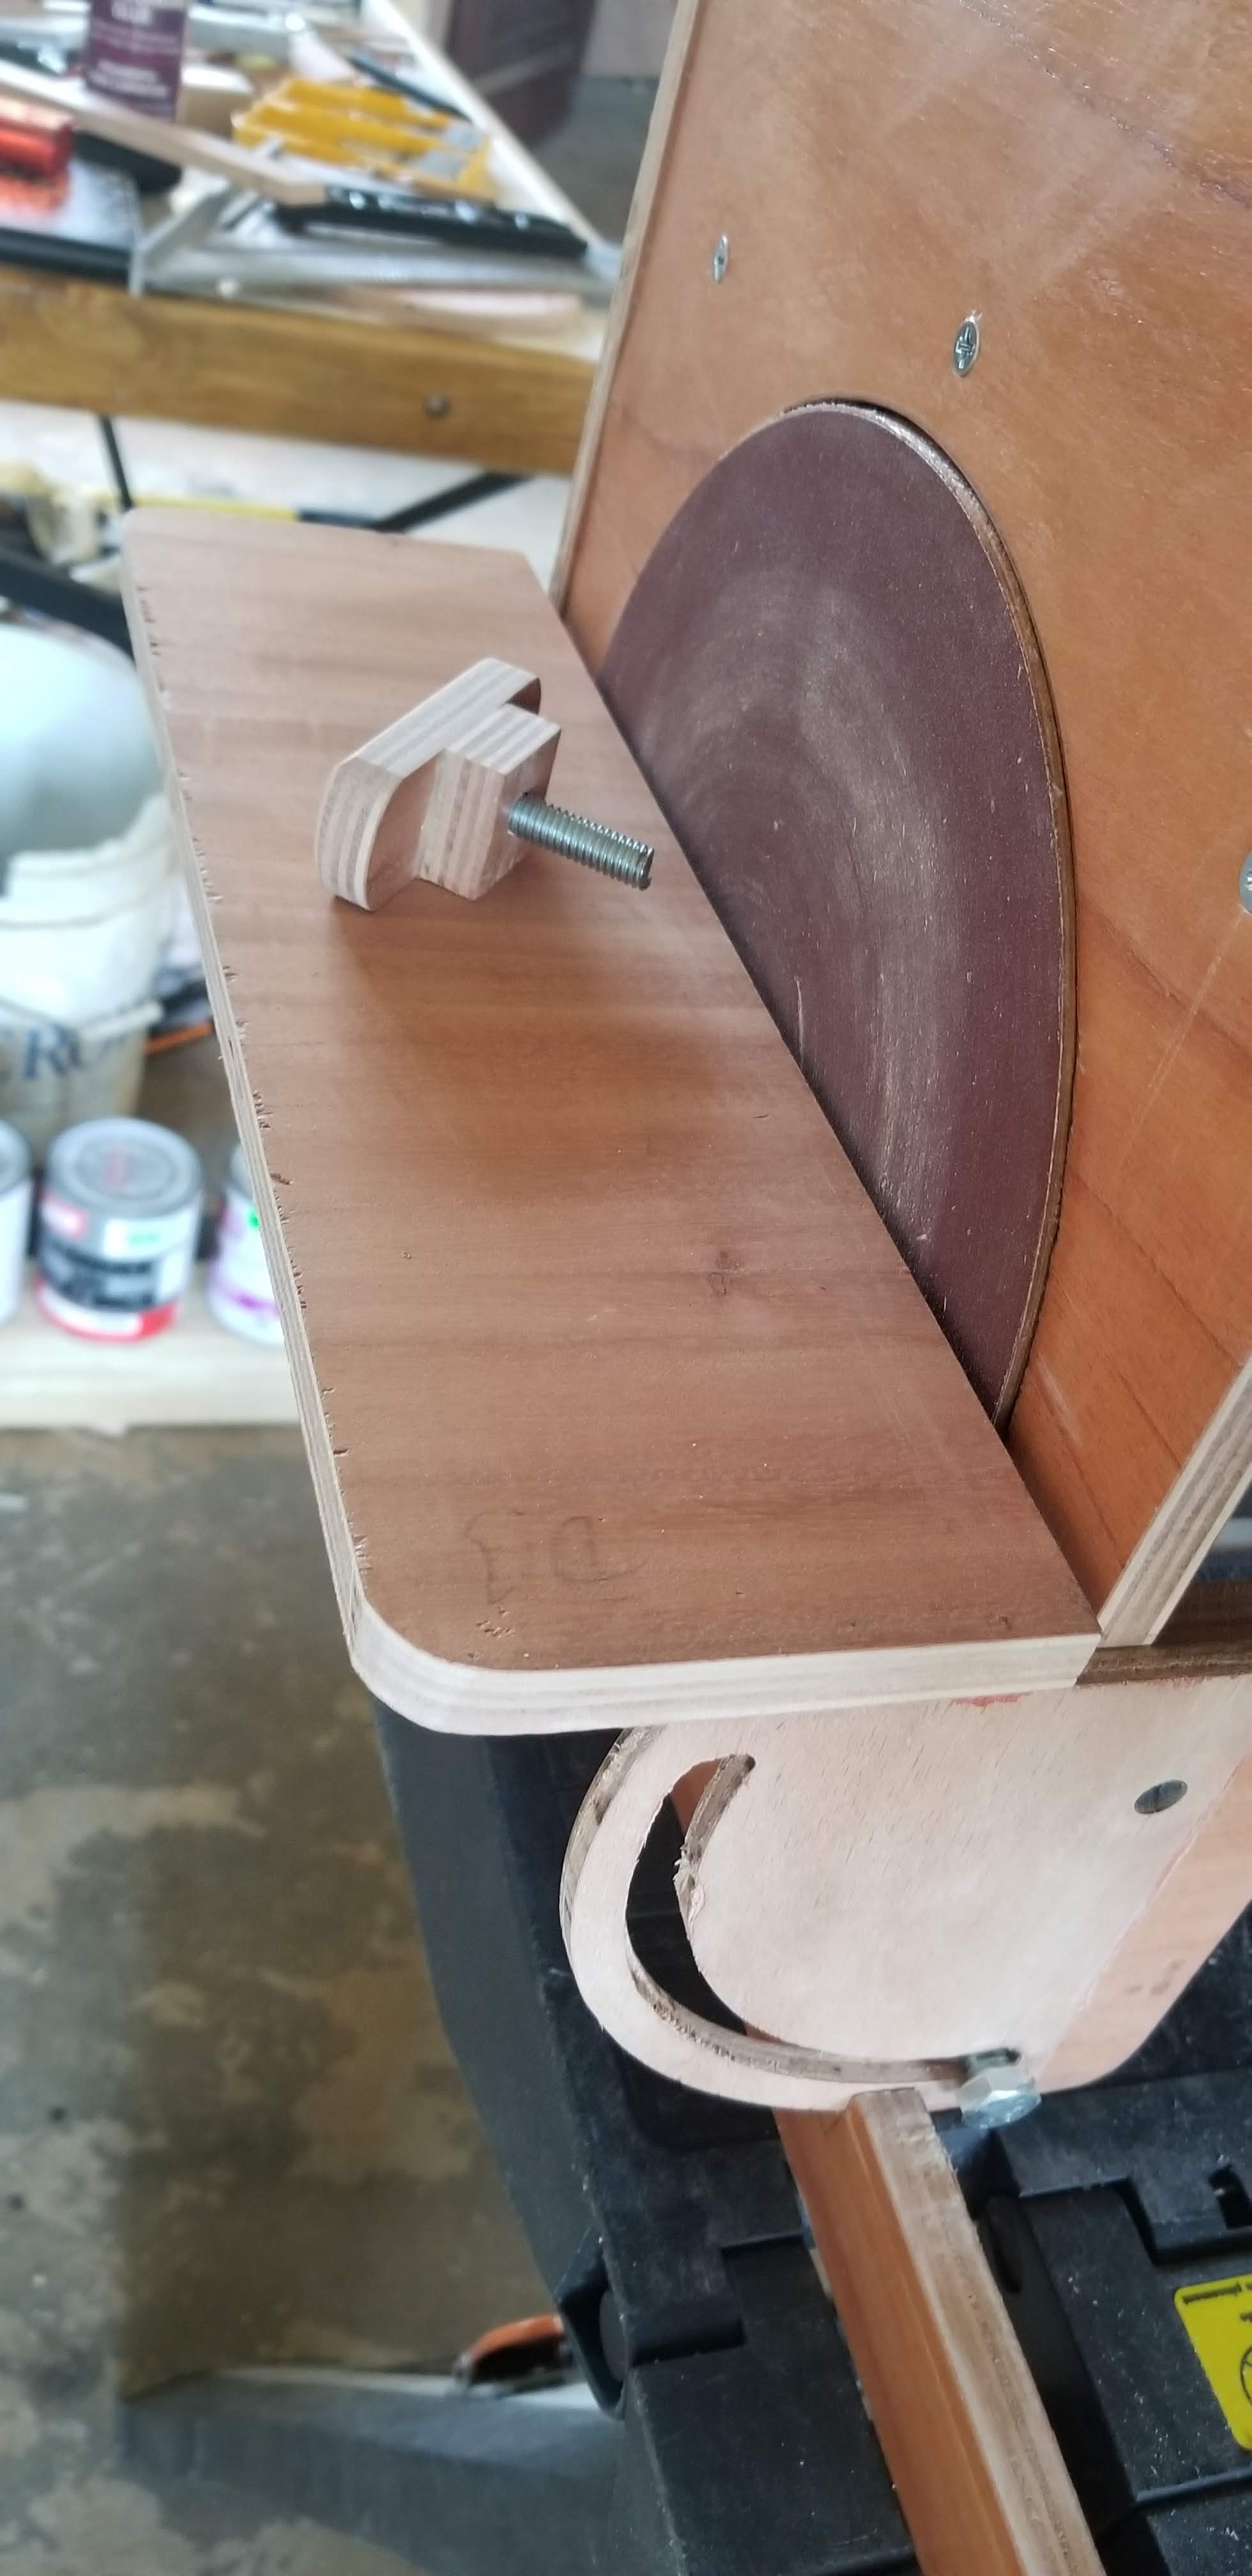
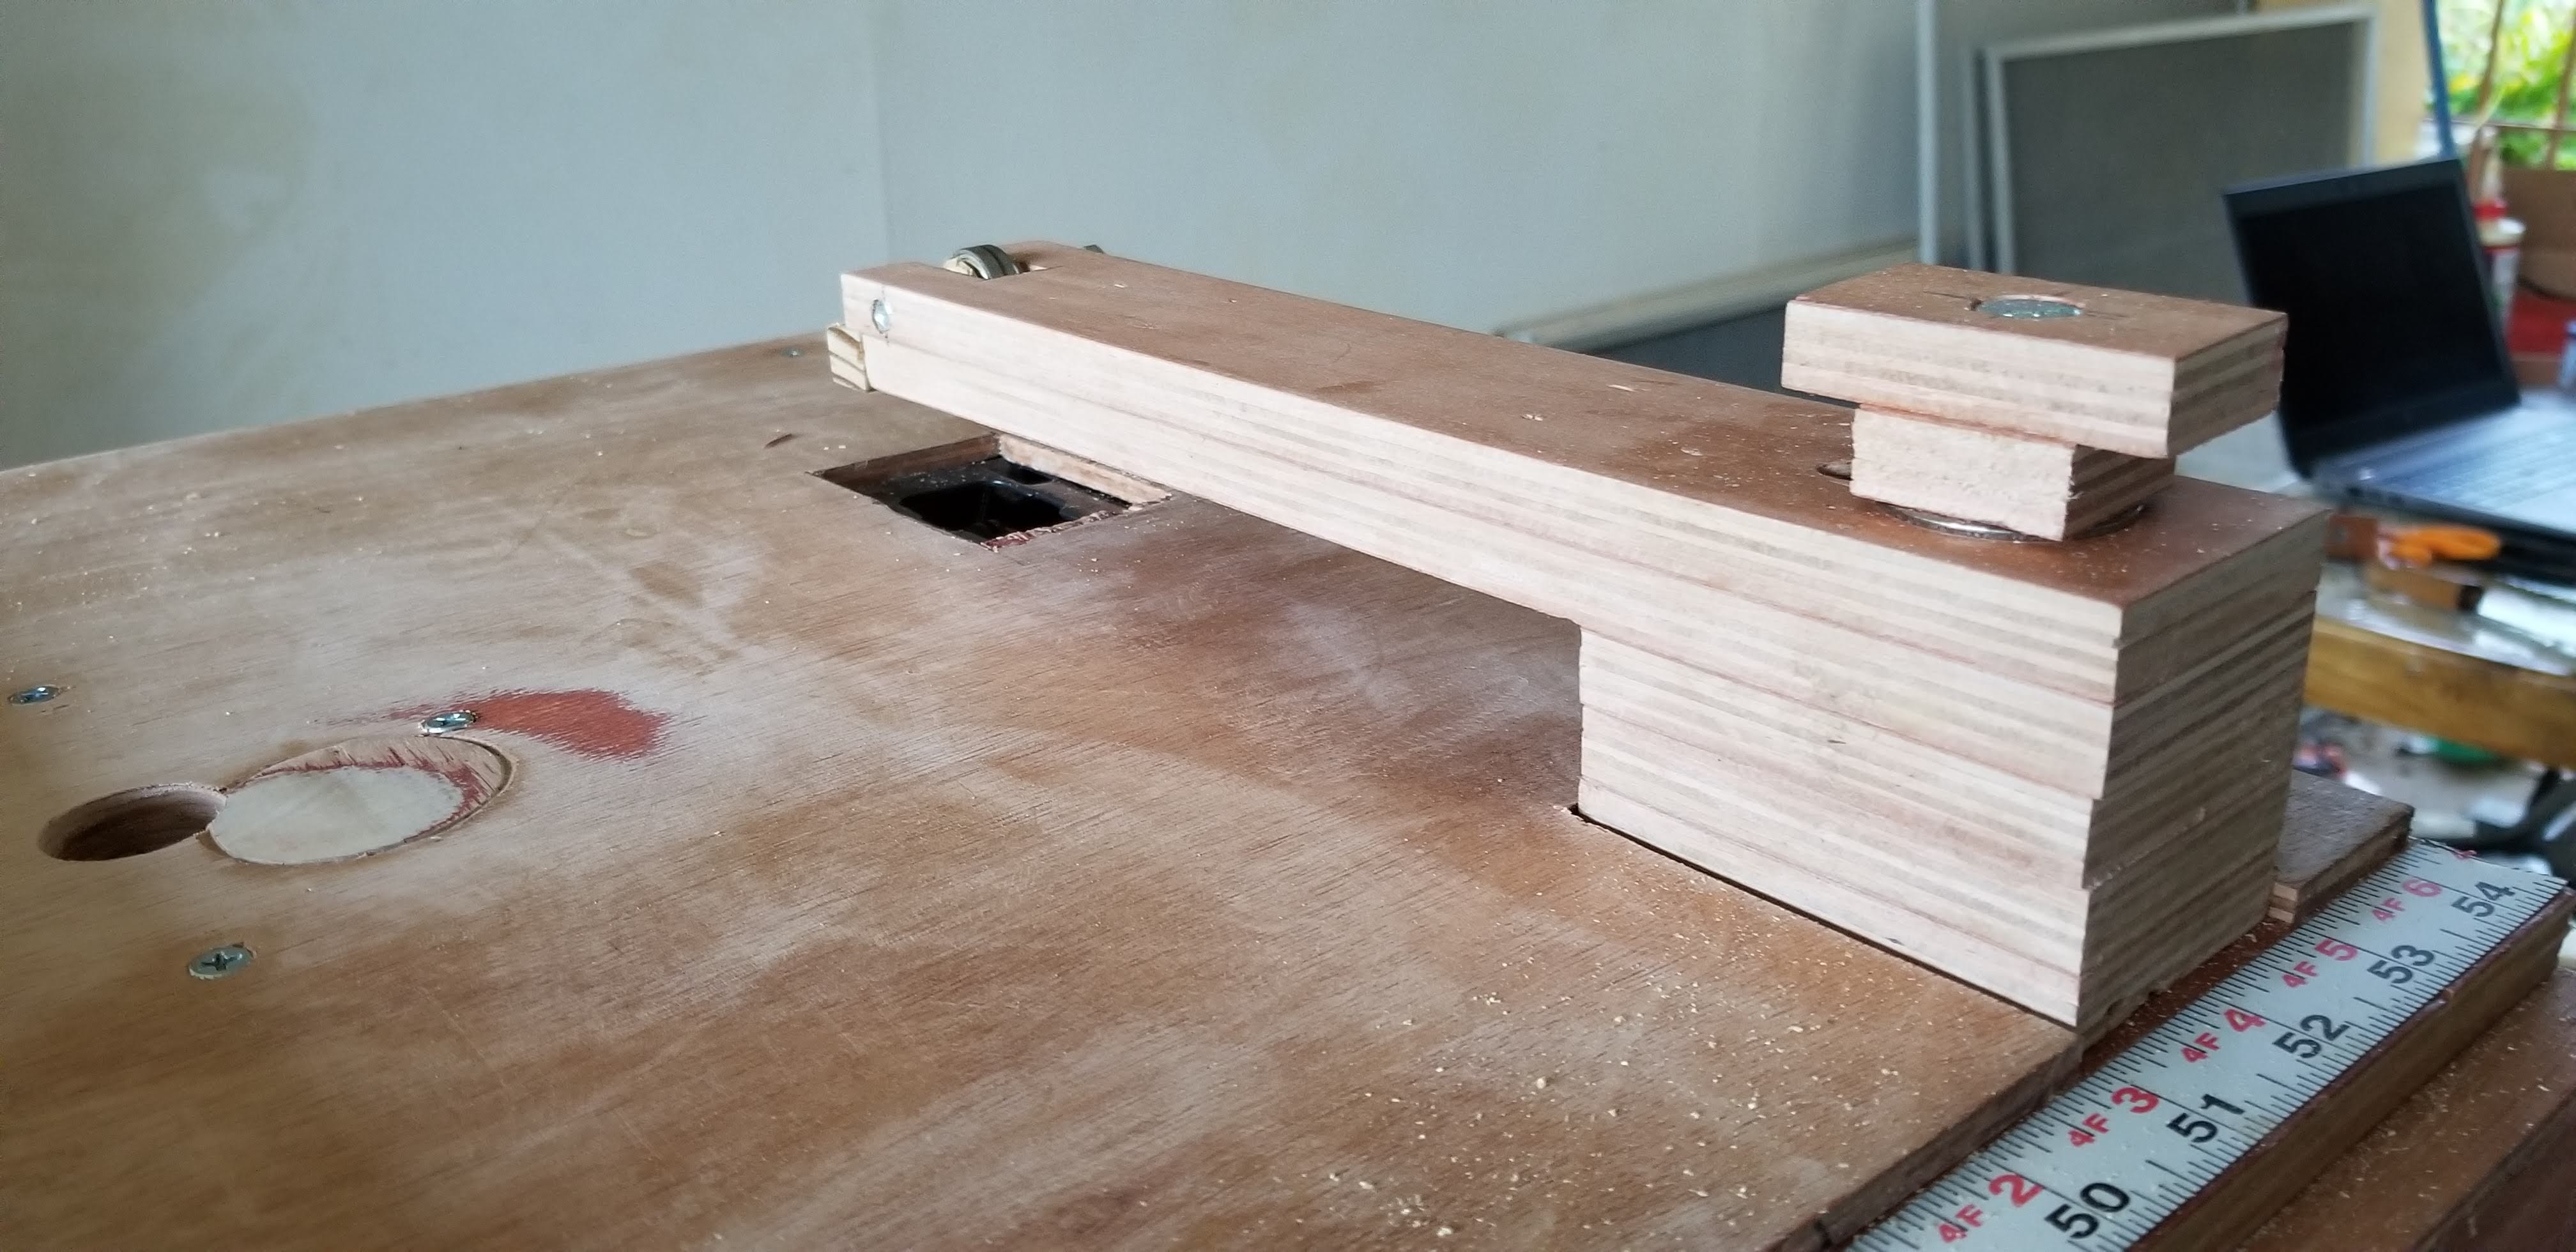
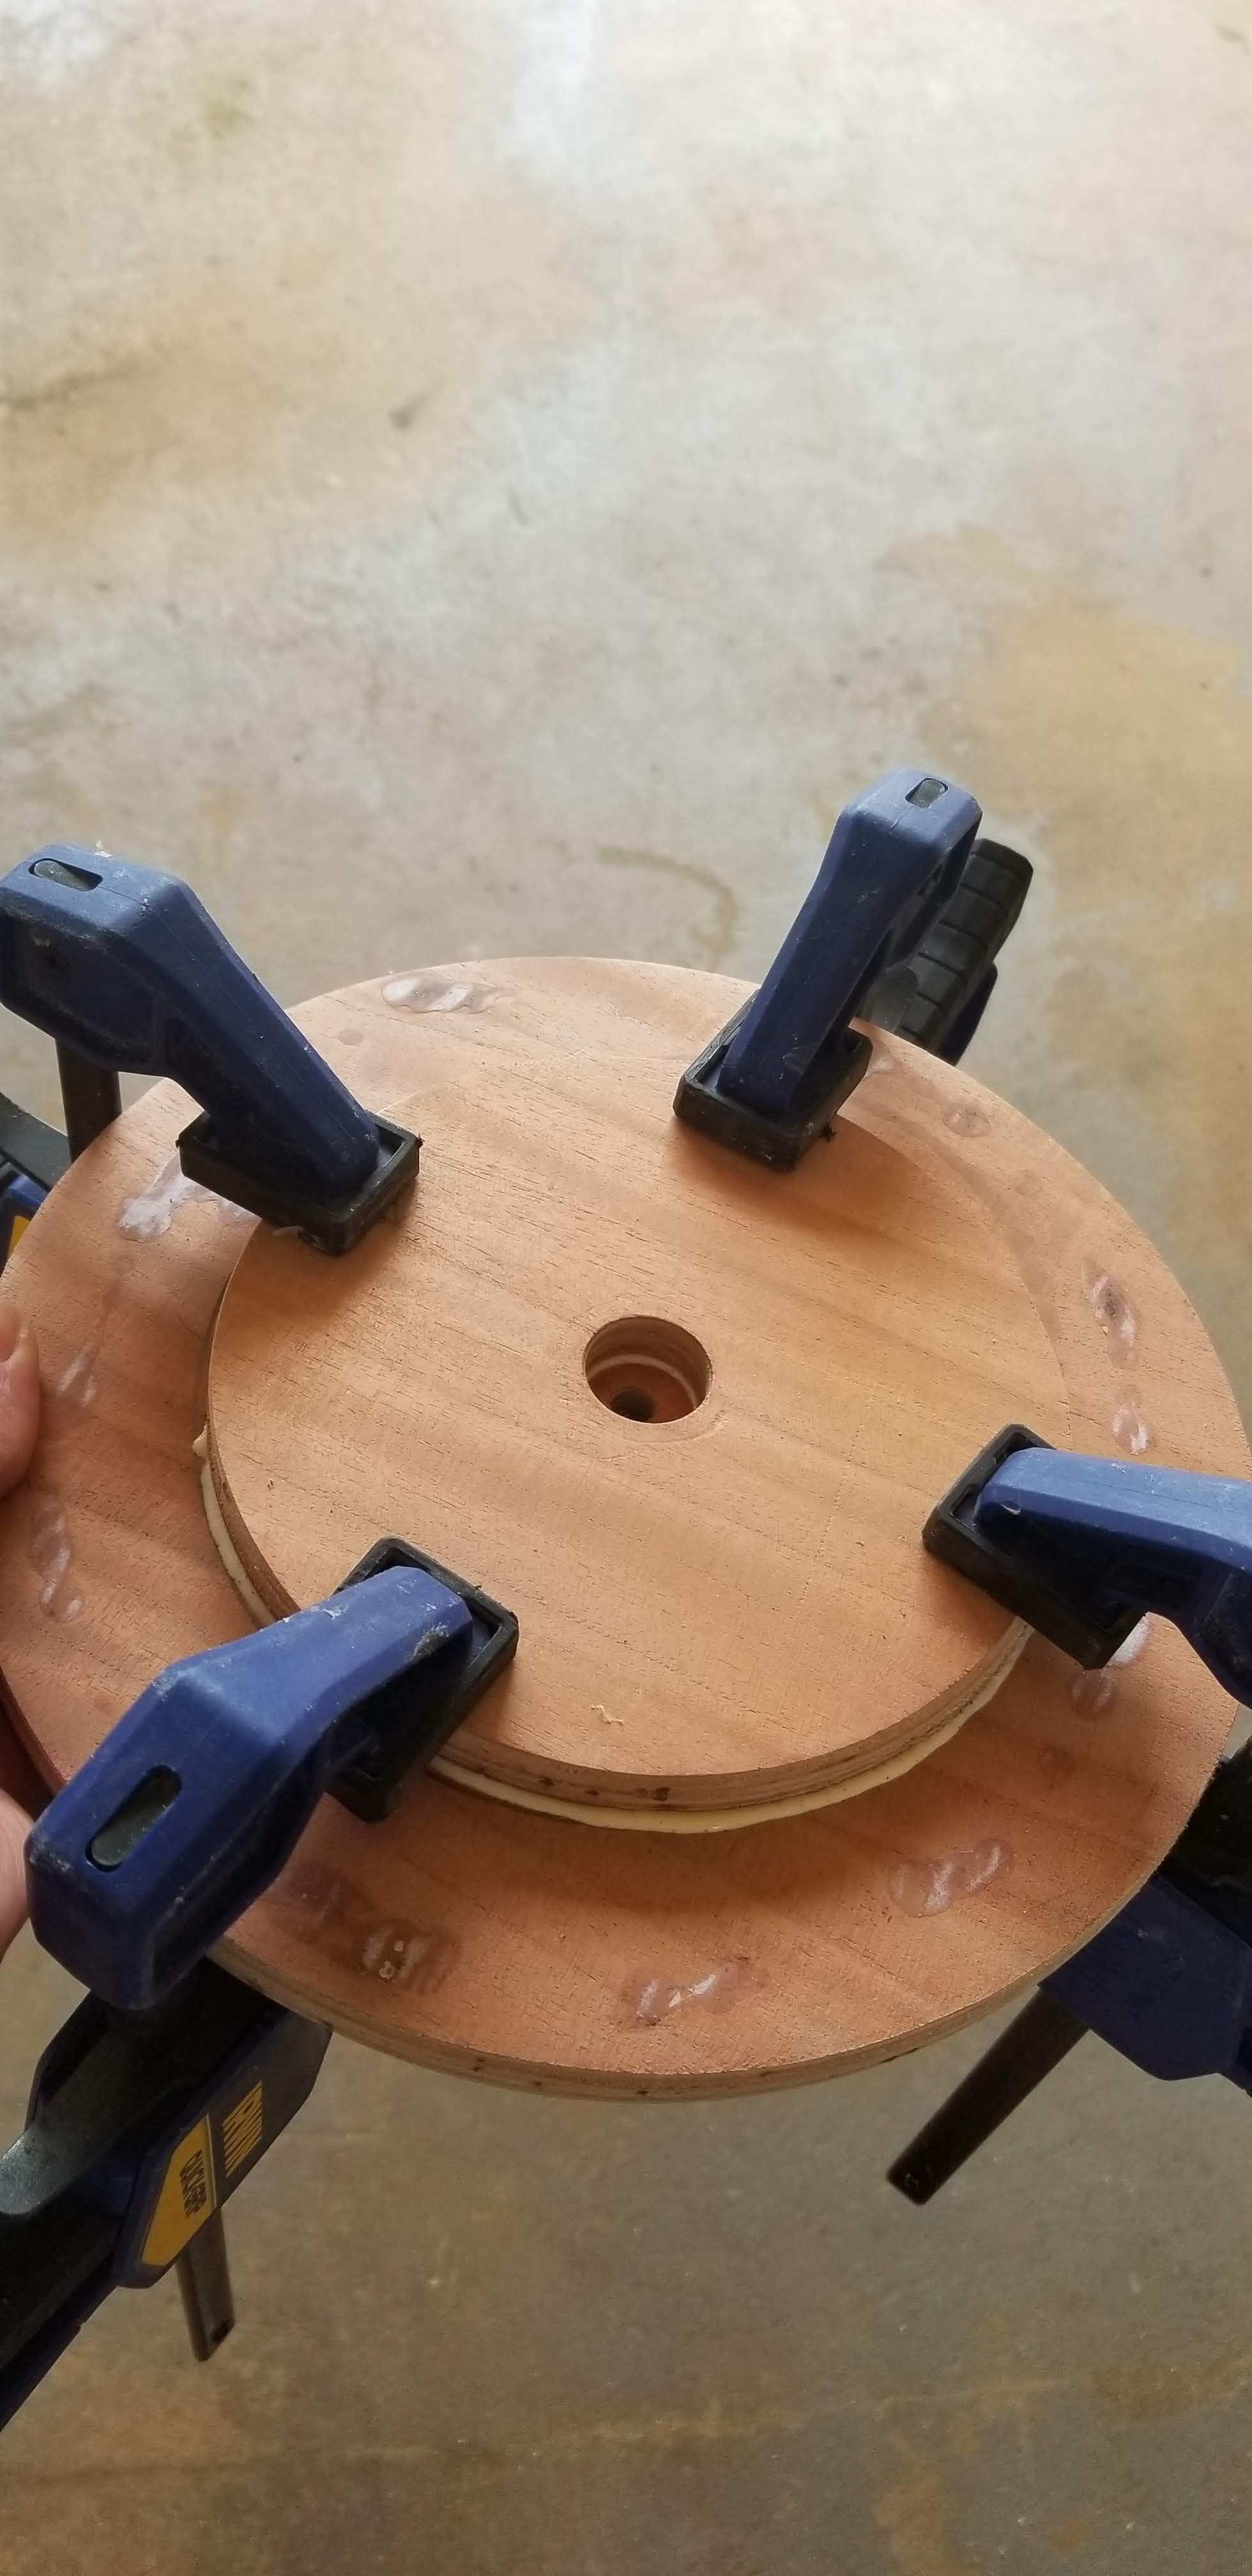
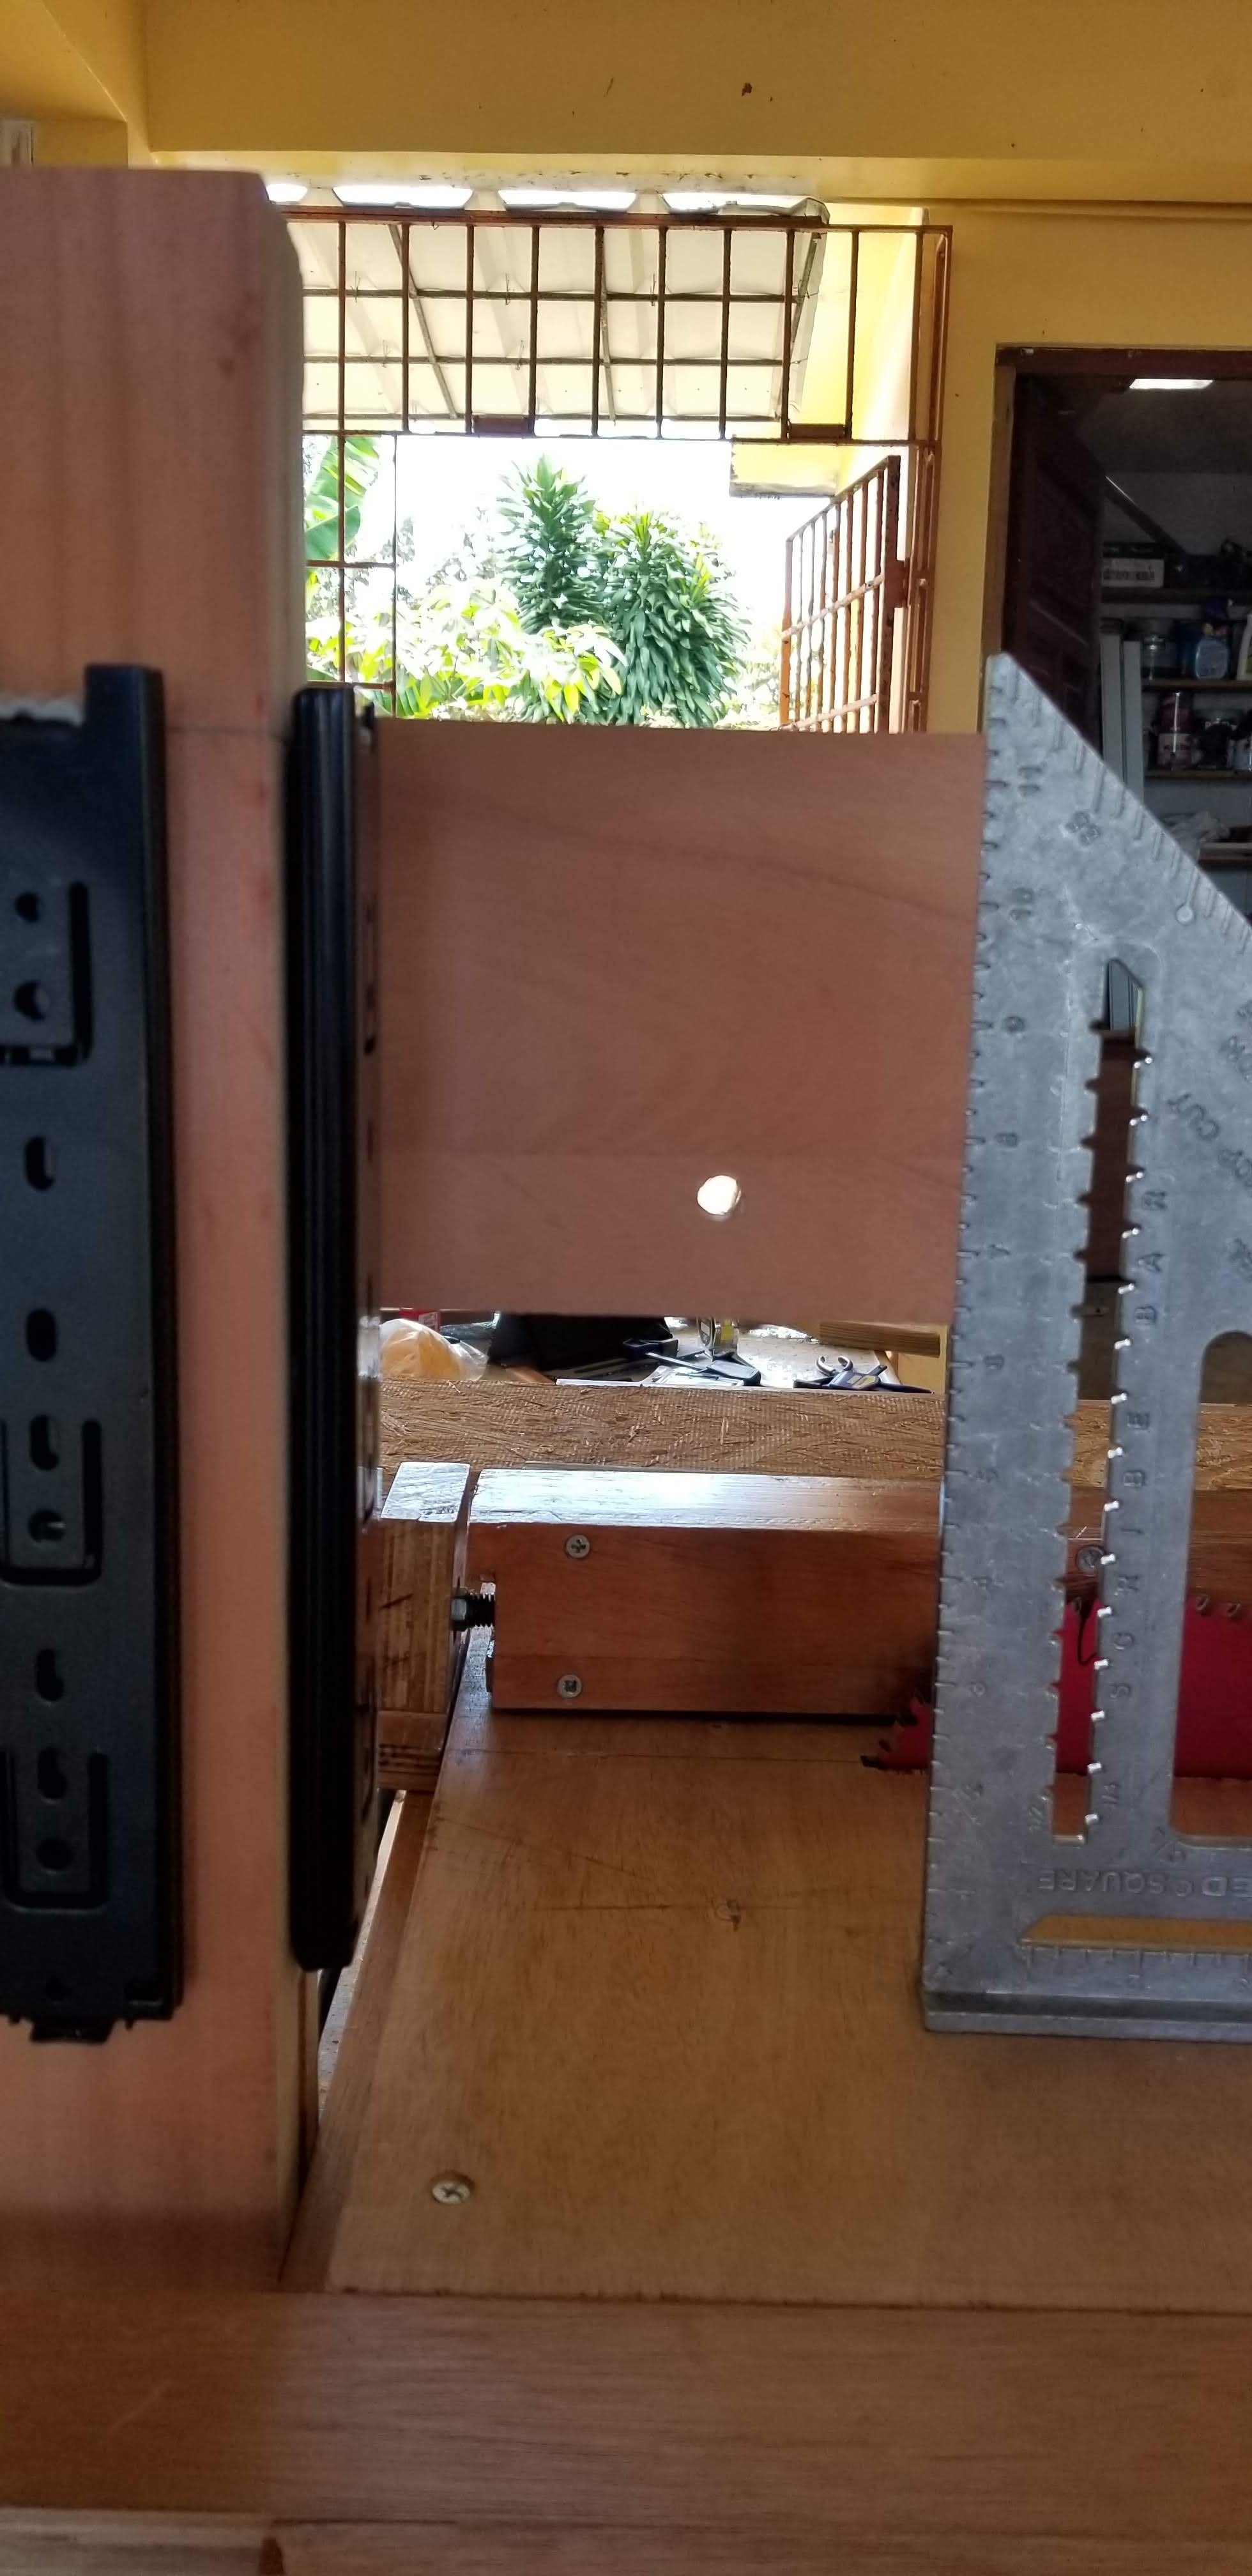
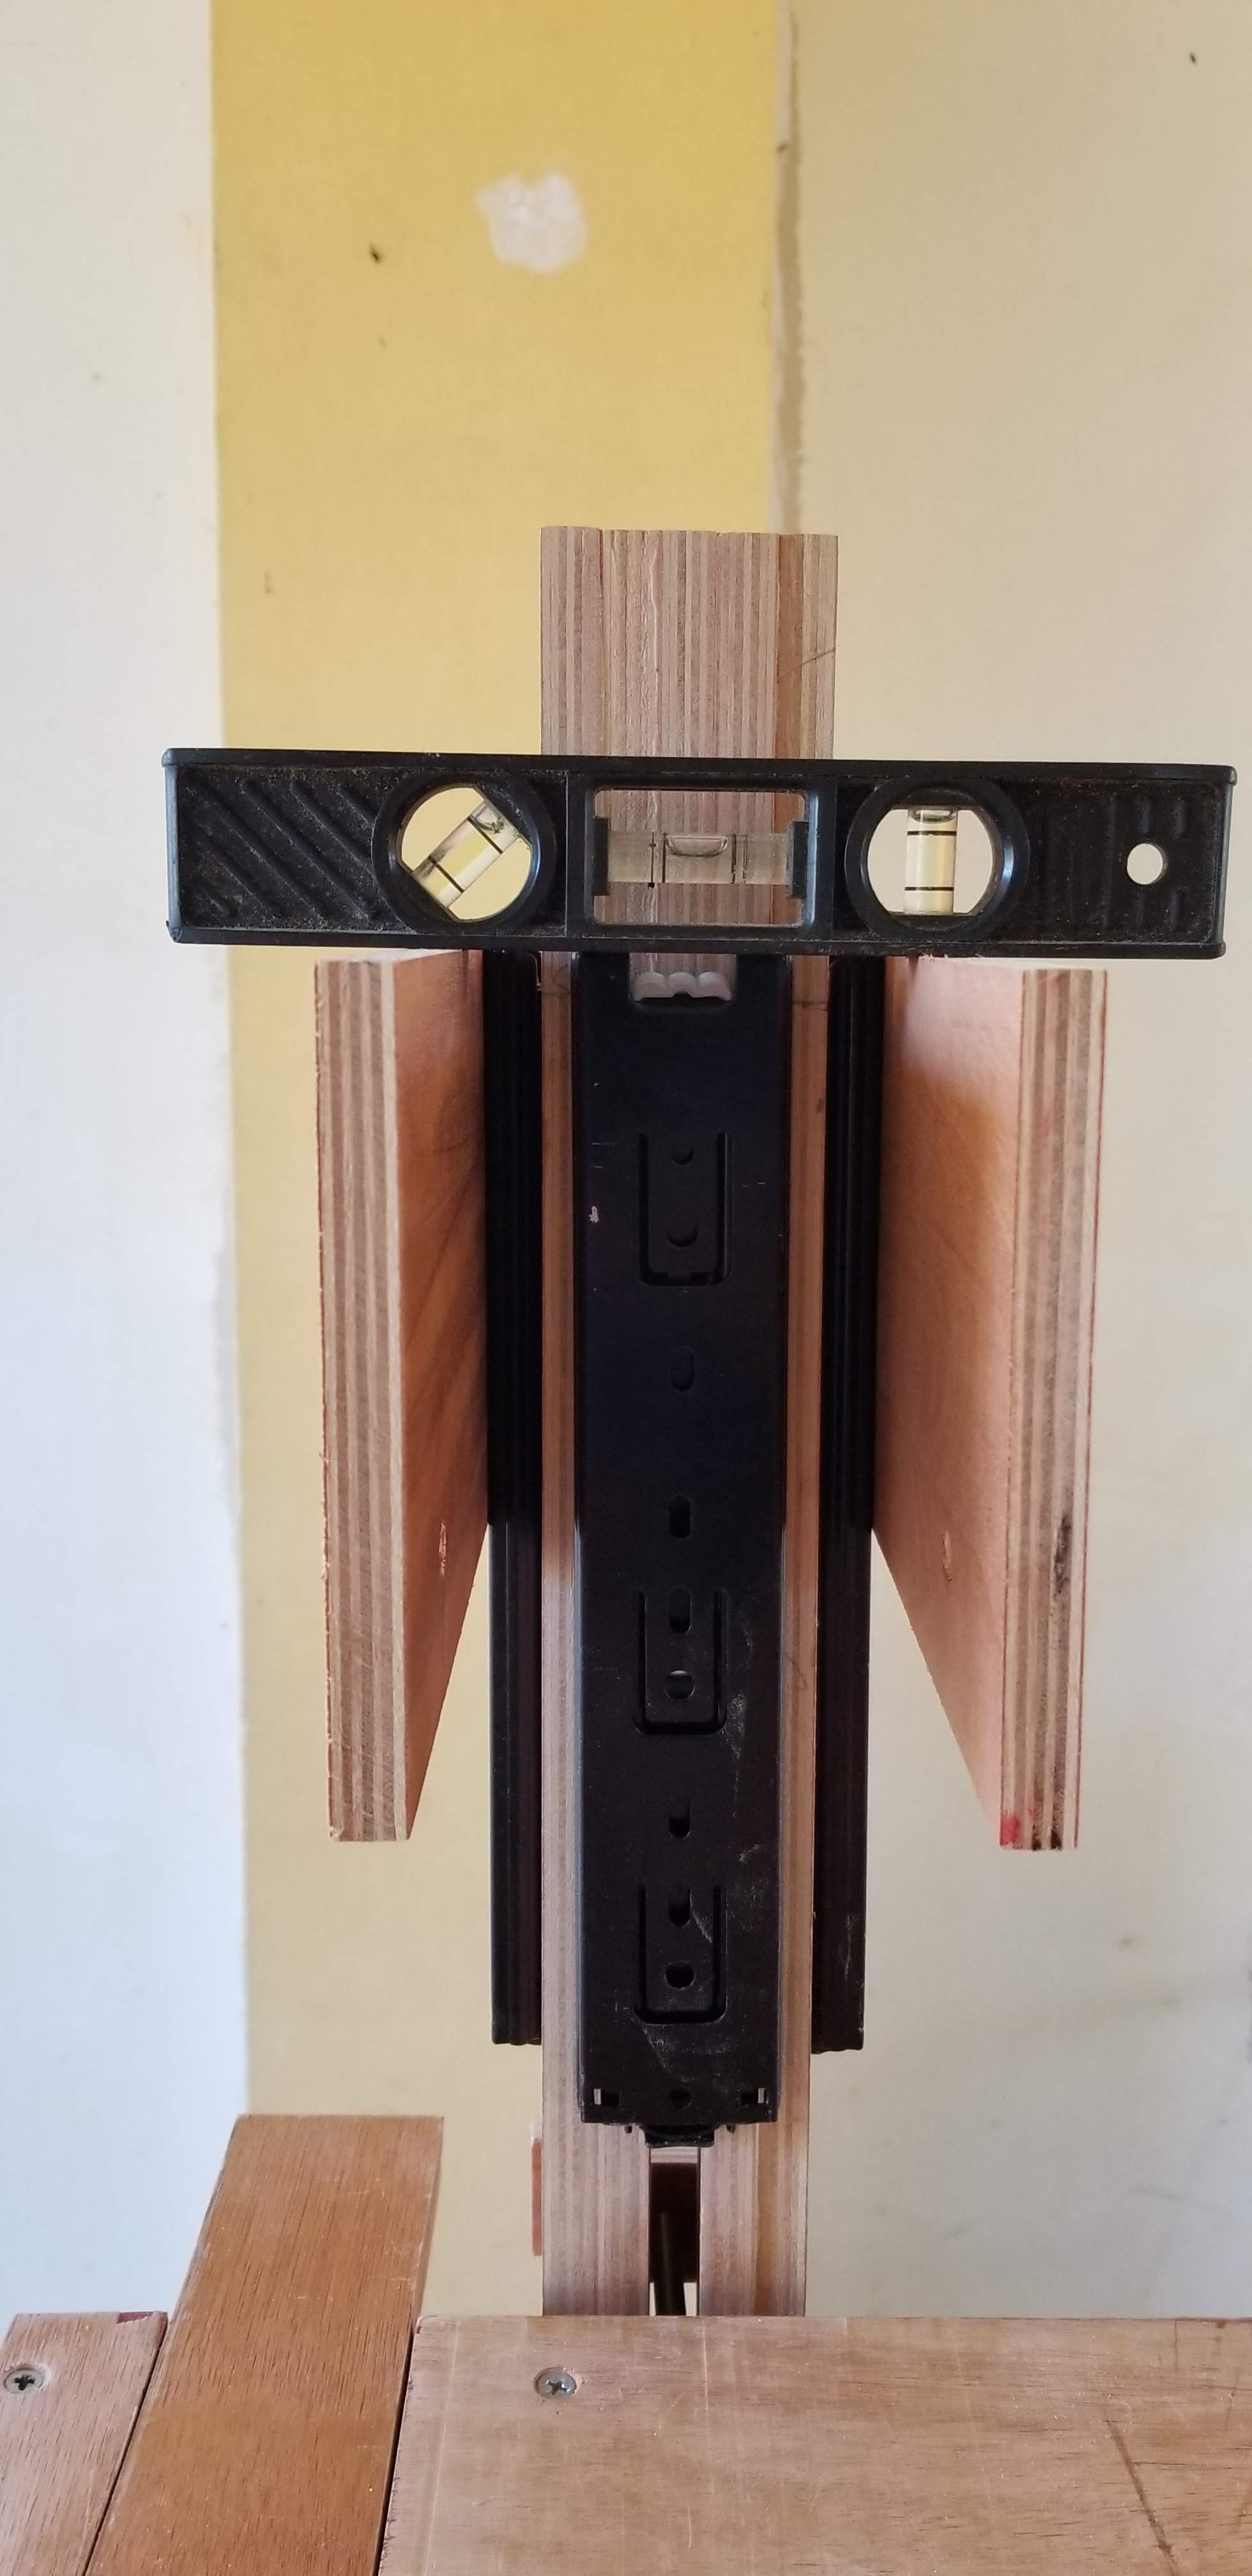
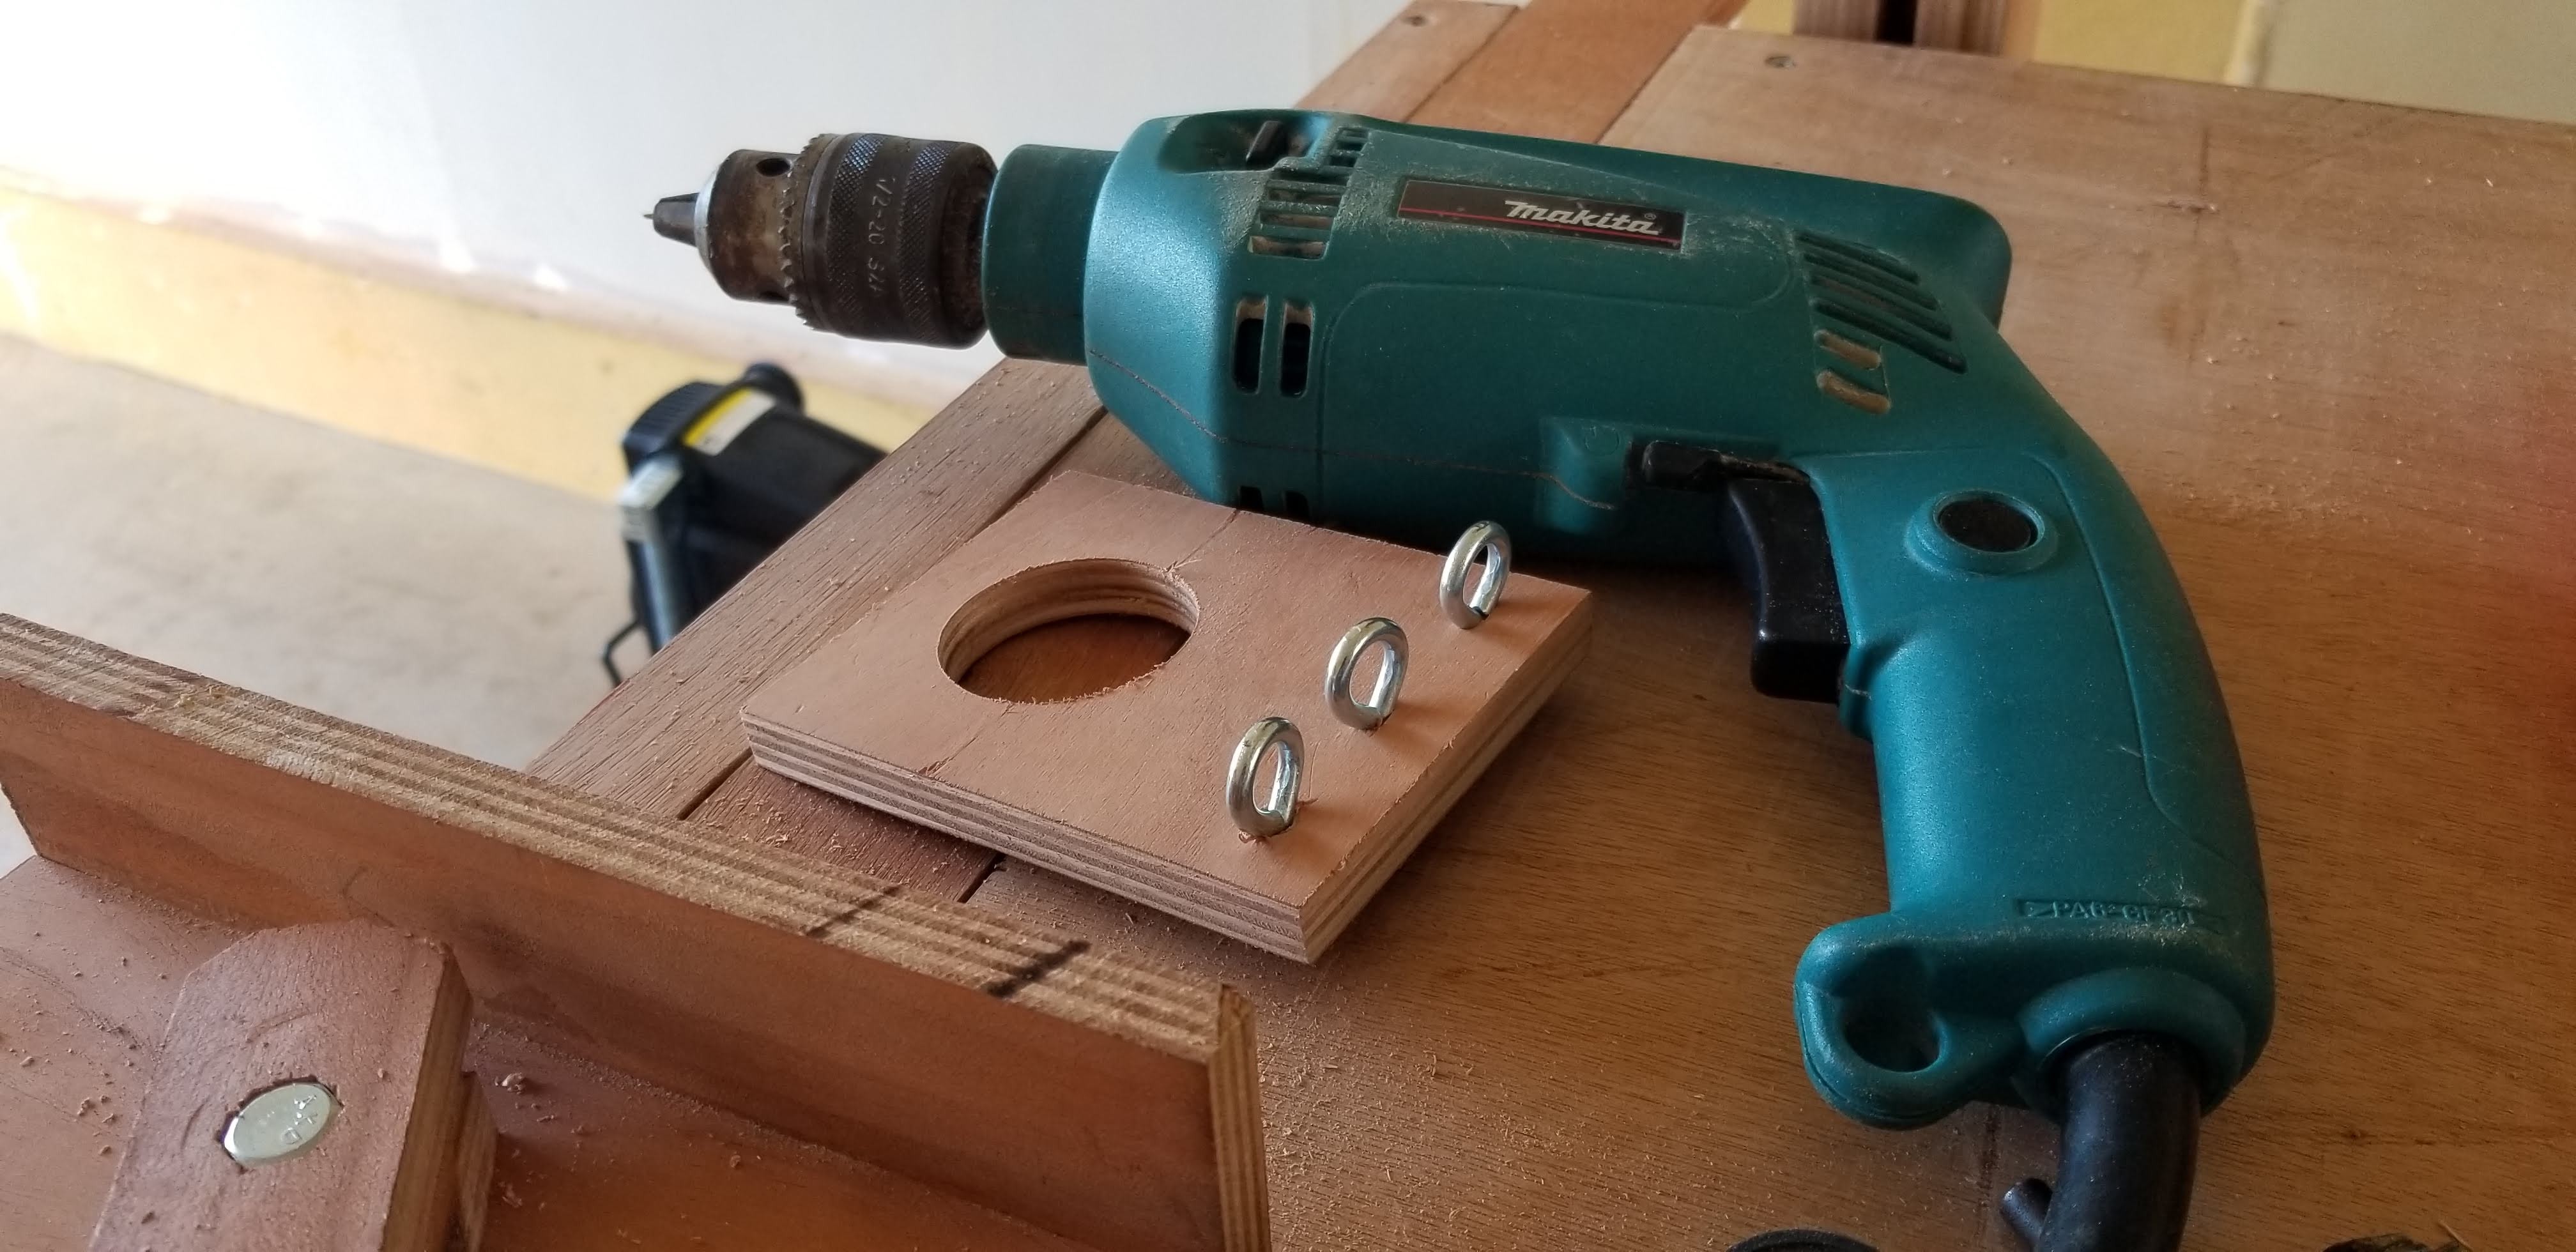
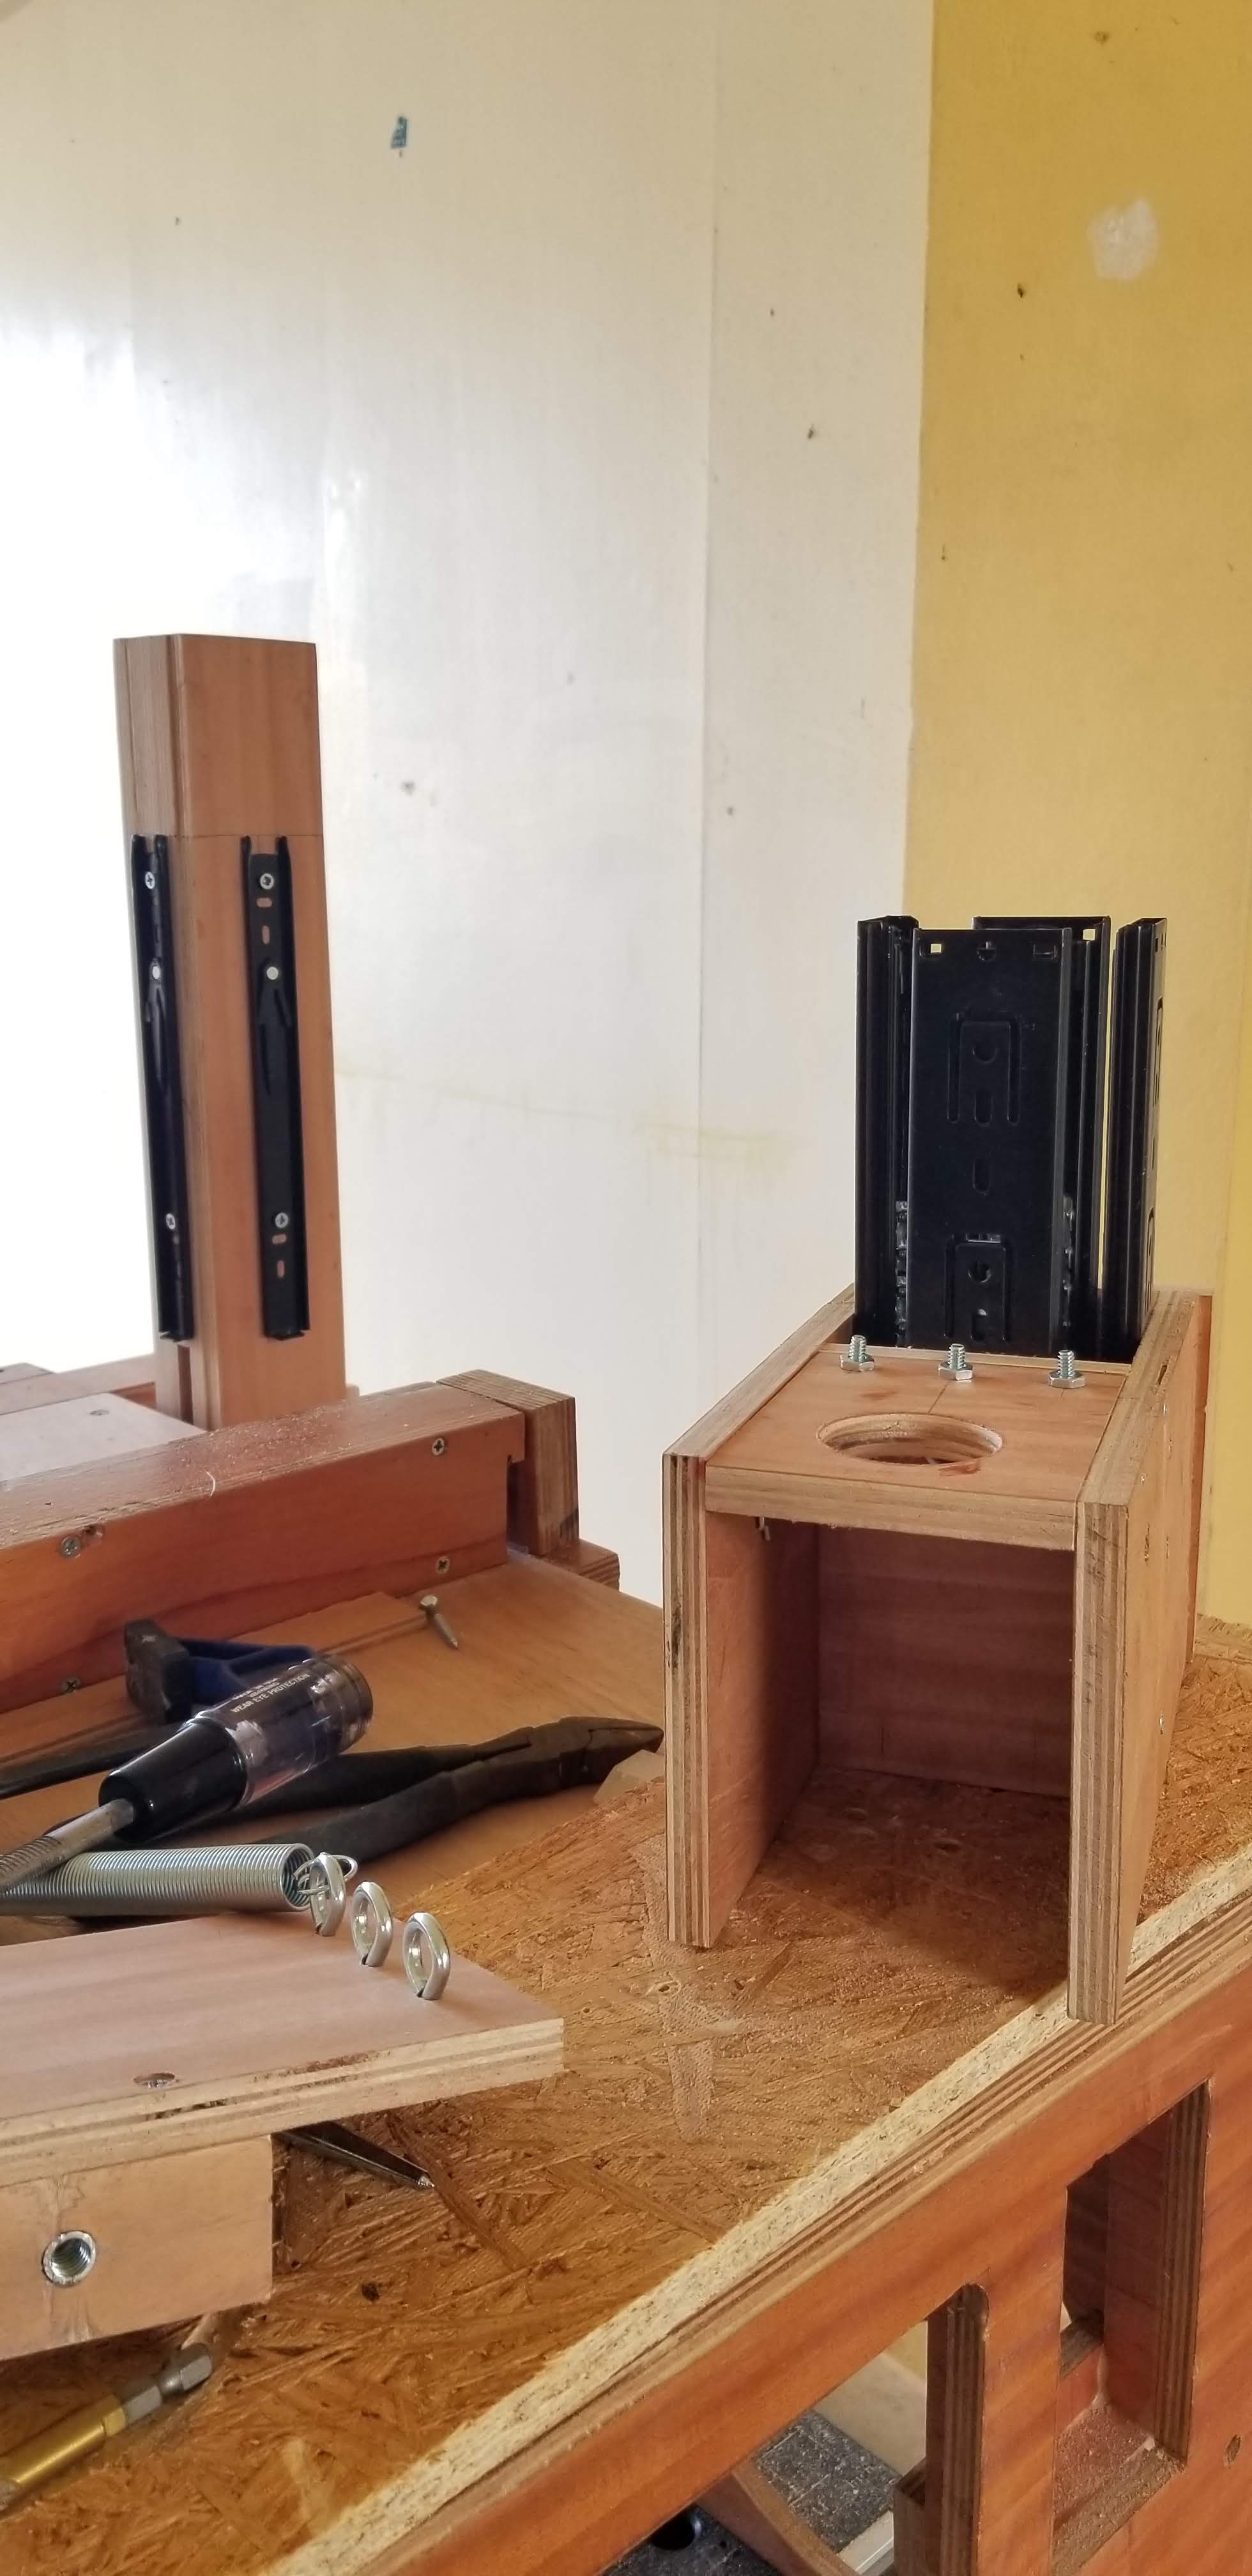
Continued to work on the sander. Made the assembly to hold the sanding disc, the base for the drill, the bench and some custom threaded pins. Had to improvise since I flipped the sander side when I made the body of the workbench. Now the drill base will be taller. Also the sander bench and it’s supports needs to be trimmed down.
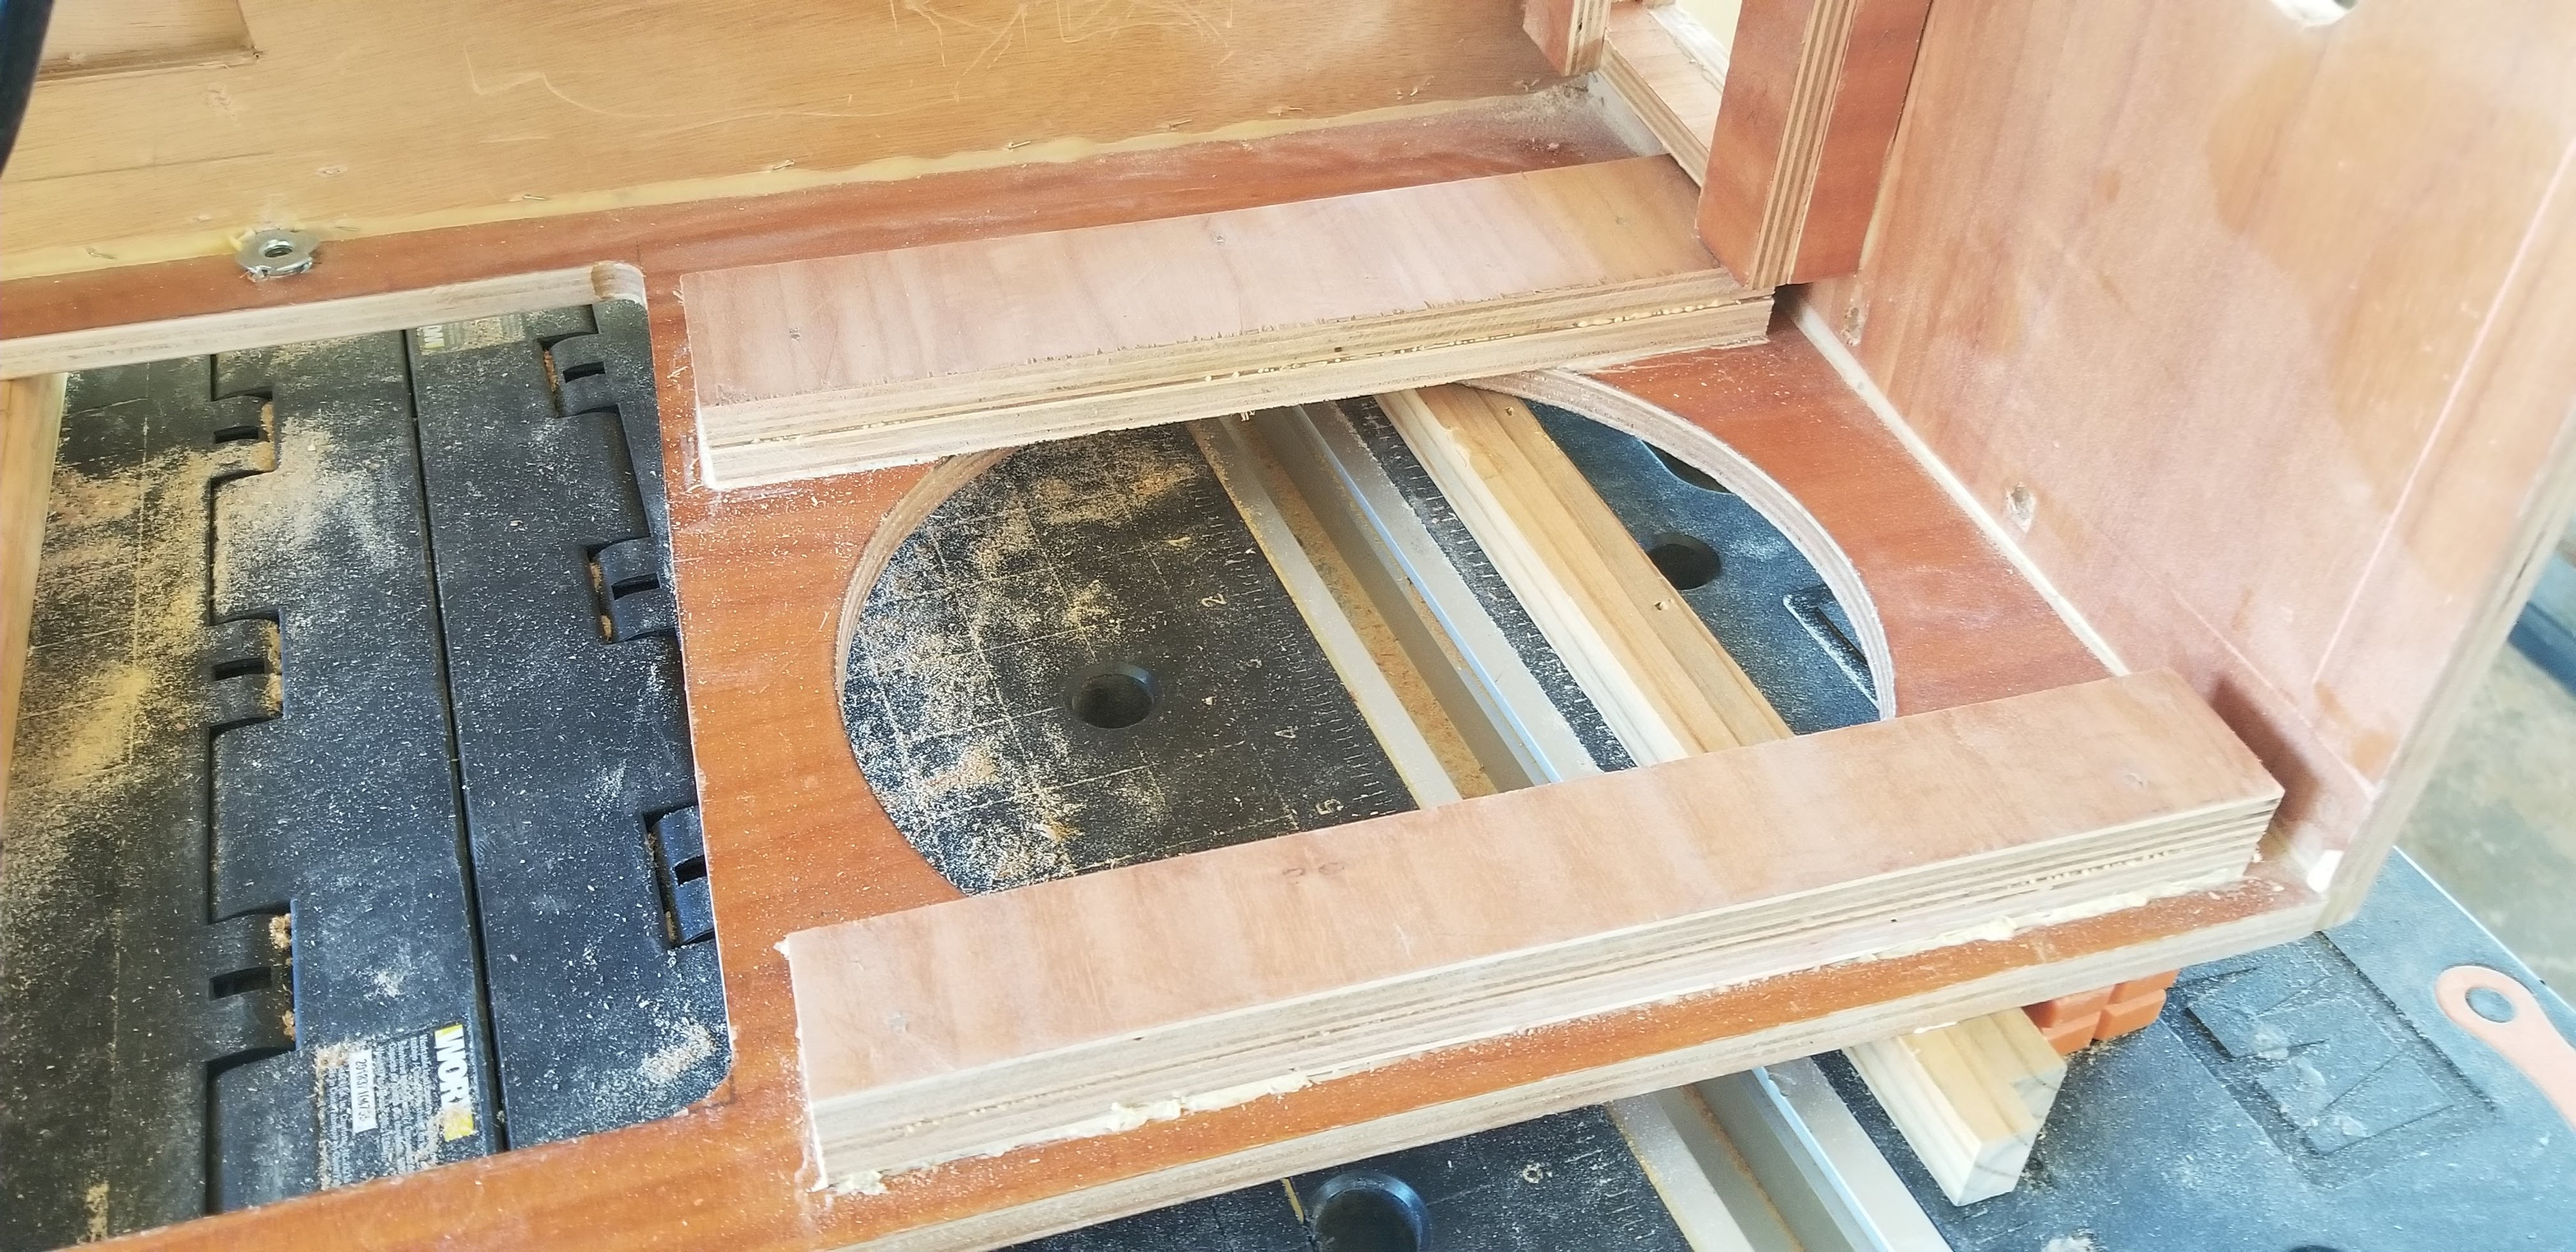
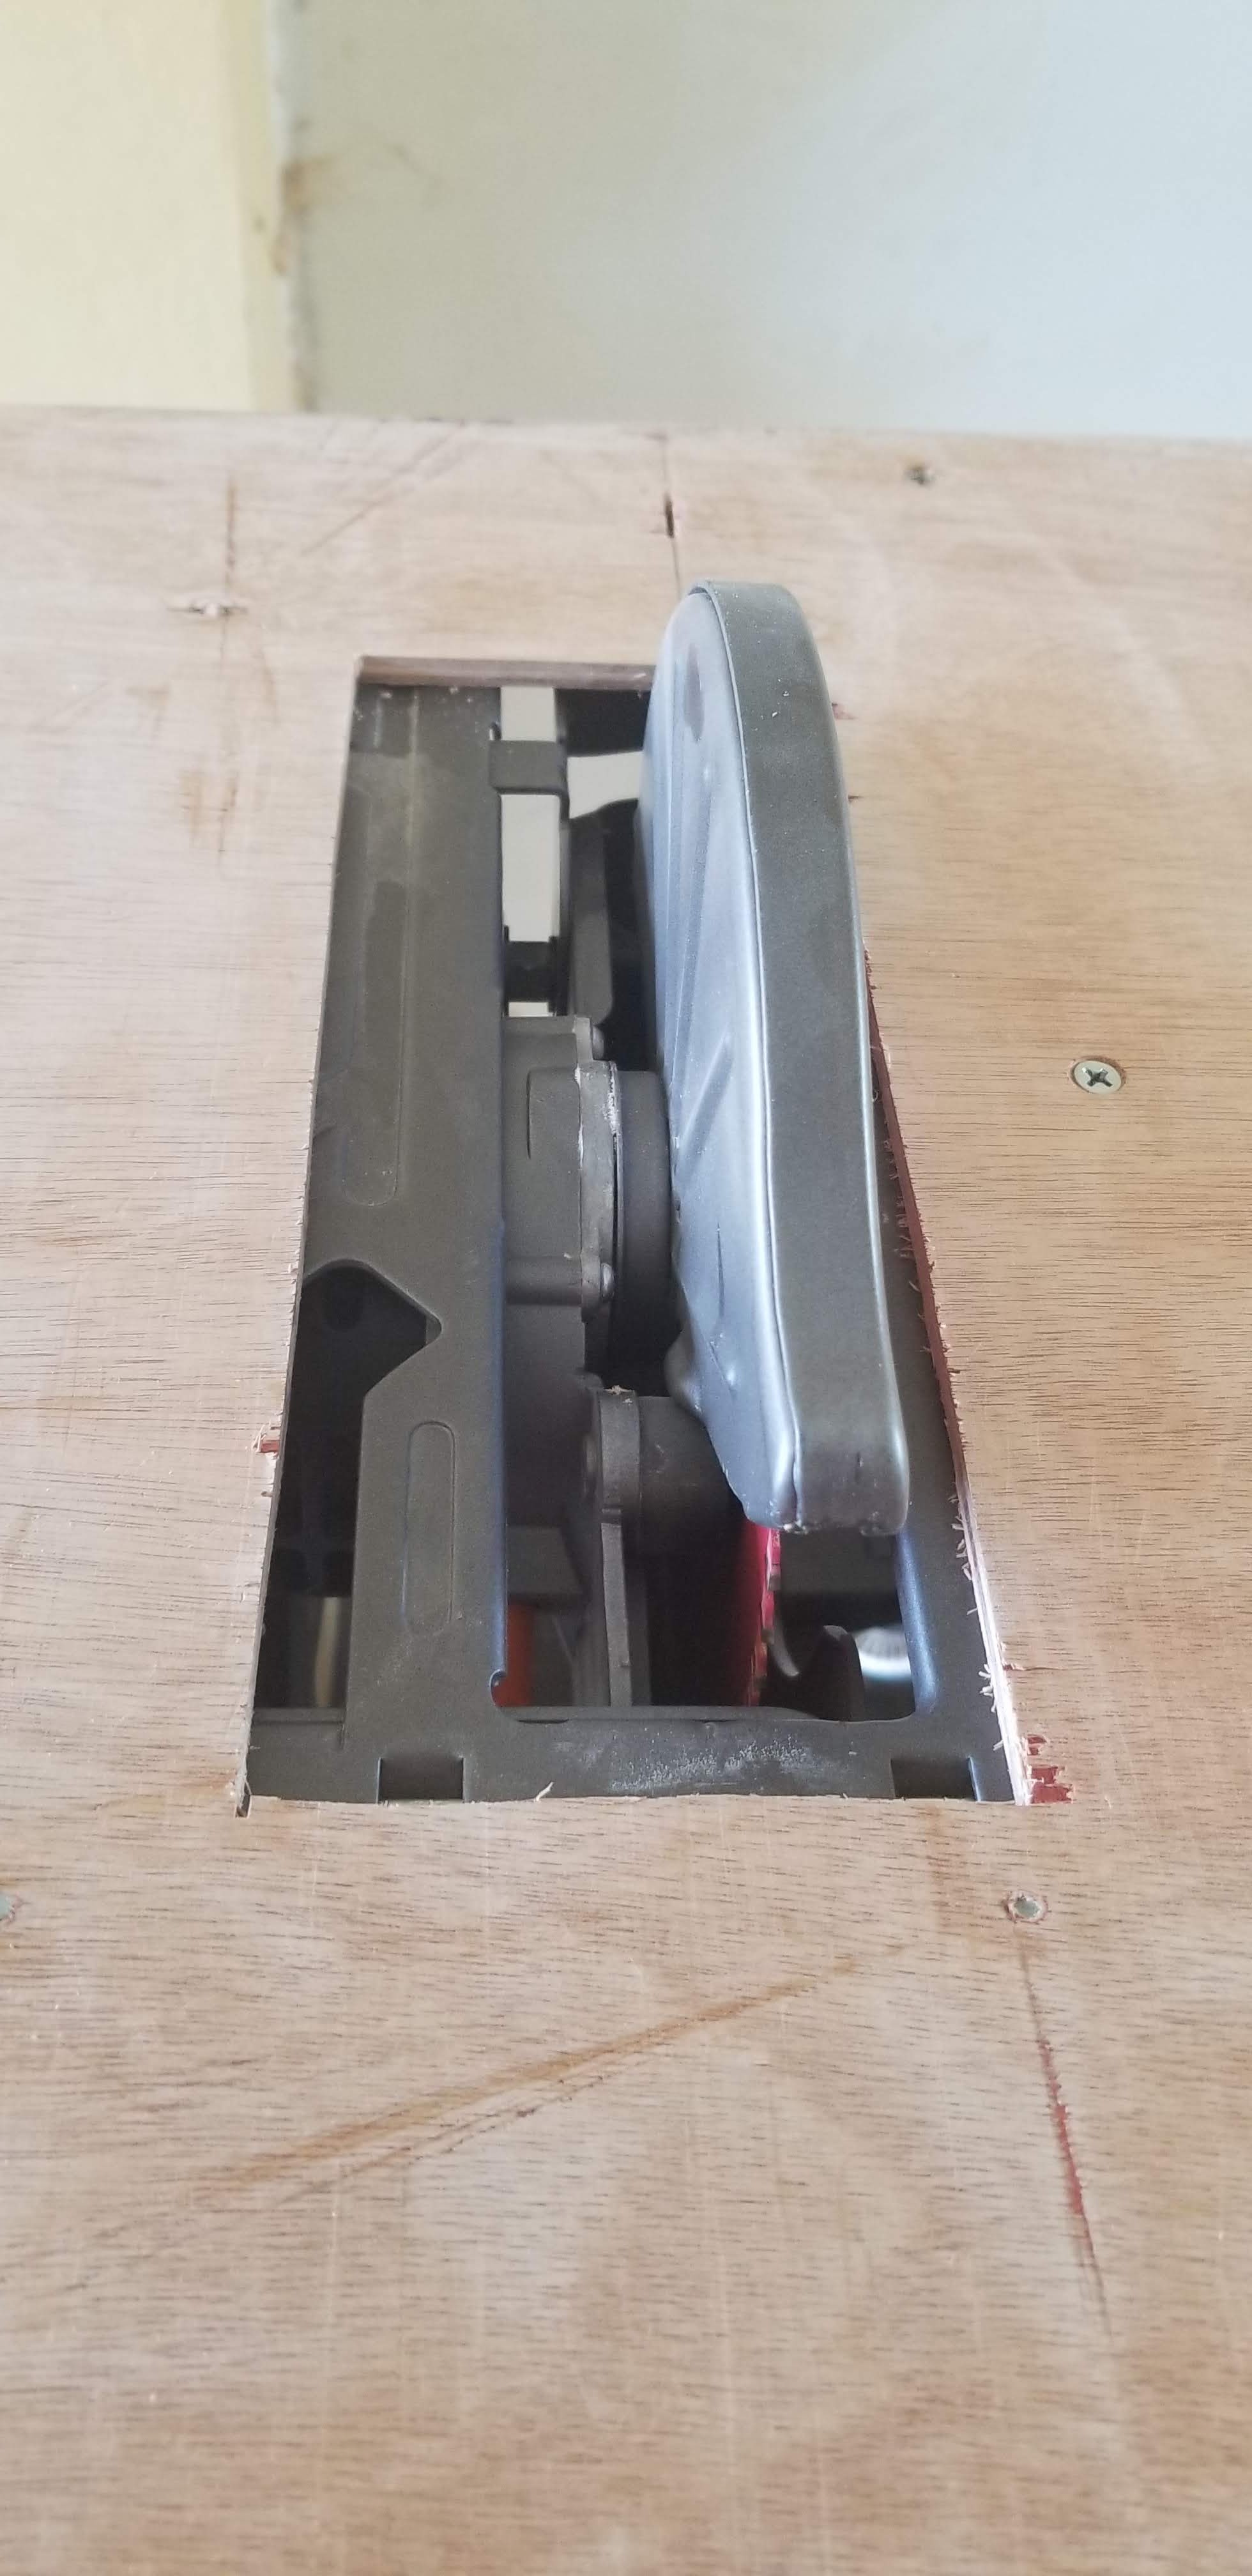
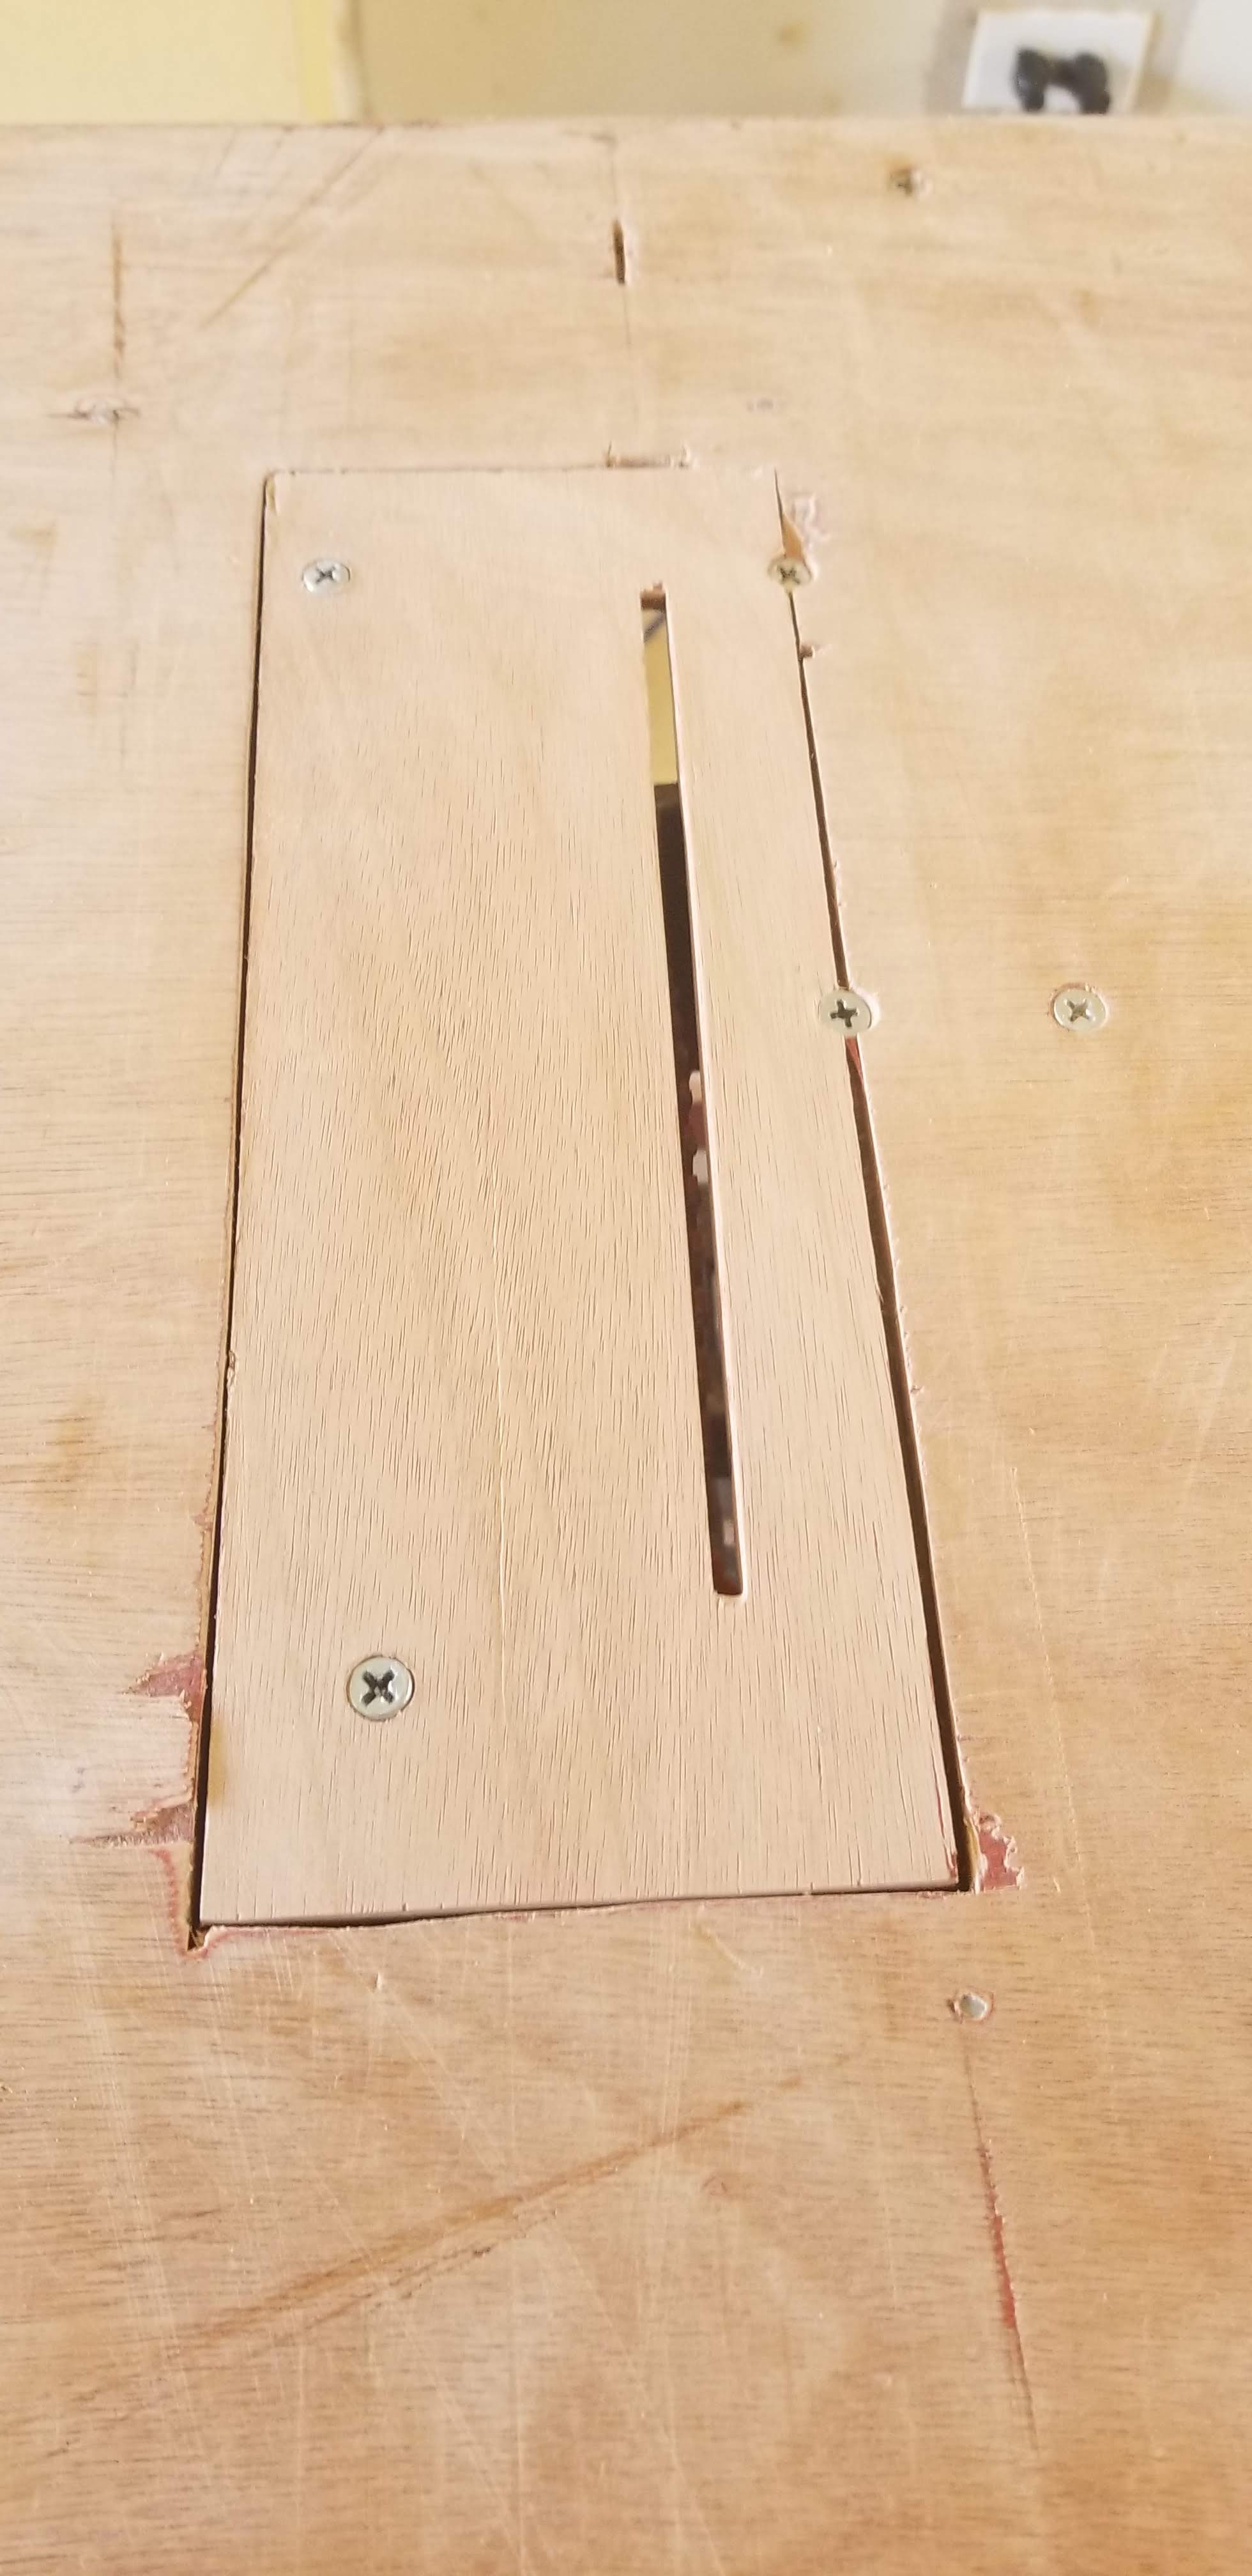
Then worked on the saw throat cut-out.

Spent 10 hours, so far 55 hours on the project. Next is to round all the edges with the sander. Apply some layers of polyurethane and finish wiring the tools. Almost done!!!

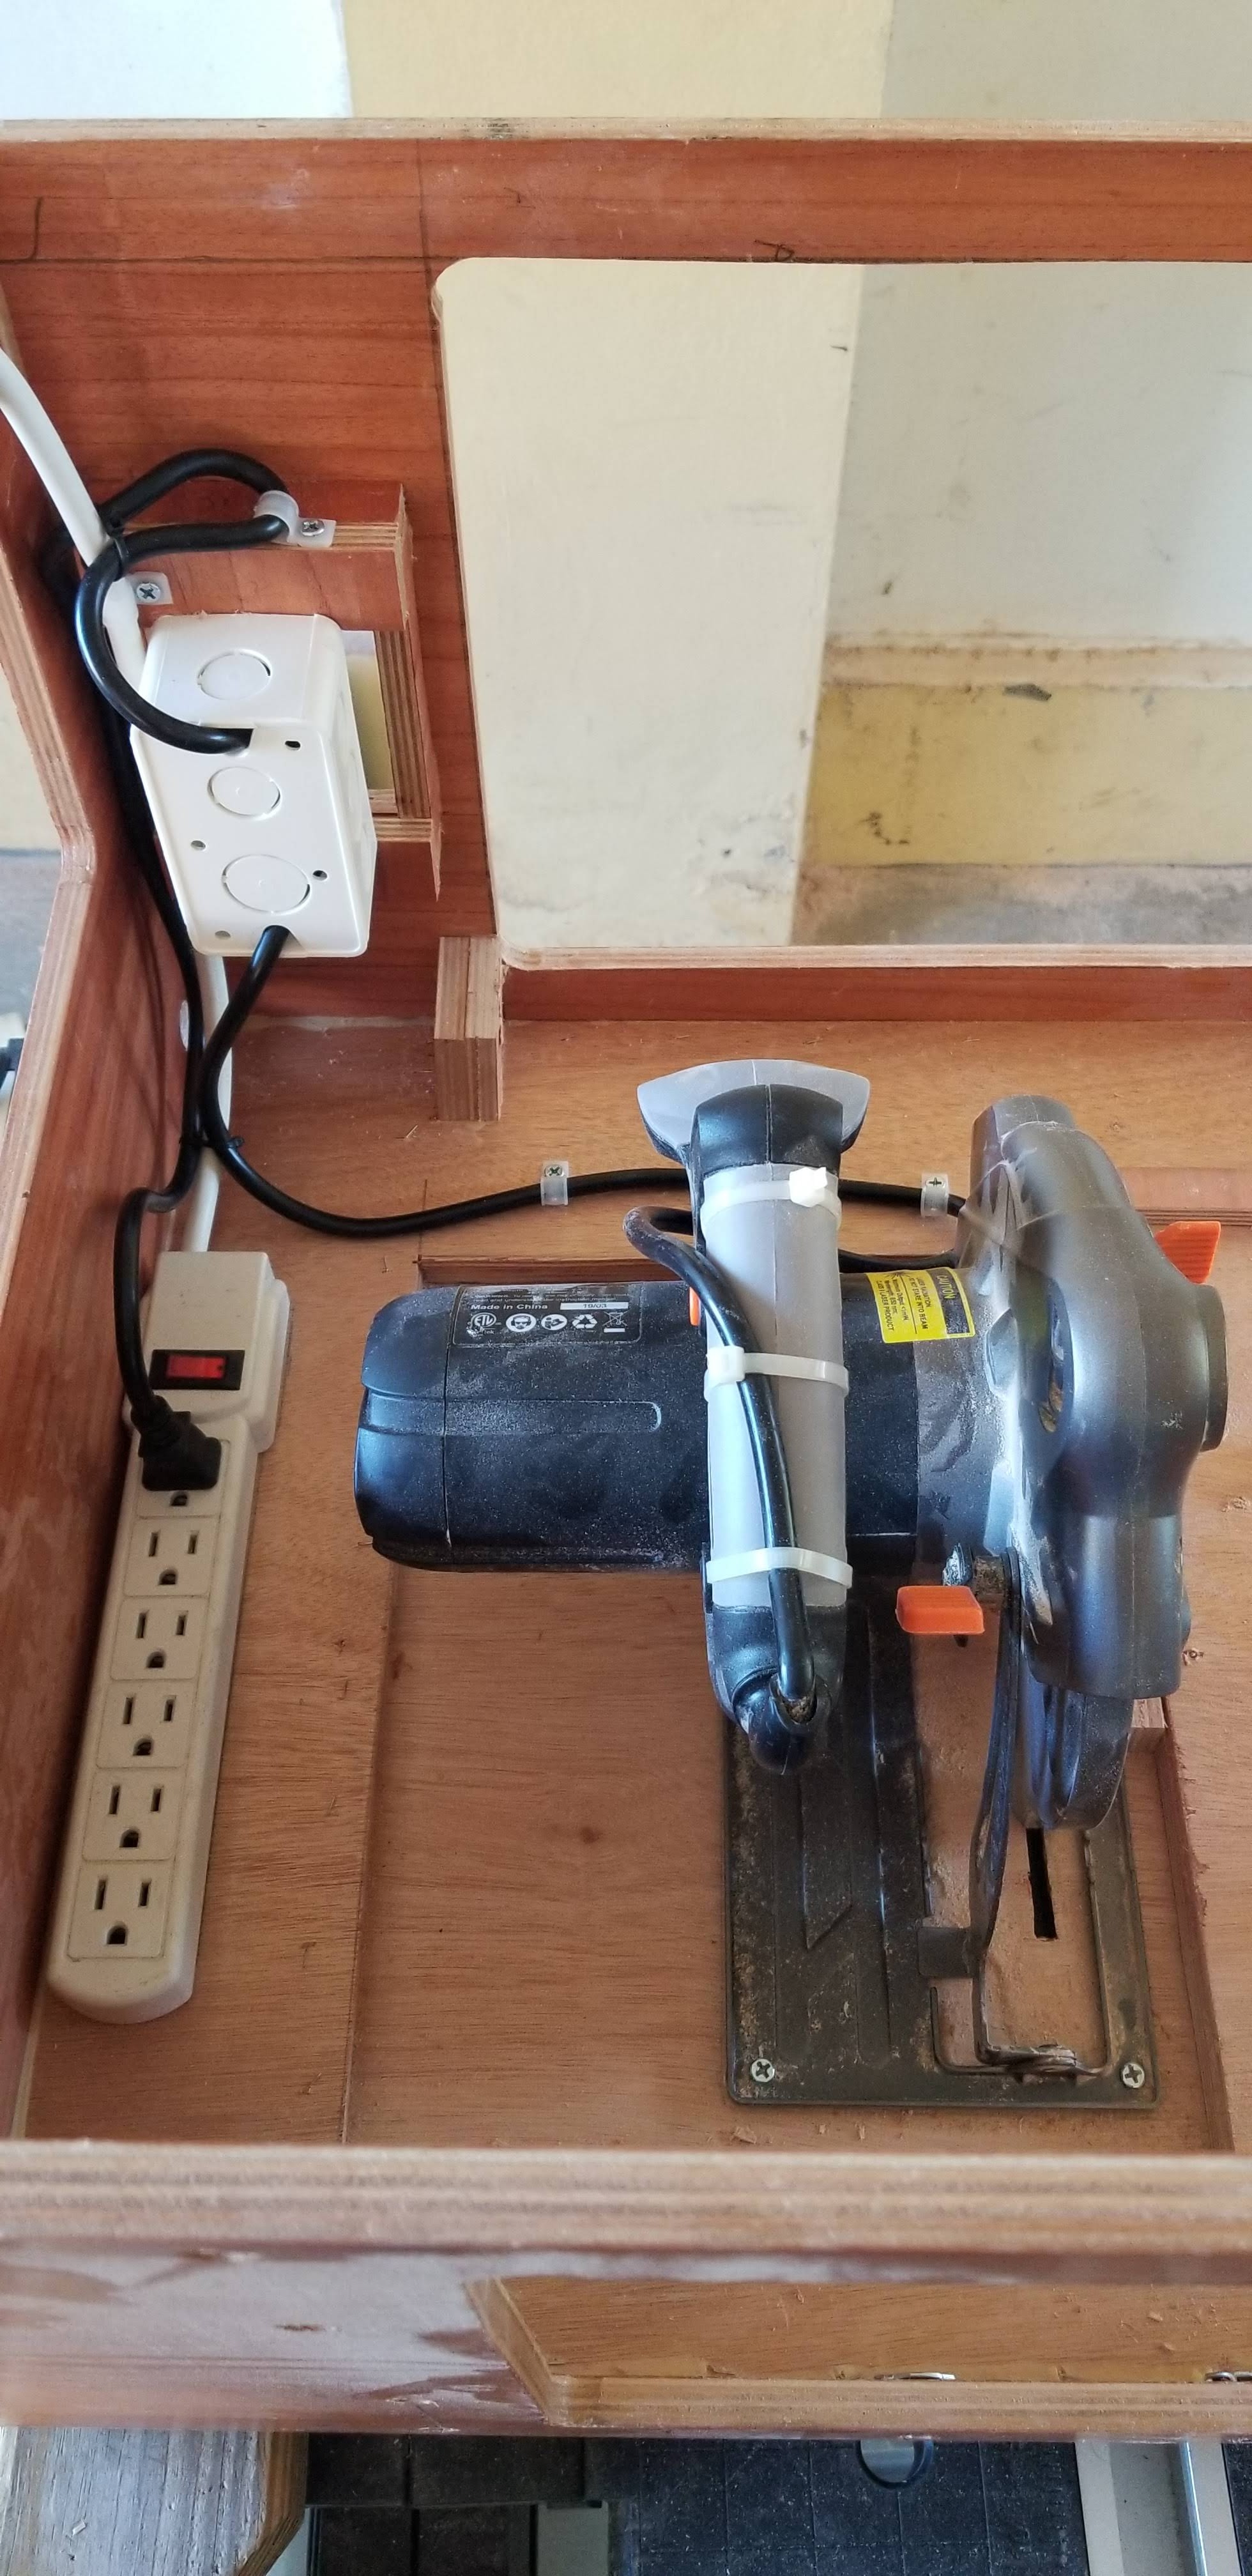
This weekend I installed the router and the jigsaw. Made the jigsaw support and started the sander.

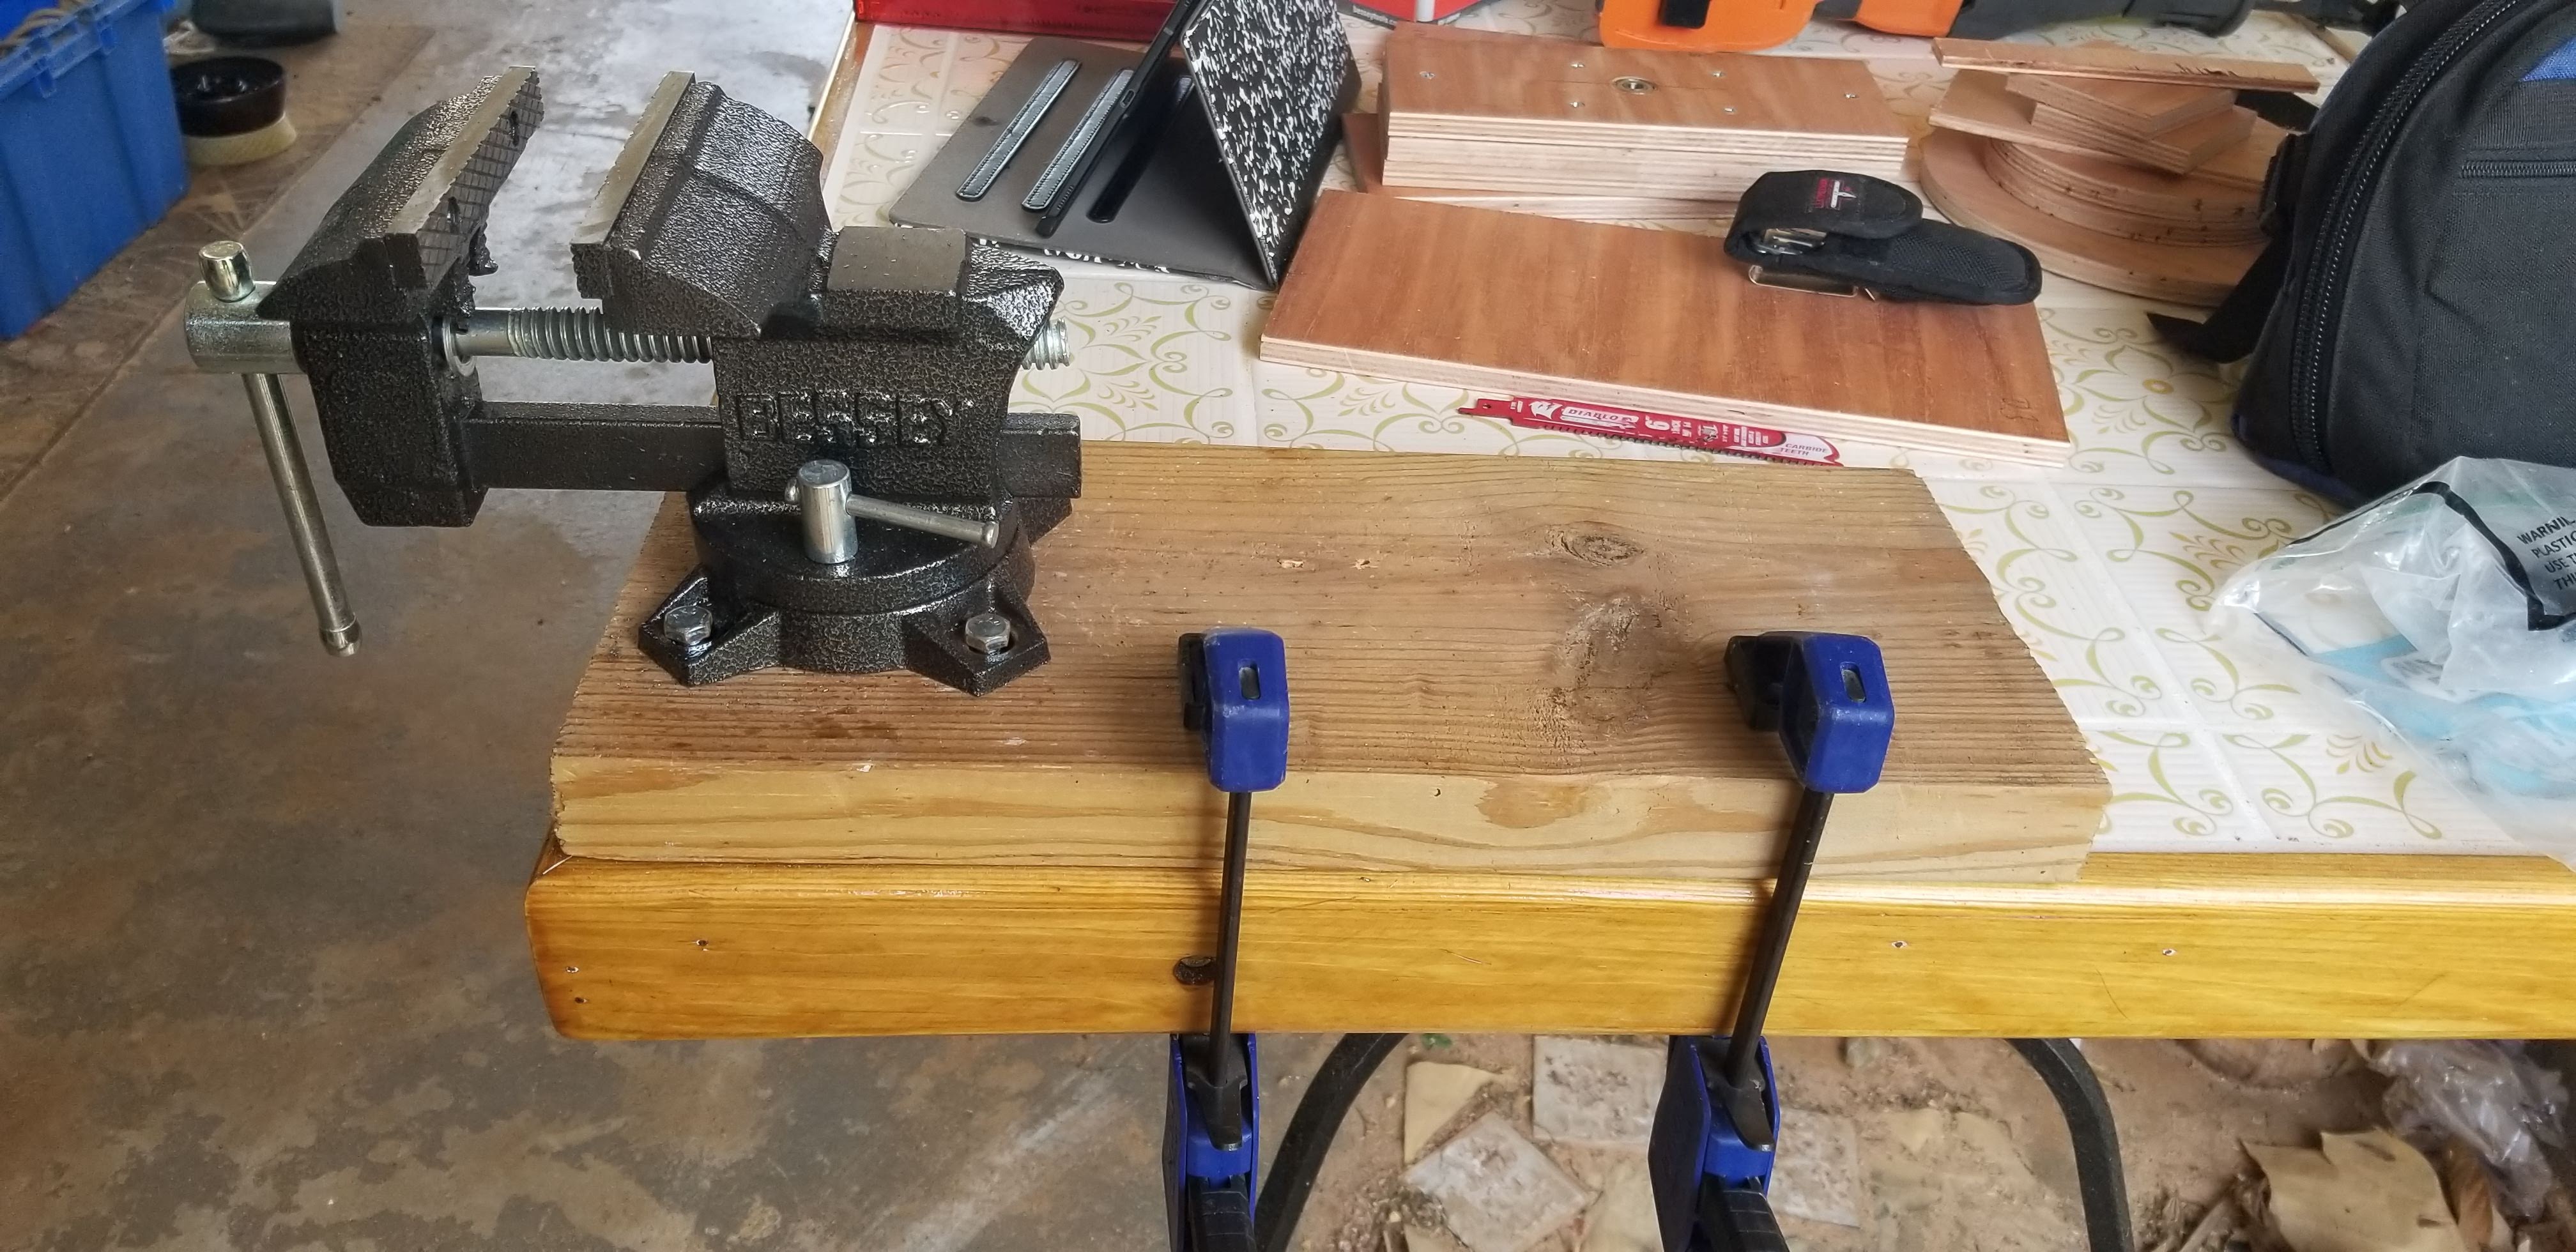
Added a vise to my tool’s collection.
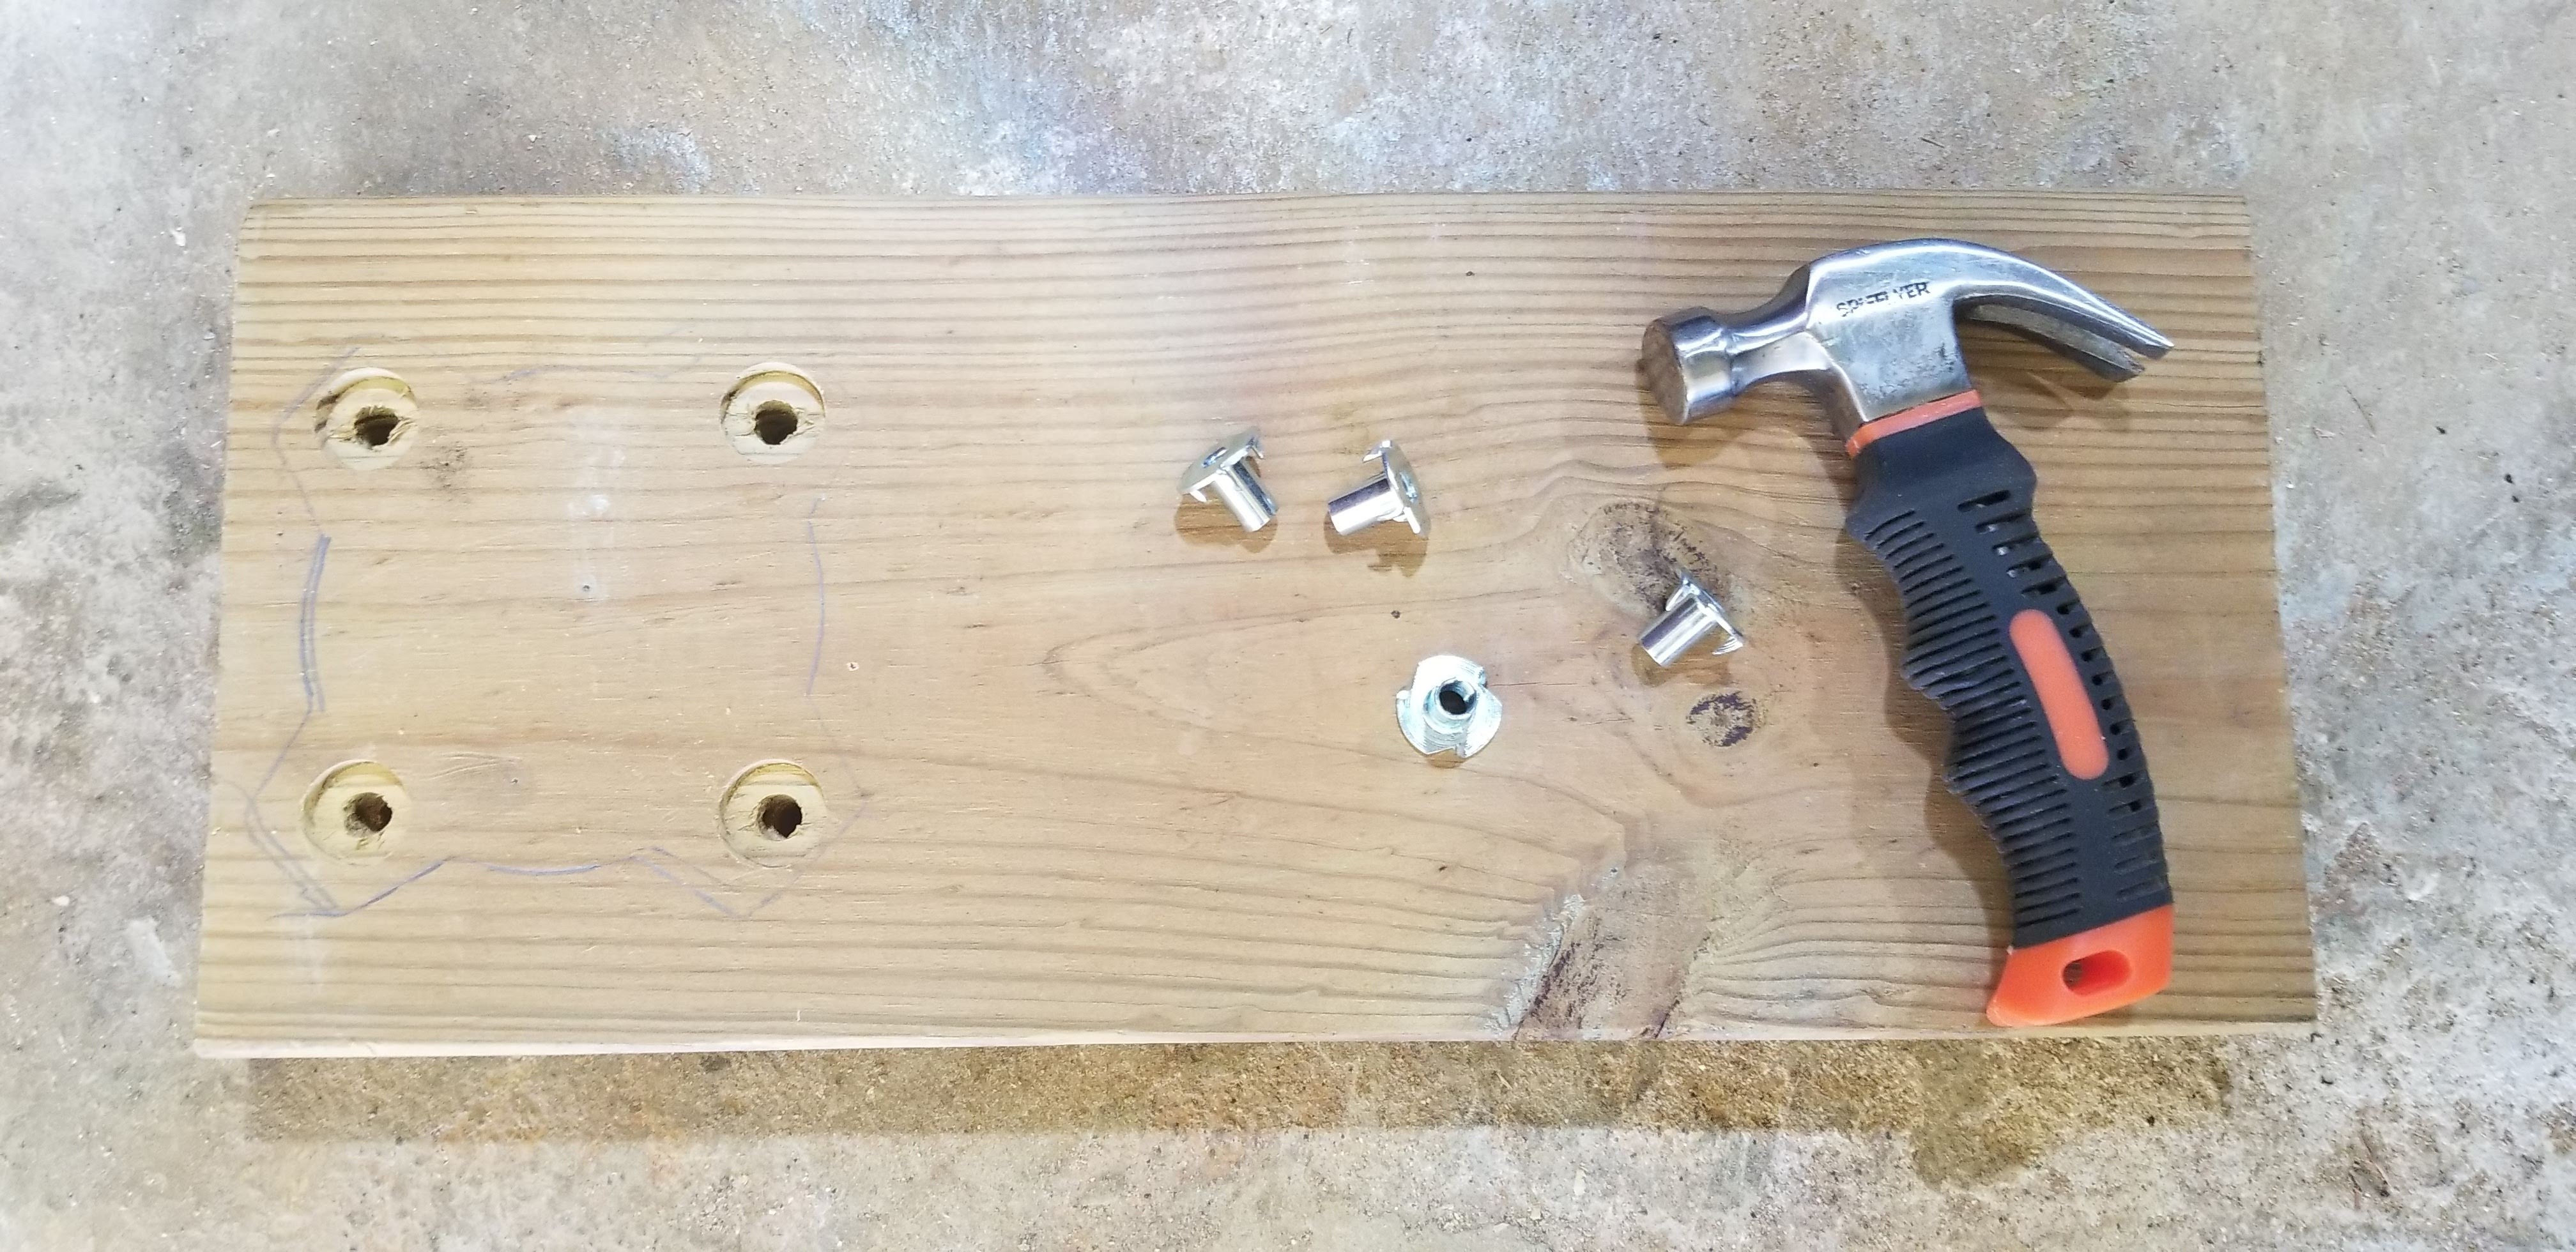
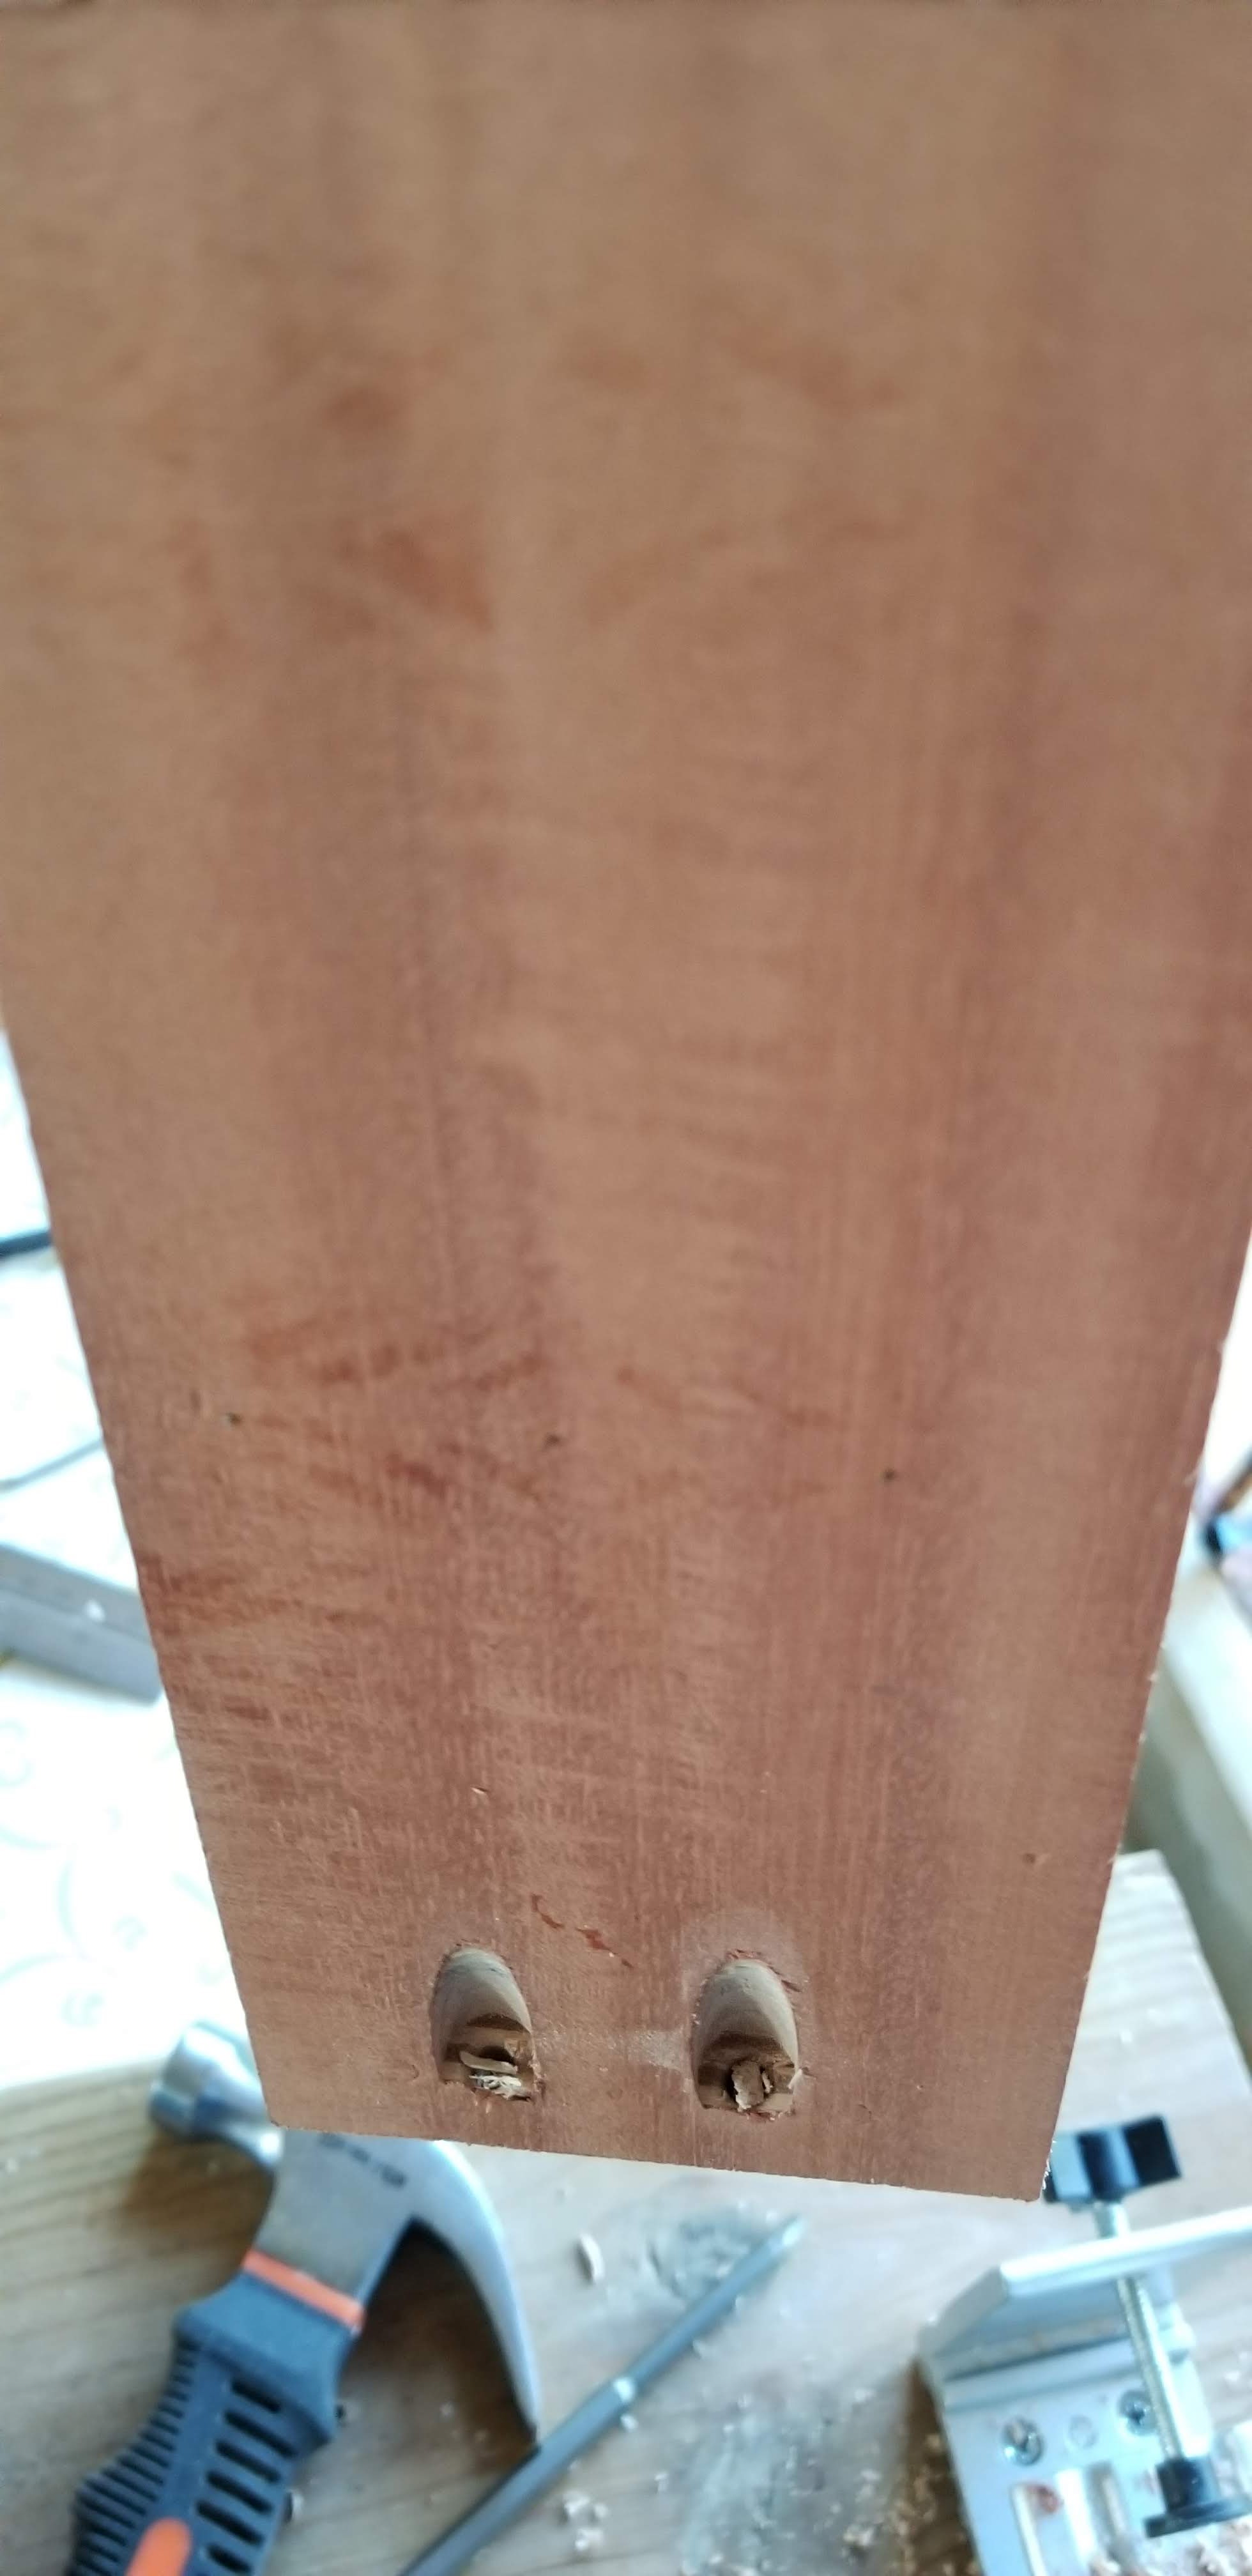
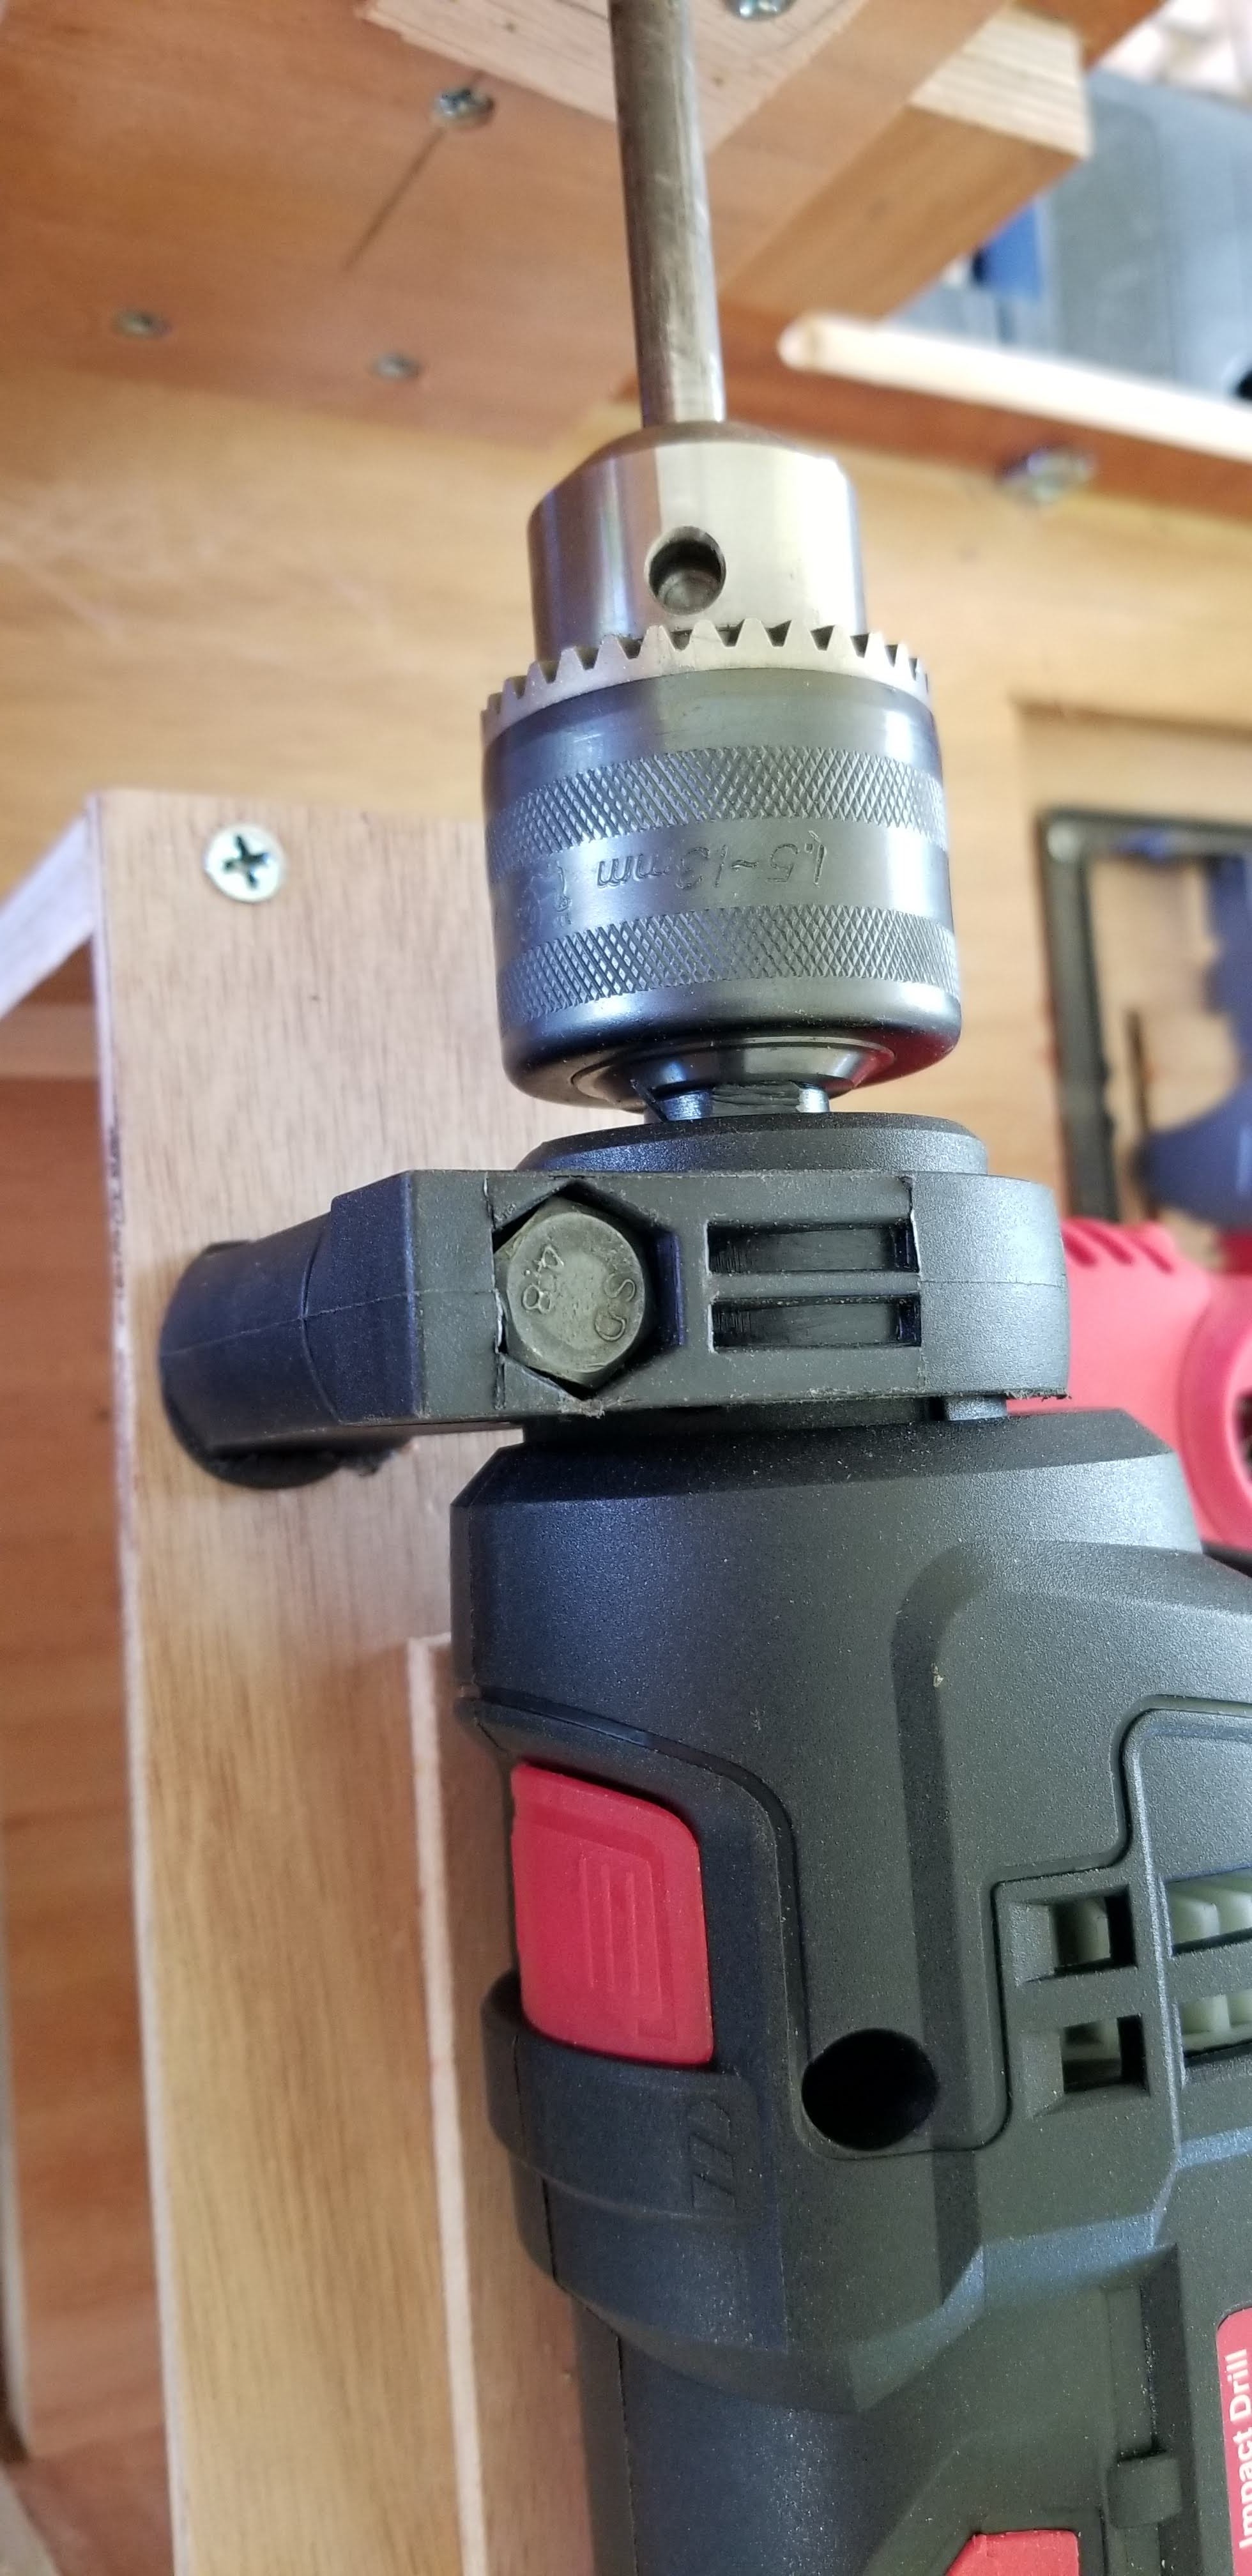
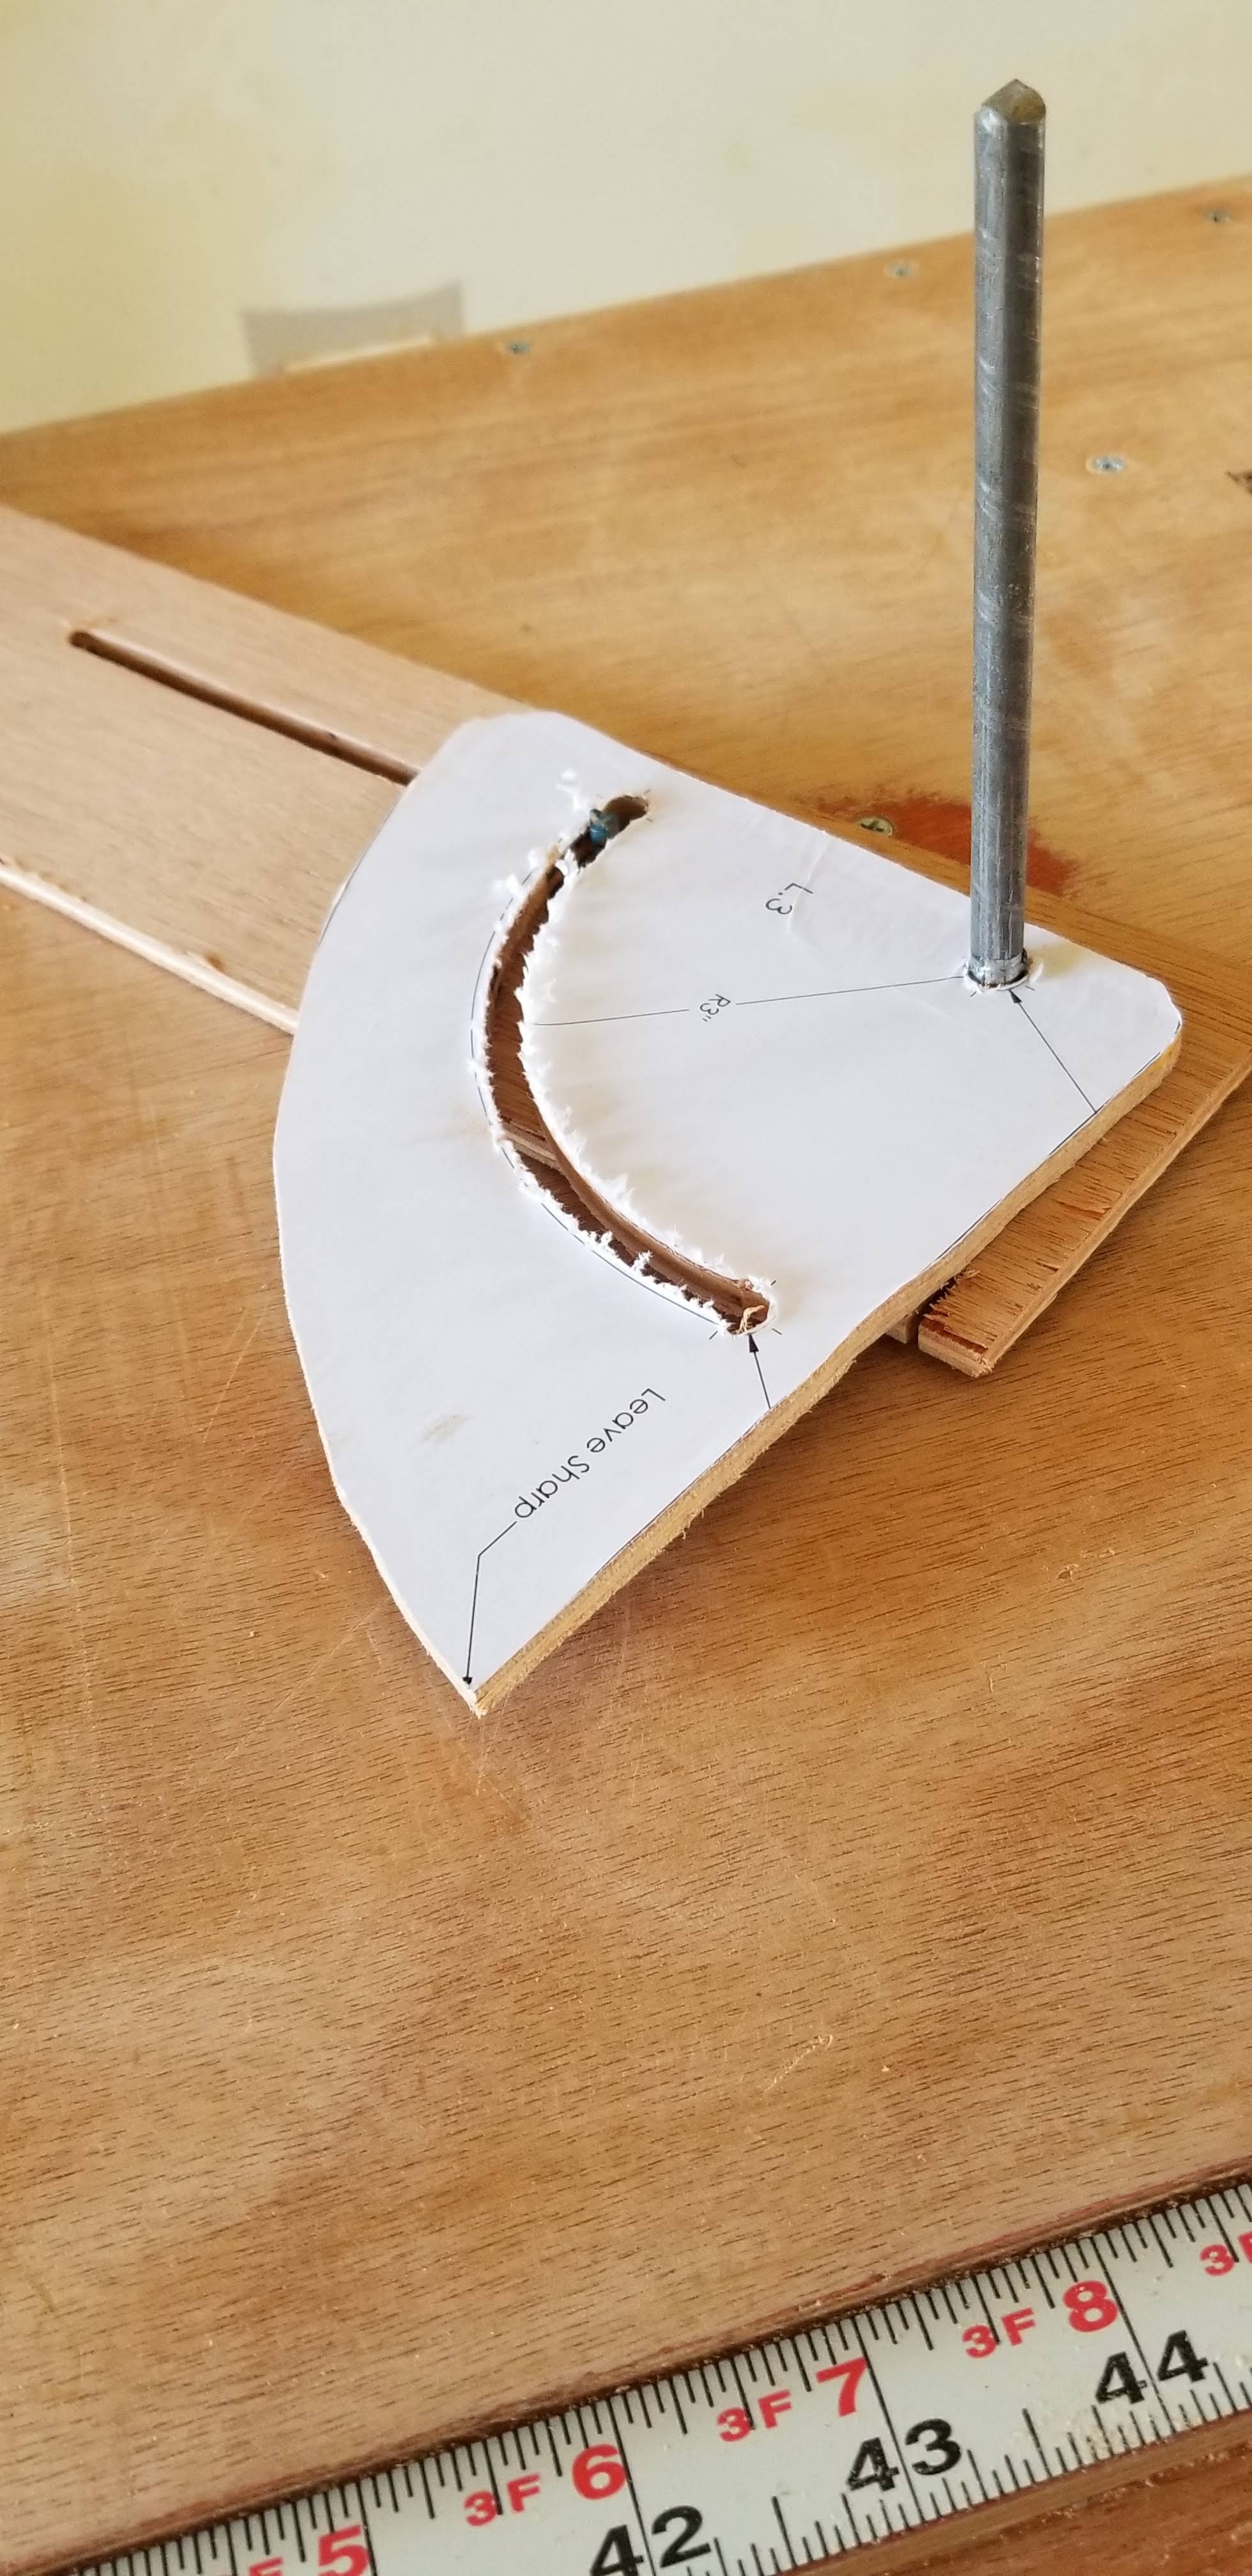
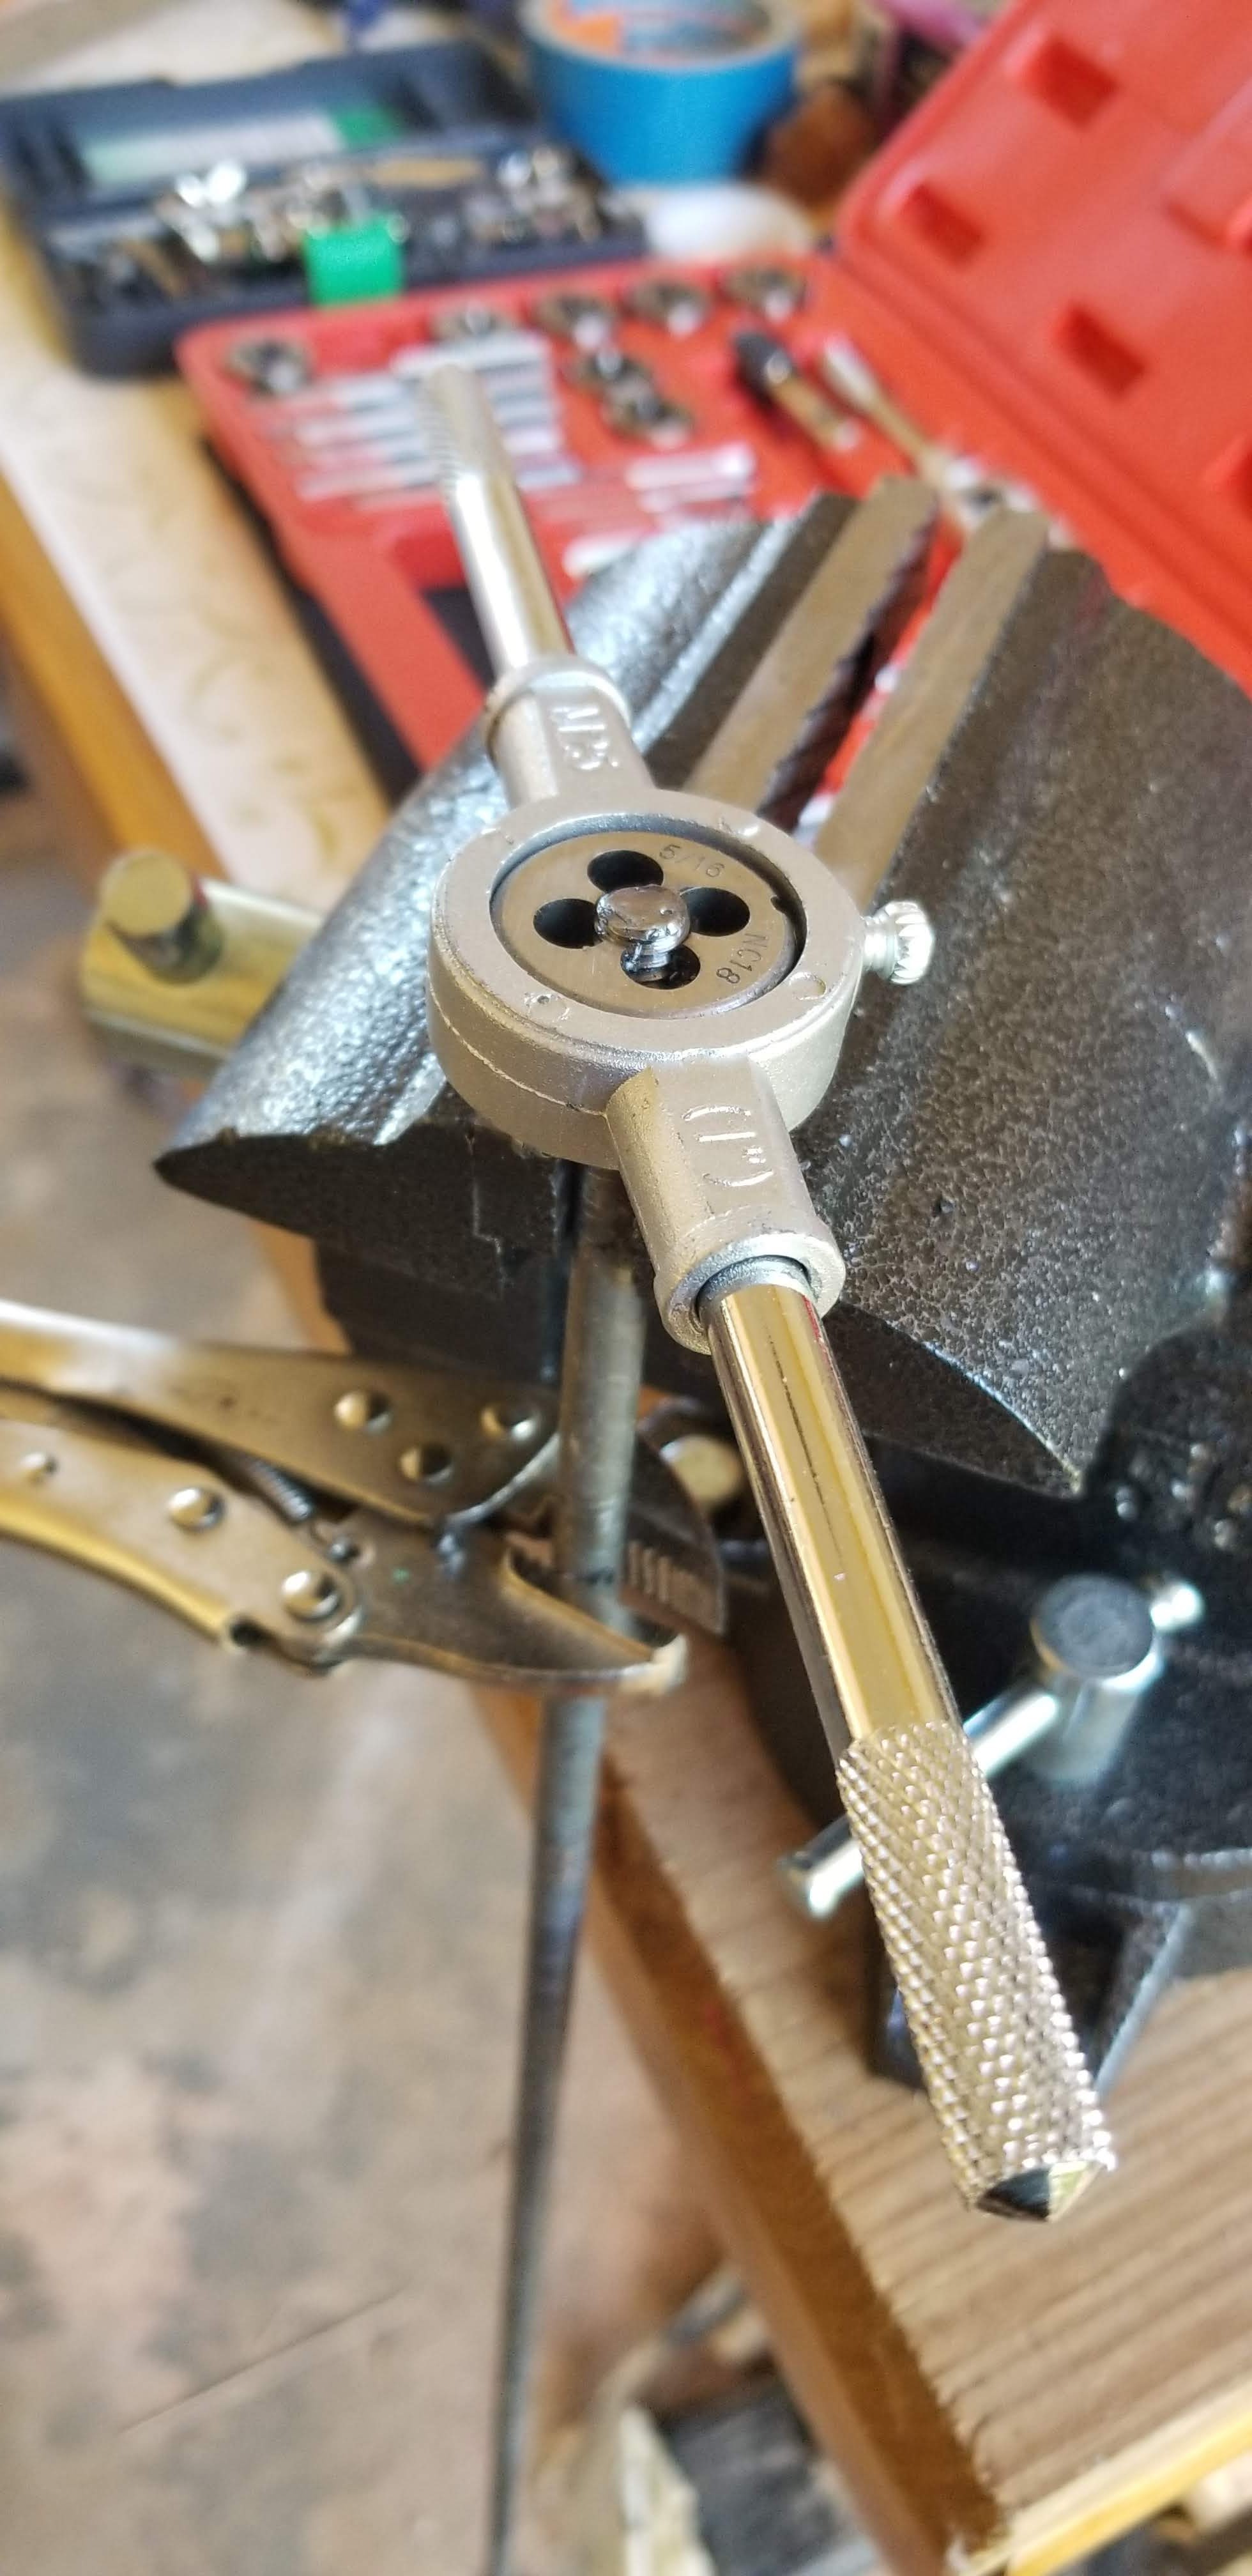
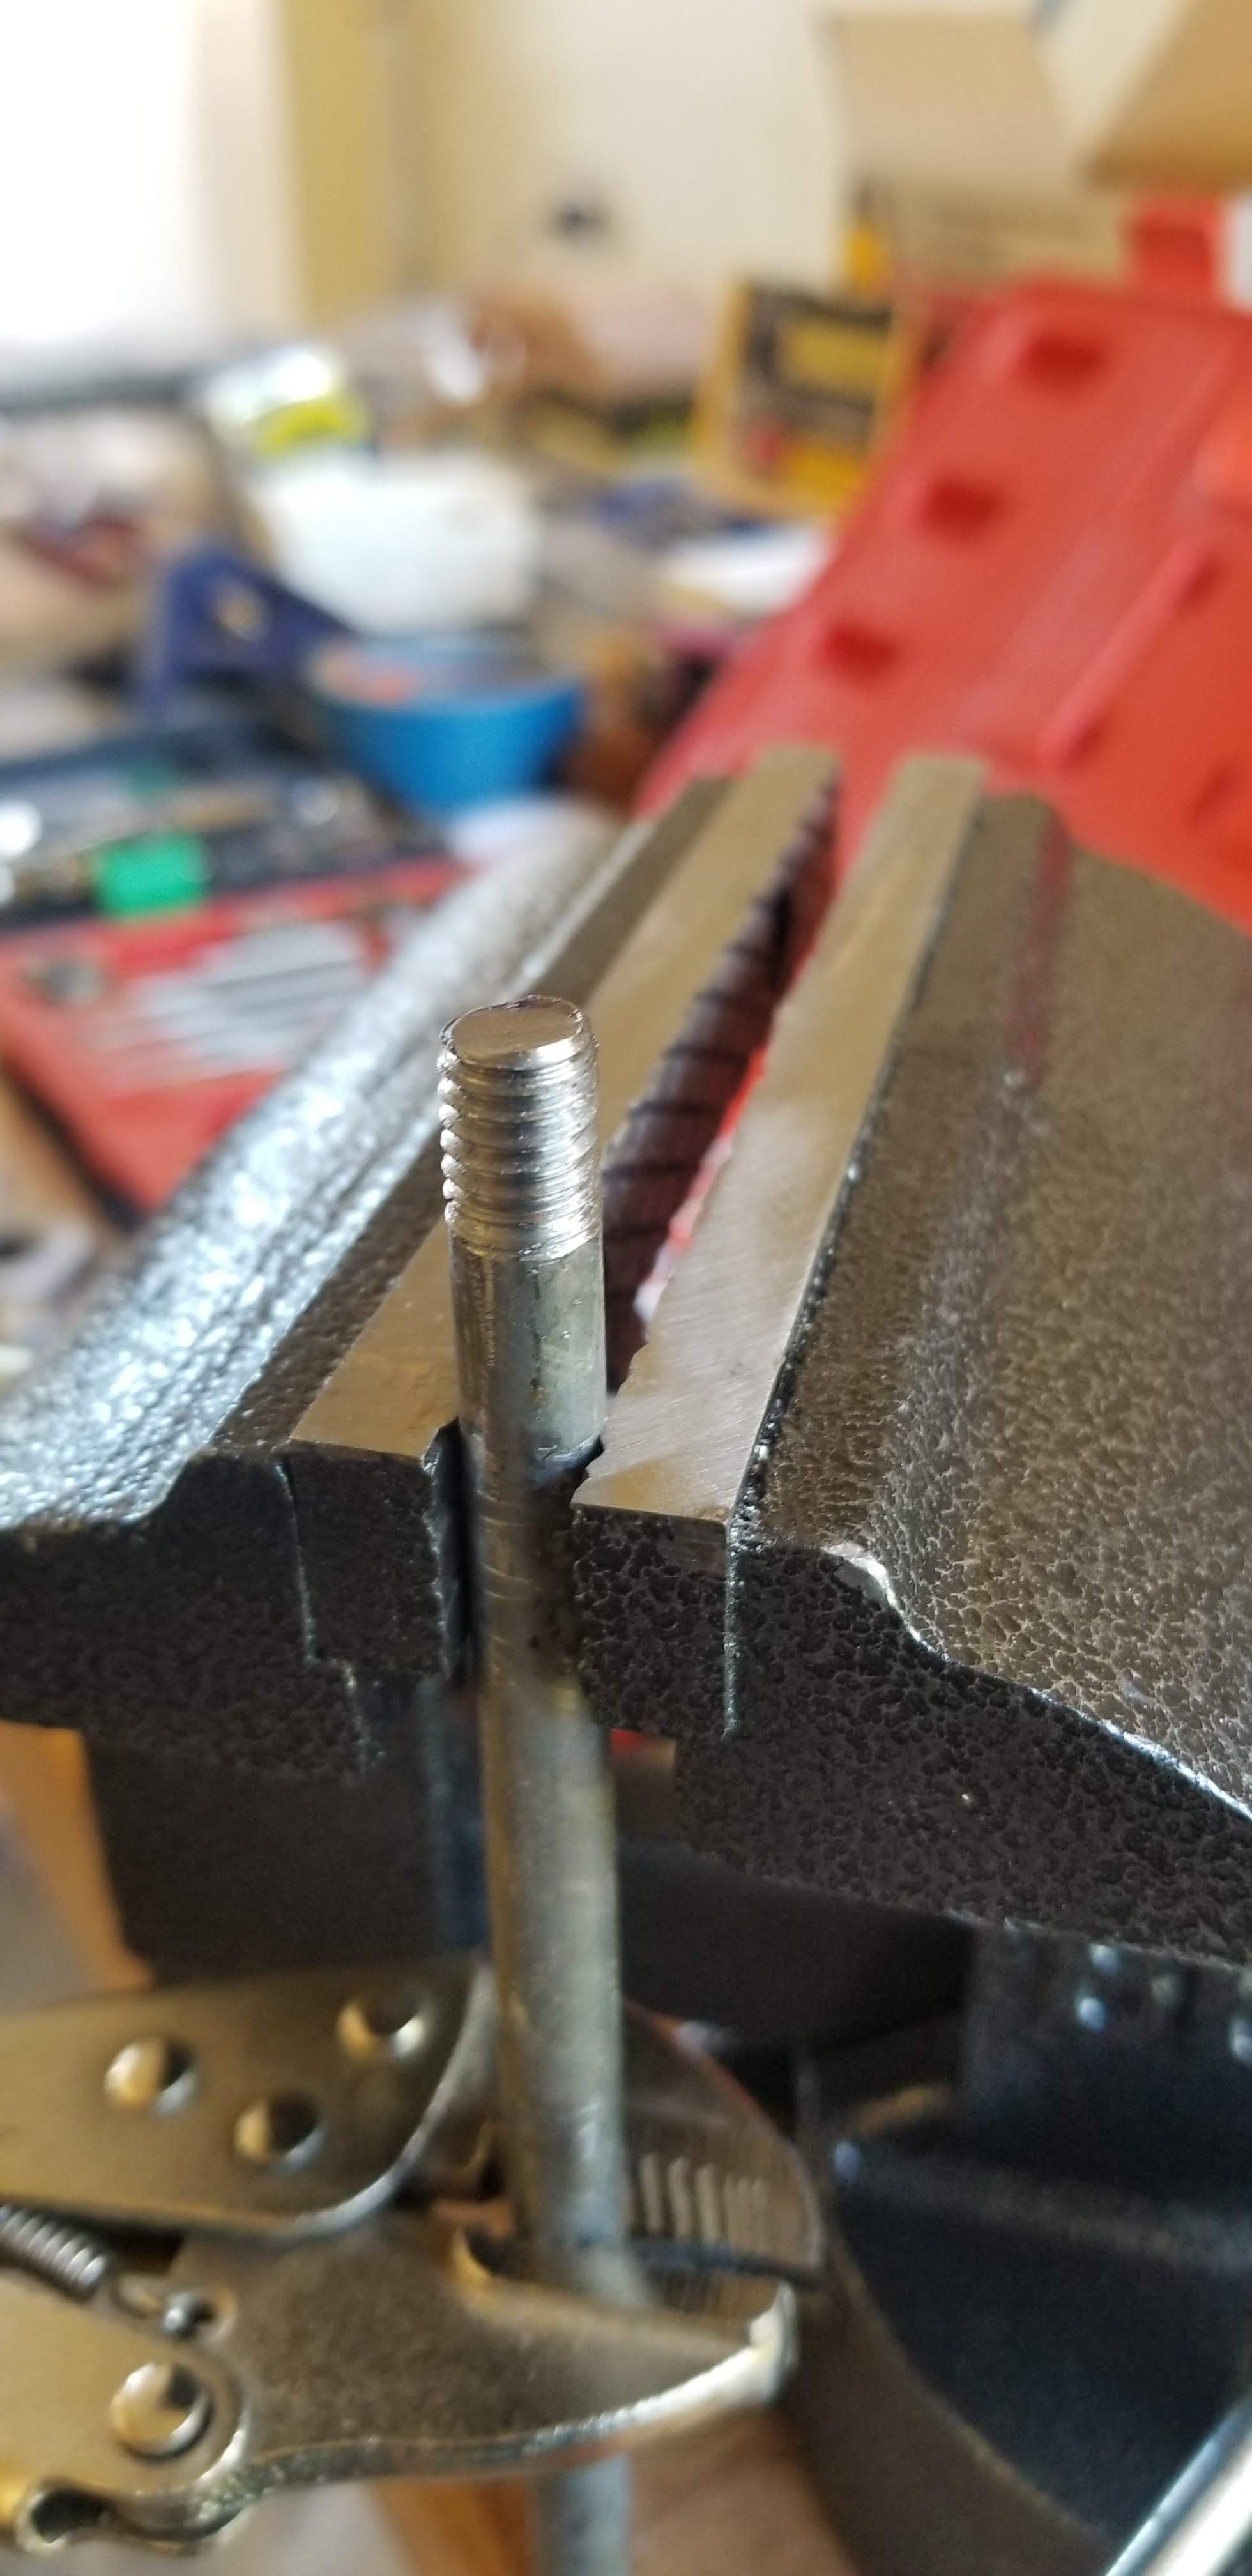
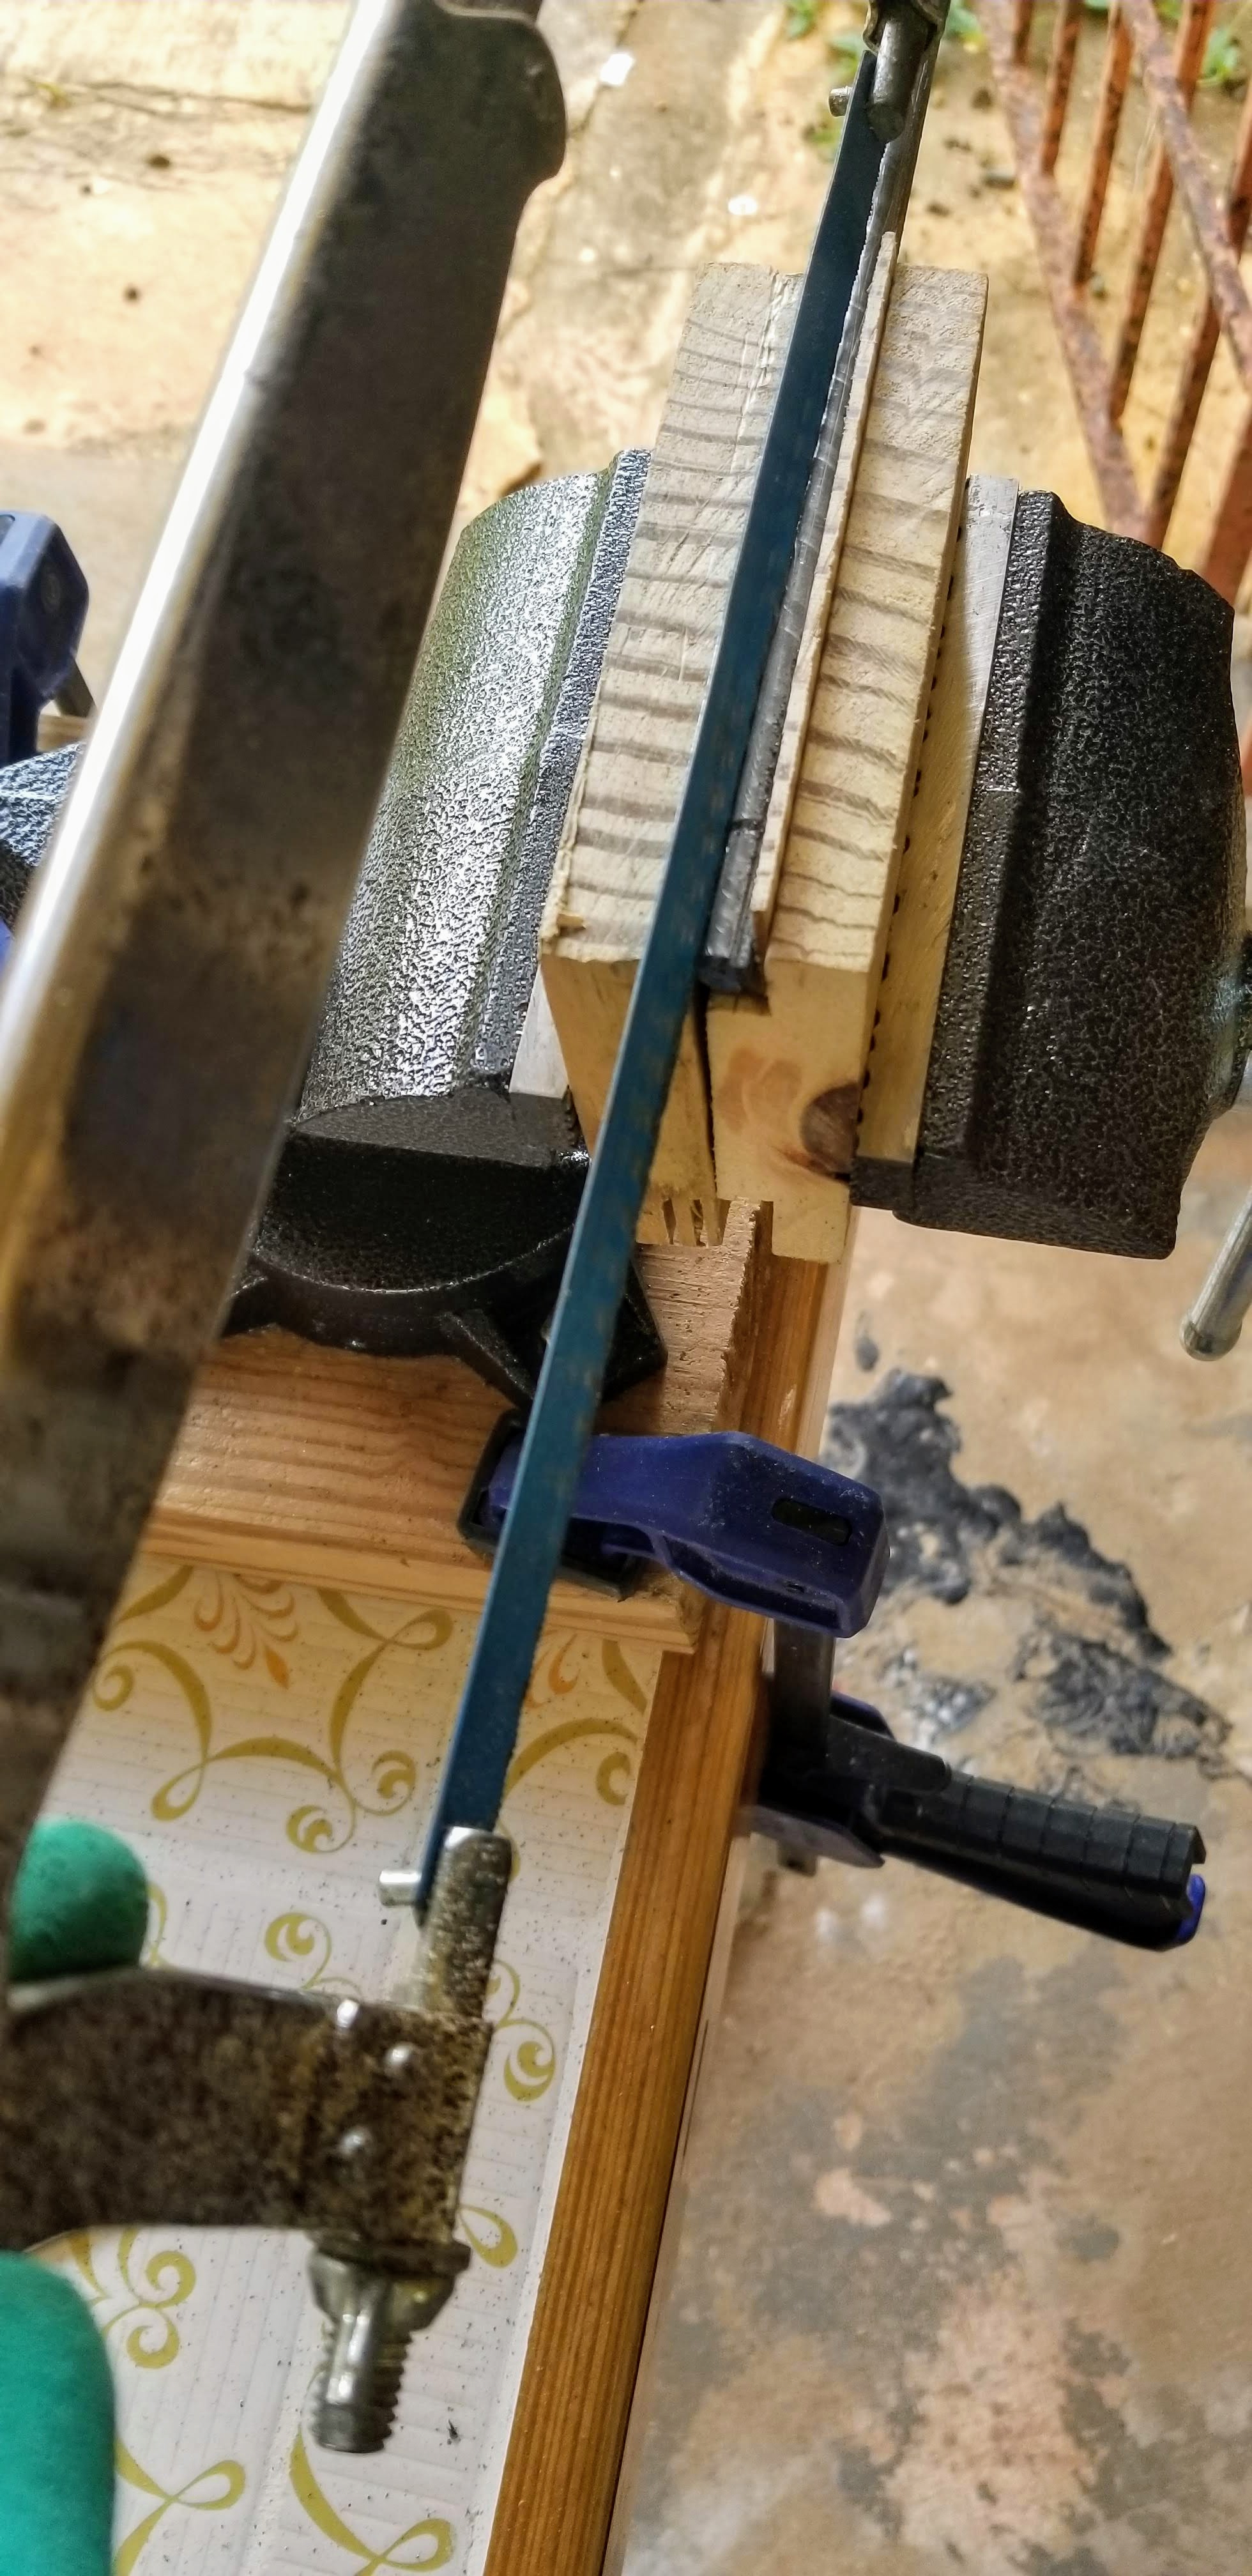
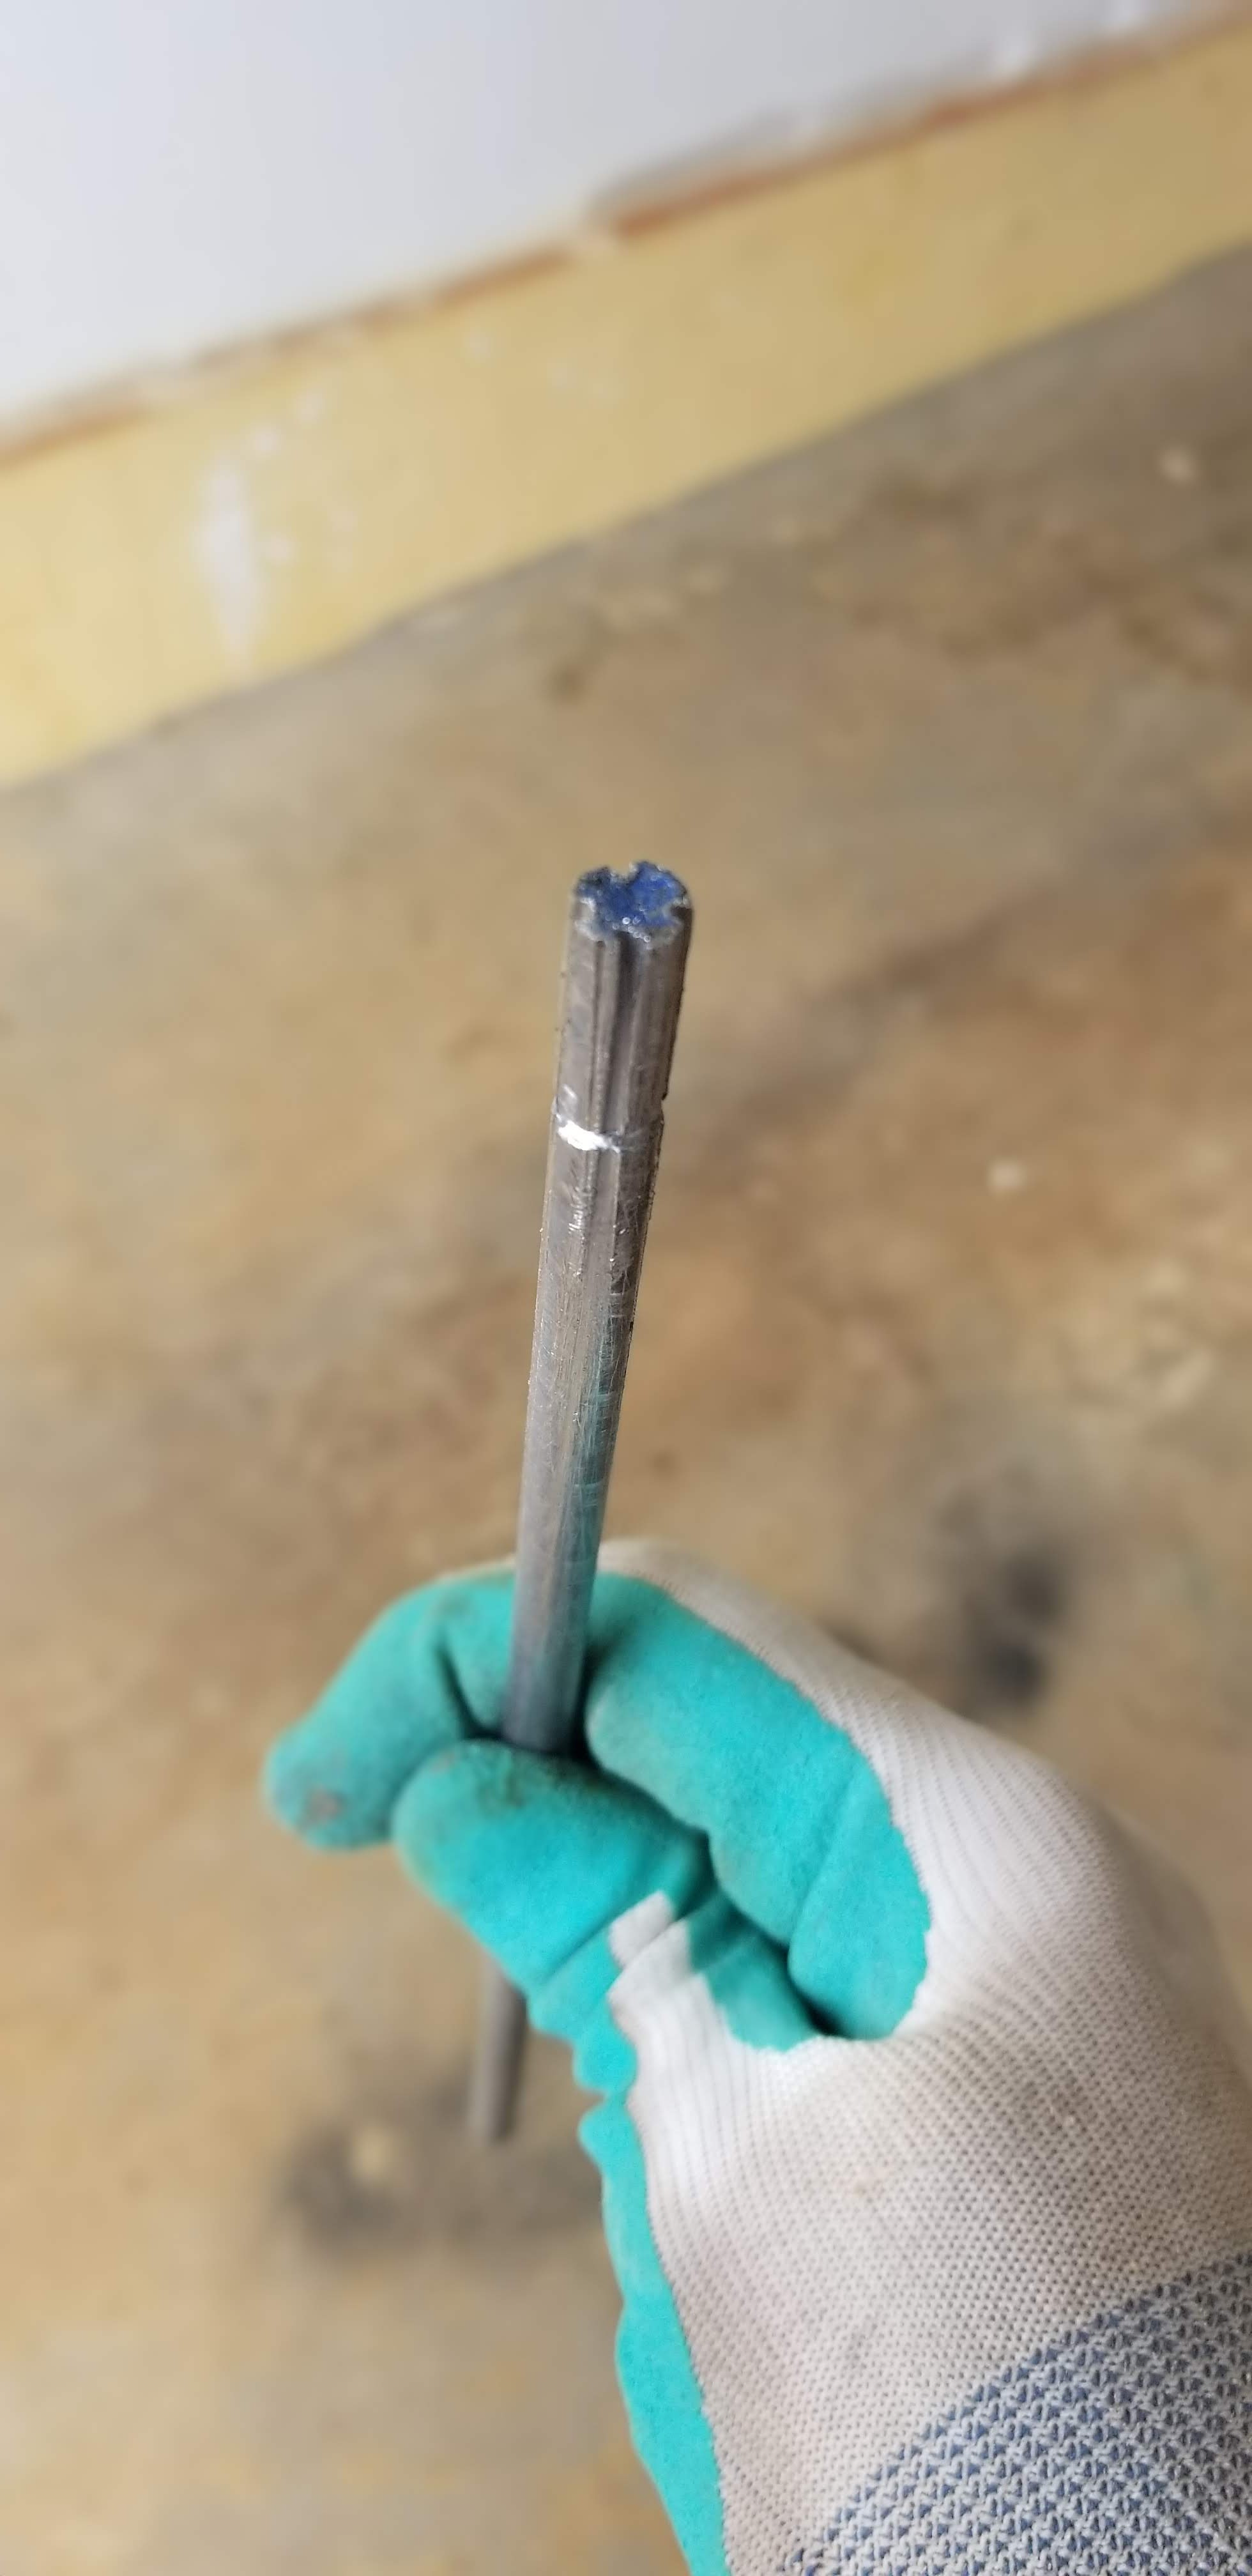
Used the vise and a handsaw to make the rod for the sander. Very pleased on how the vise performed and the rod.
Spent 10 hours, so far 44 hours on the project.
Couldn’t post last weekend, this post has what I have done since then.
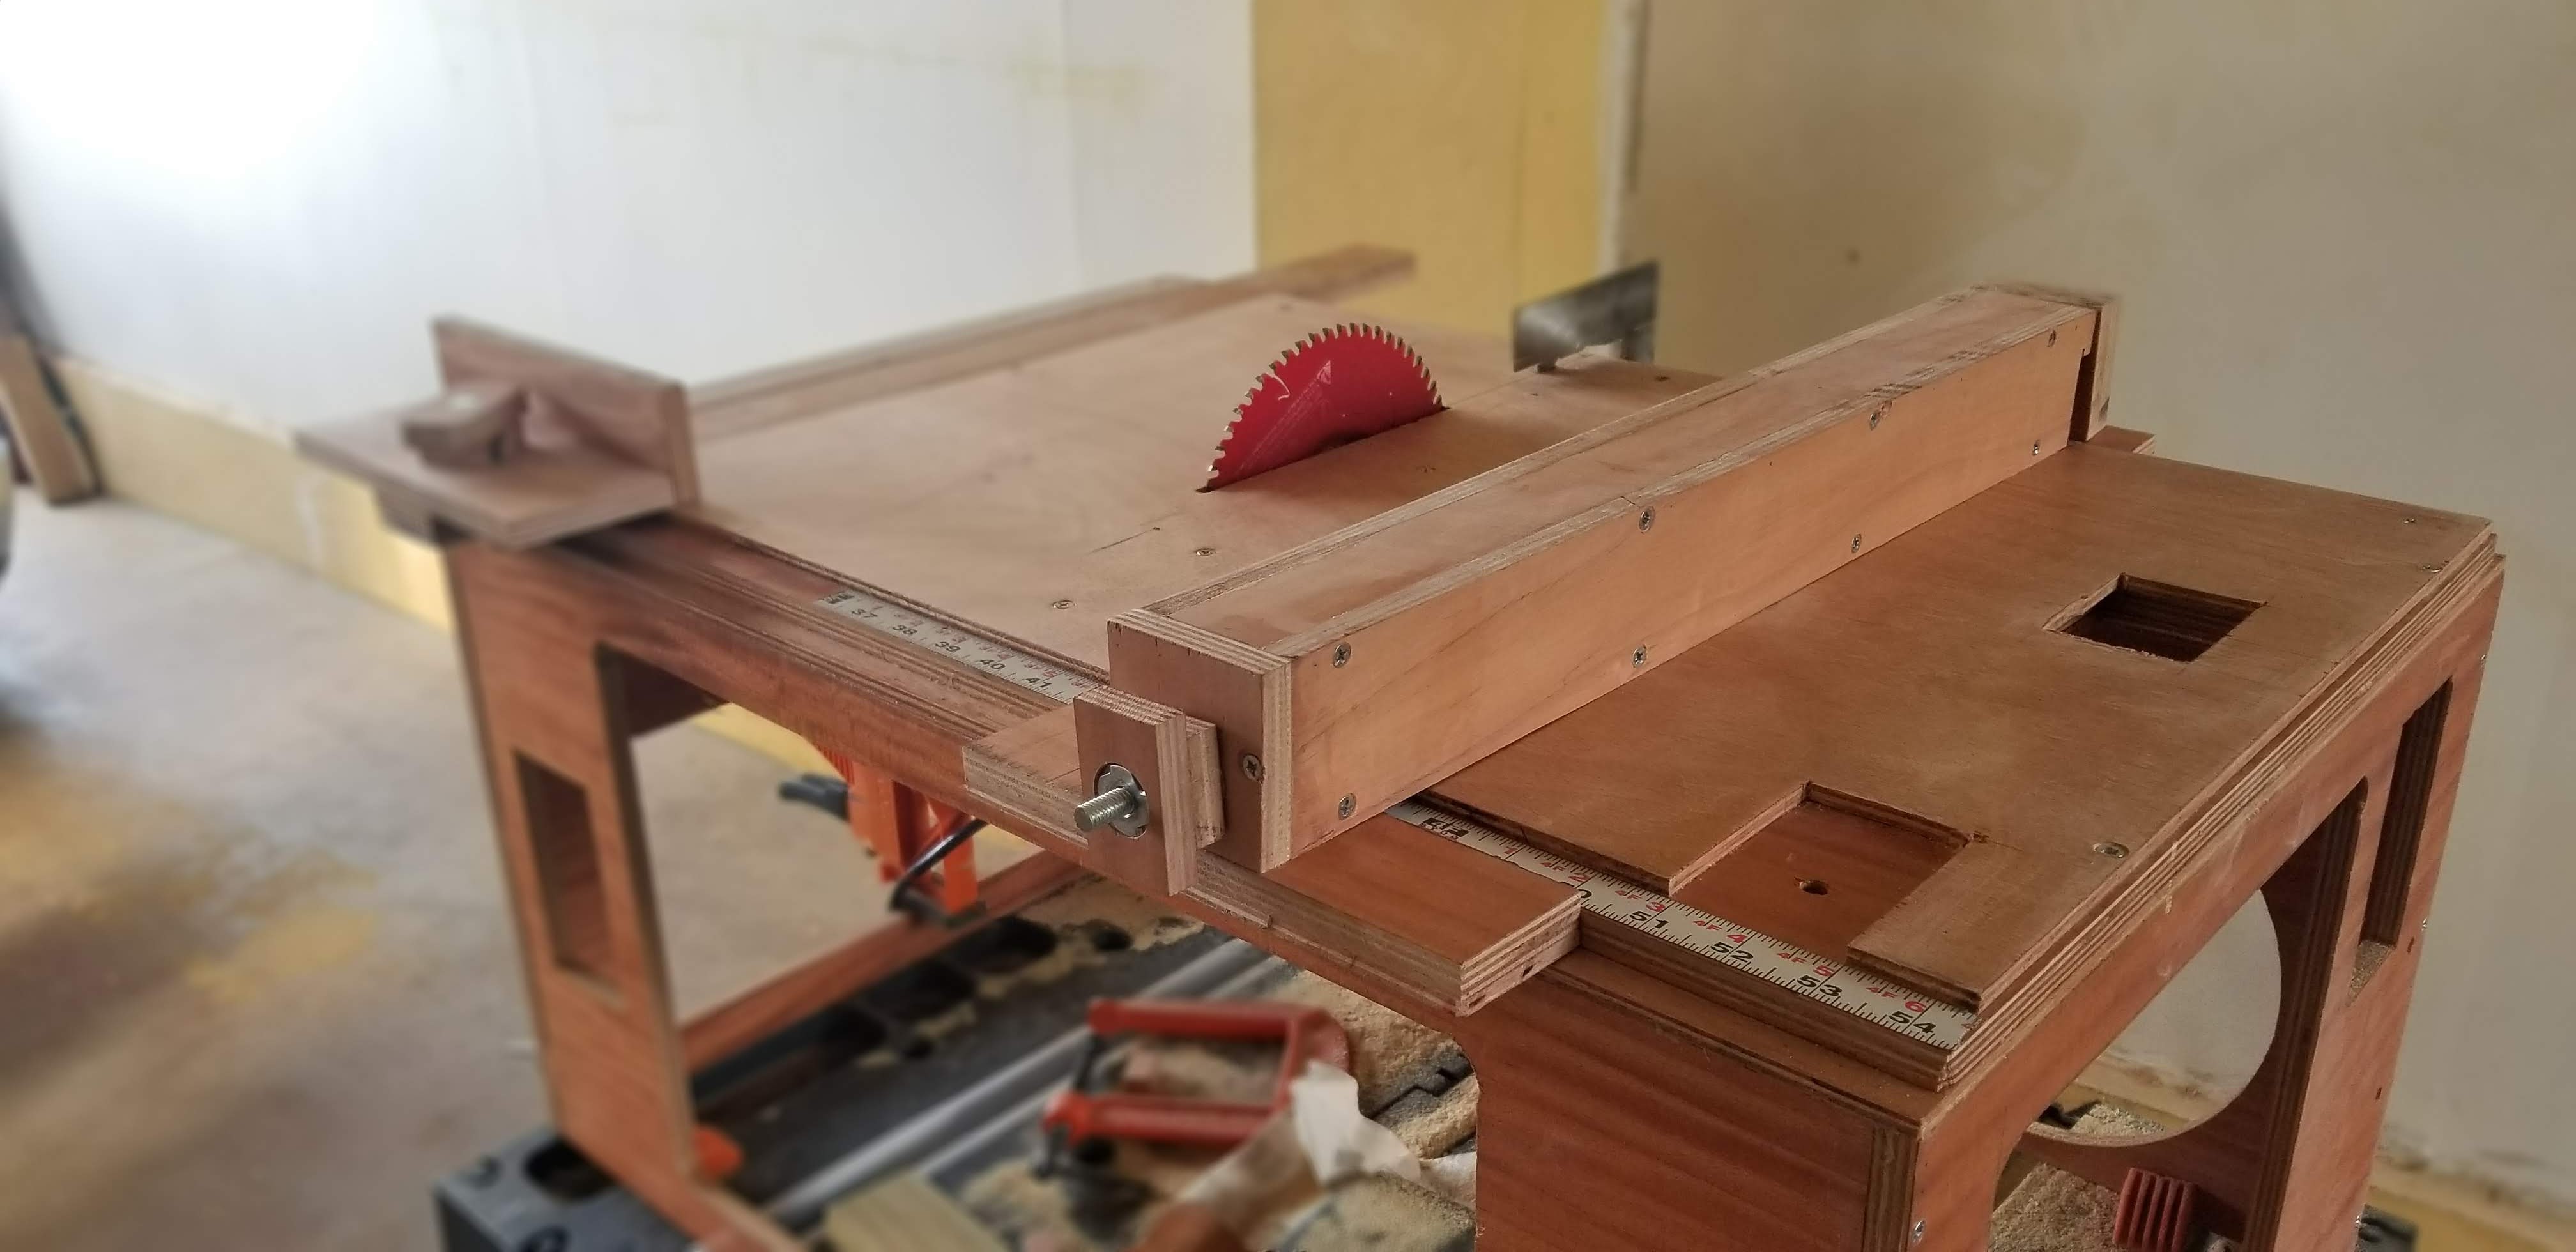
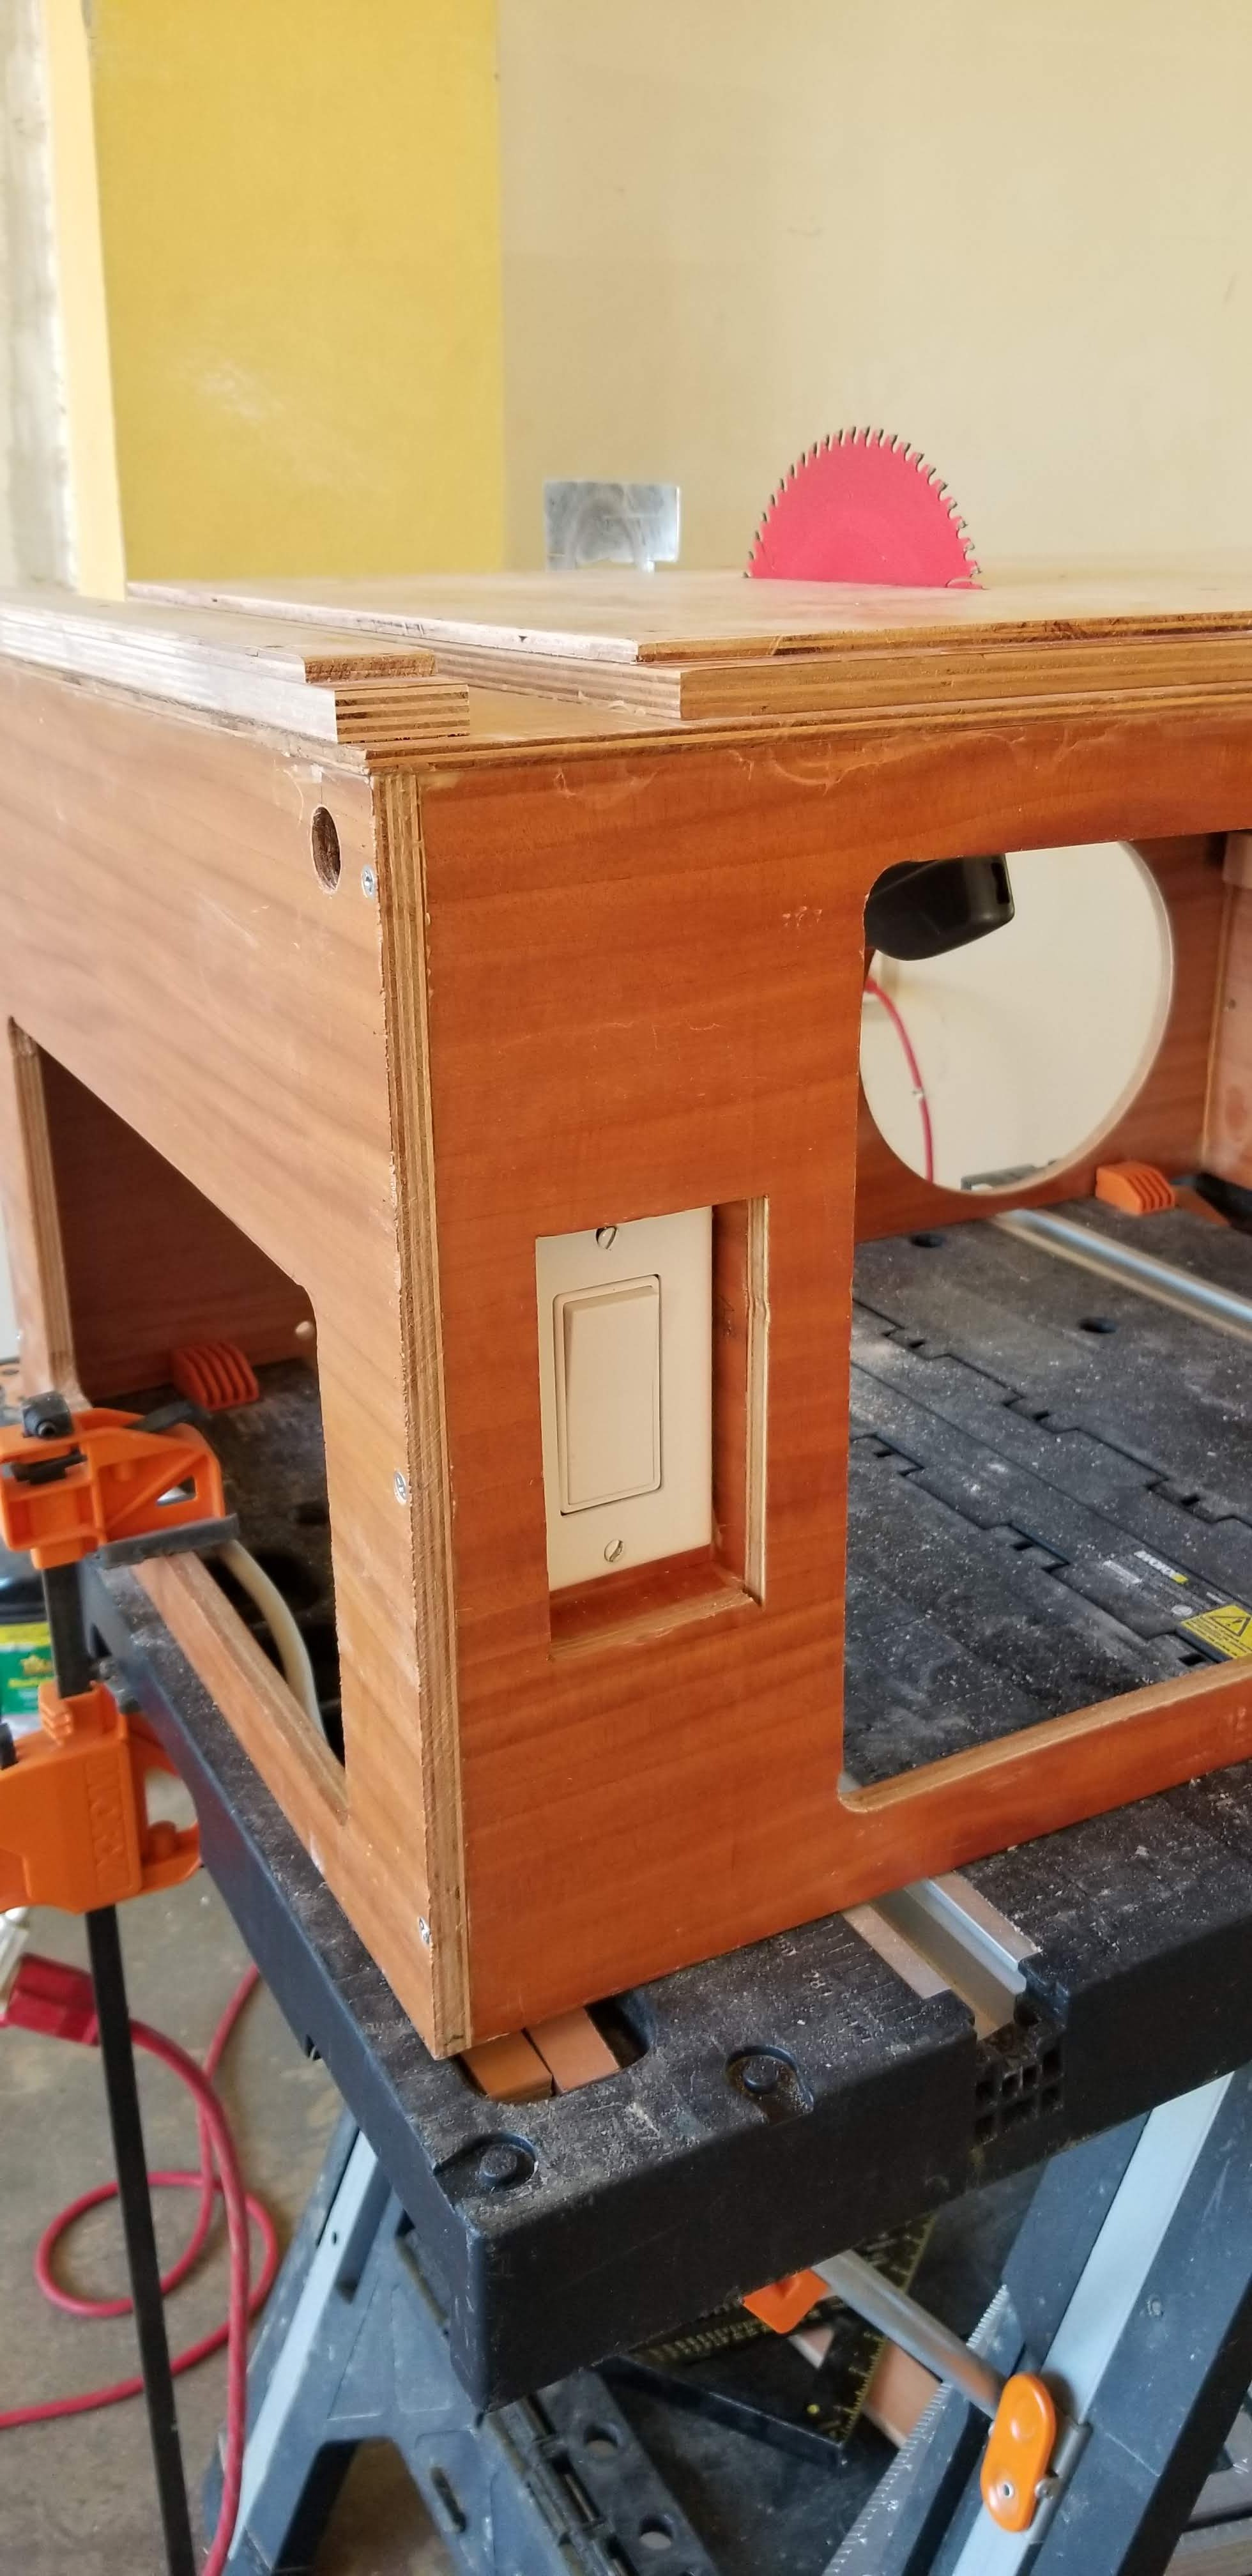
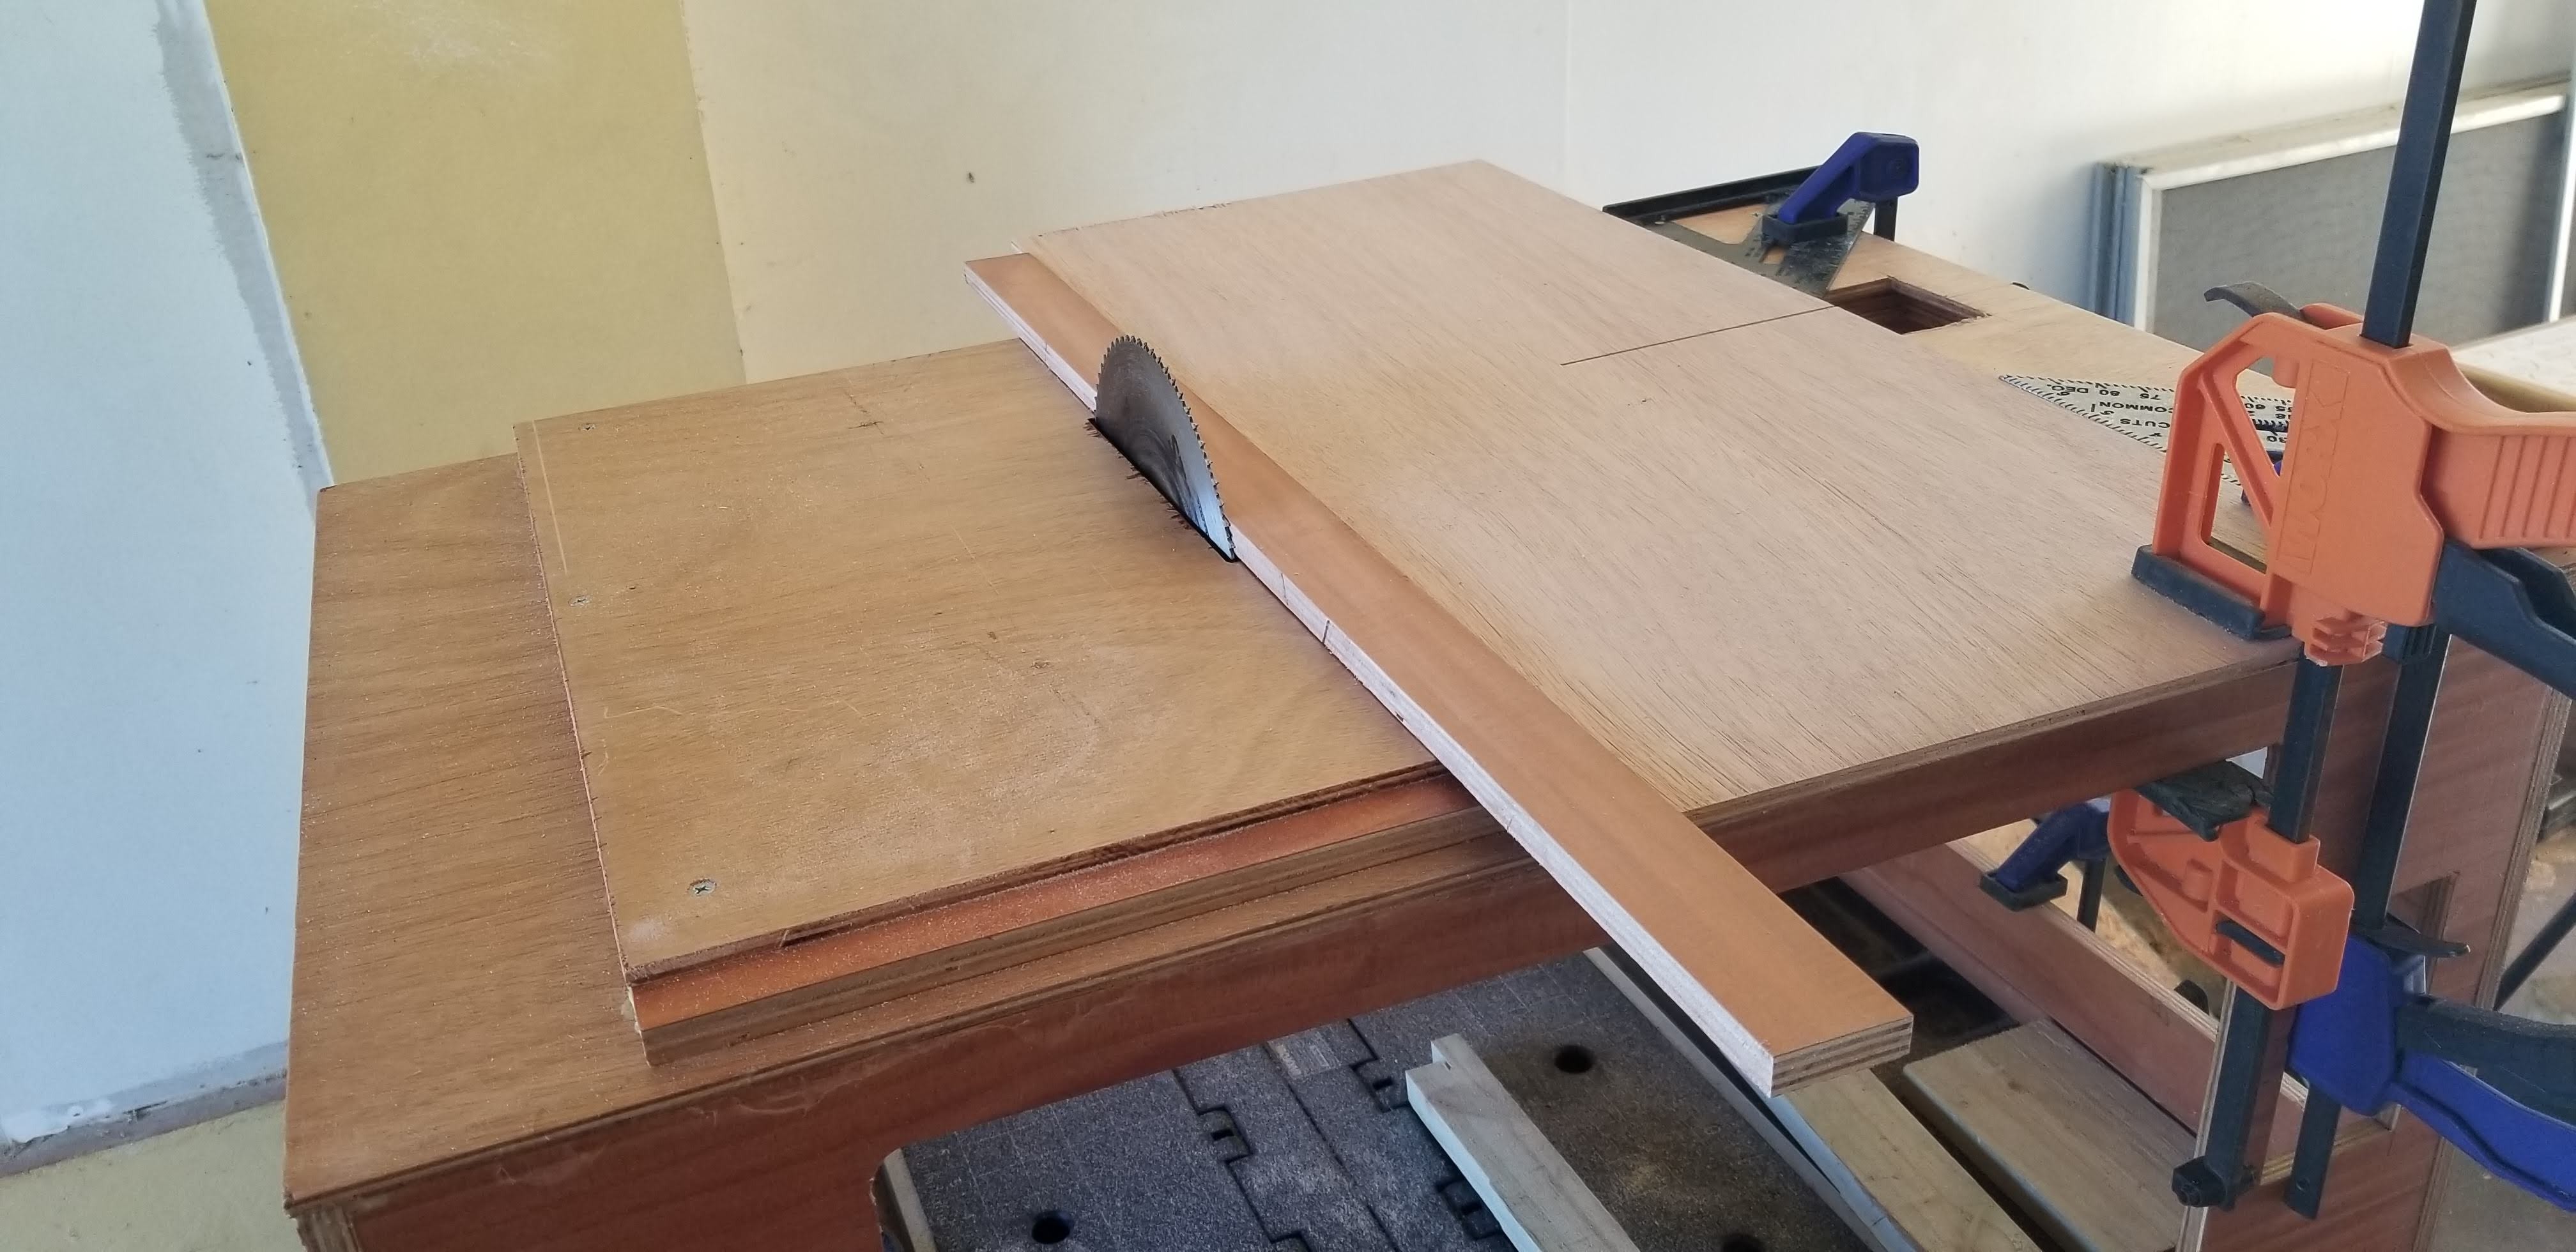
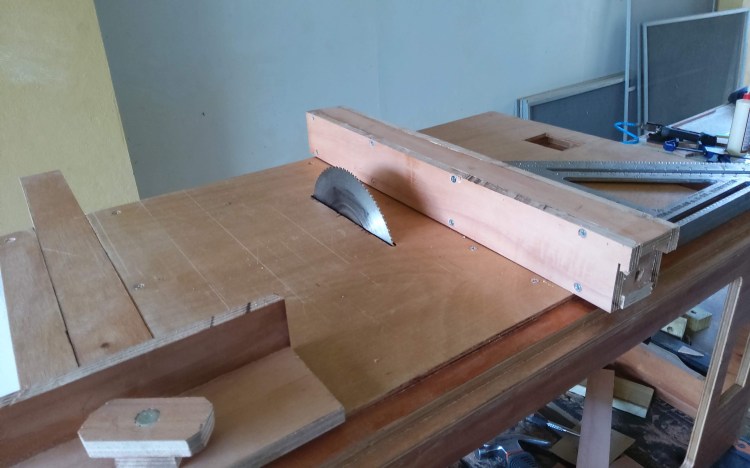
Finished the table saw, installed the first switch and the support arm. Added some frictionless tape to the fence and mitter gauge, that made a huge difference, now the saw works much better.

I started to work on the drill press.
Spent 10 more hours on the project. So far 29 hours on the project.
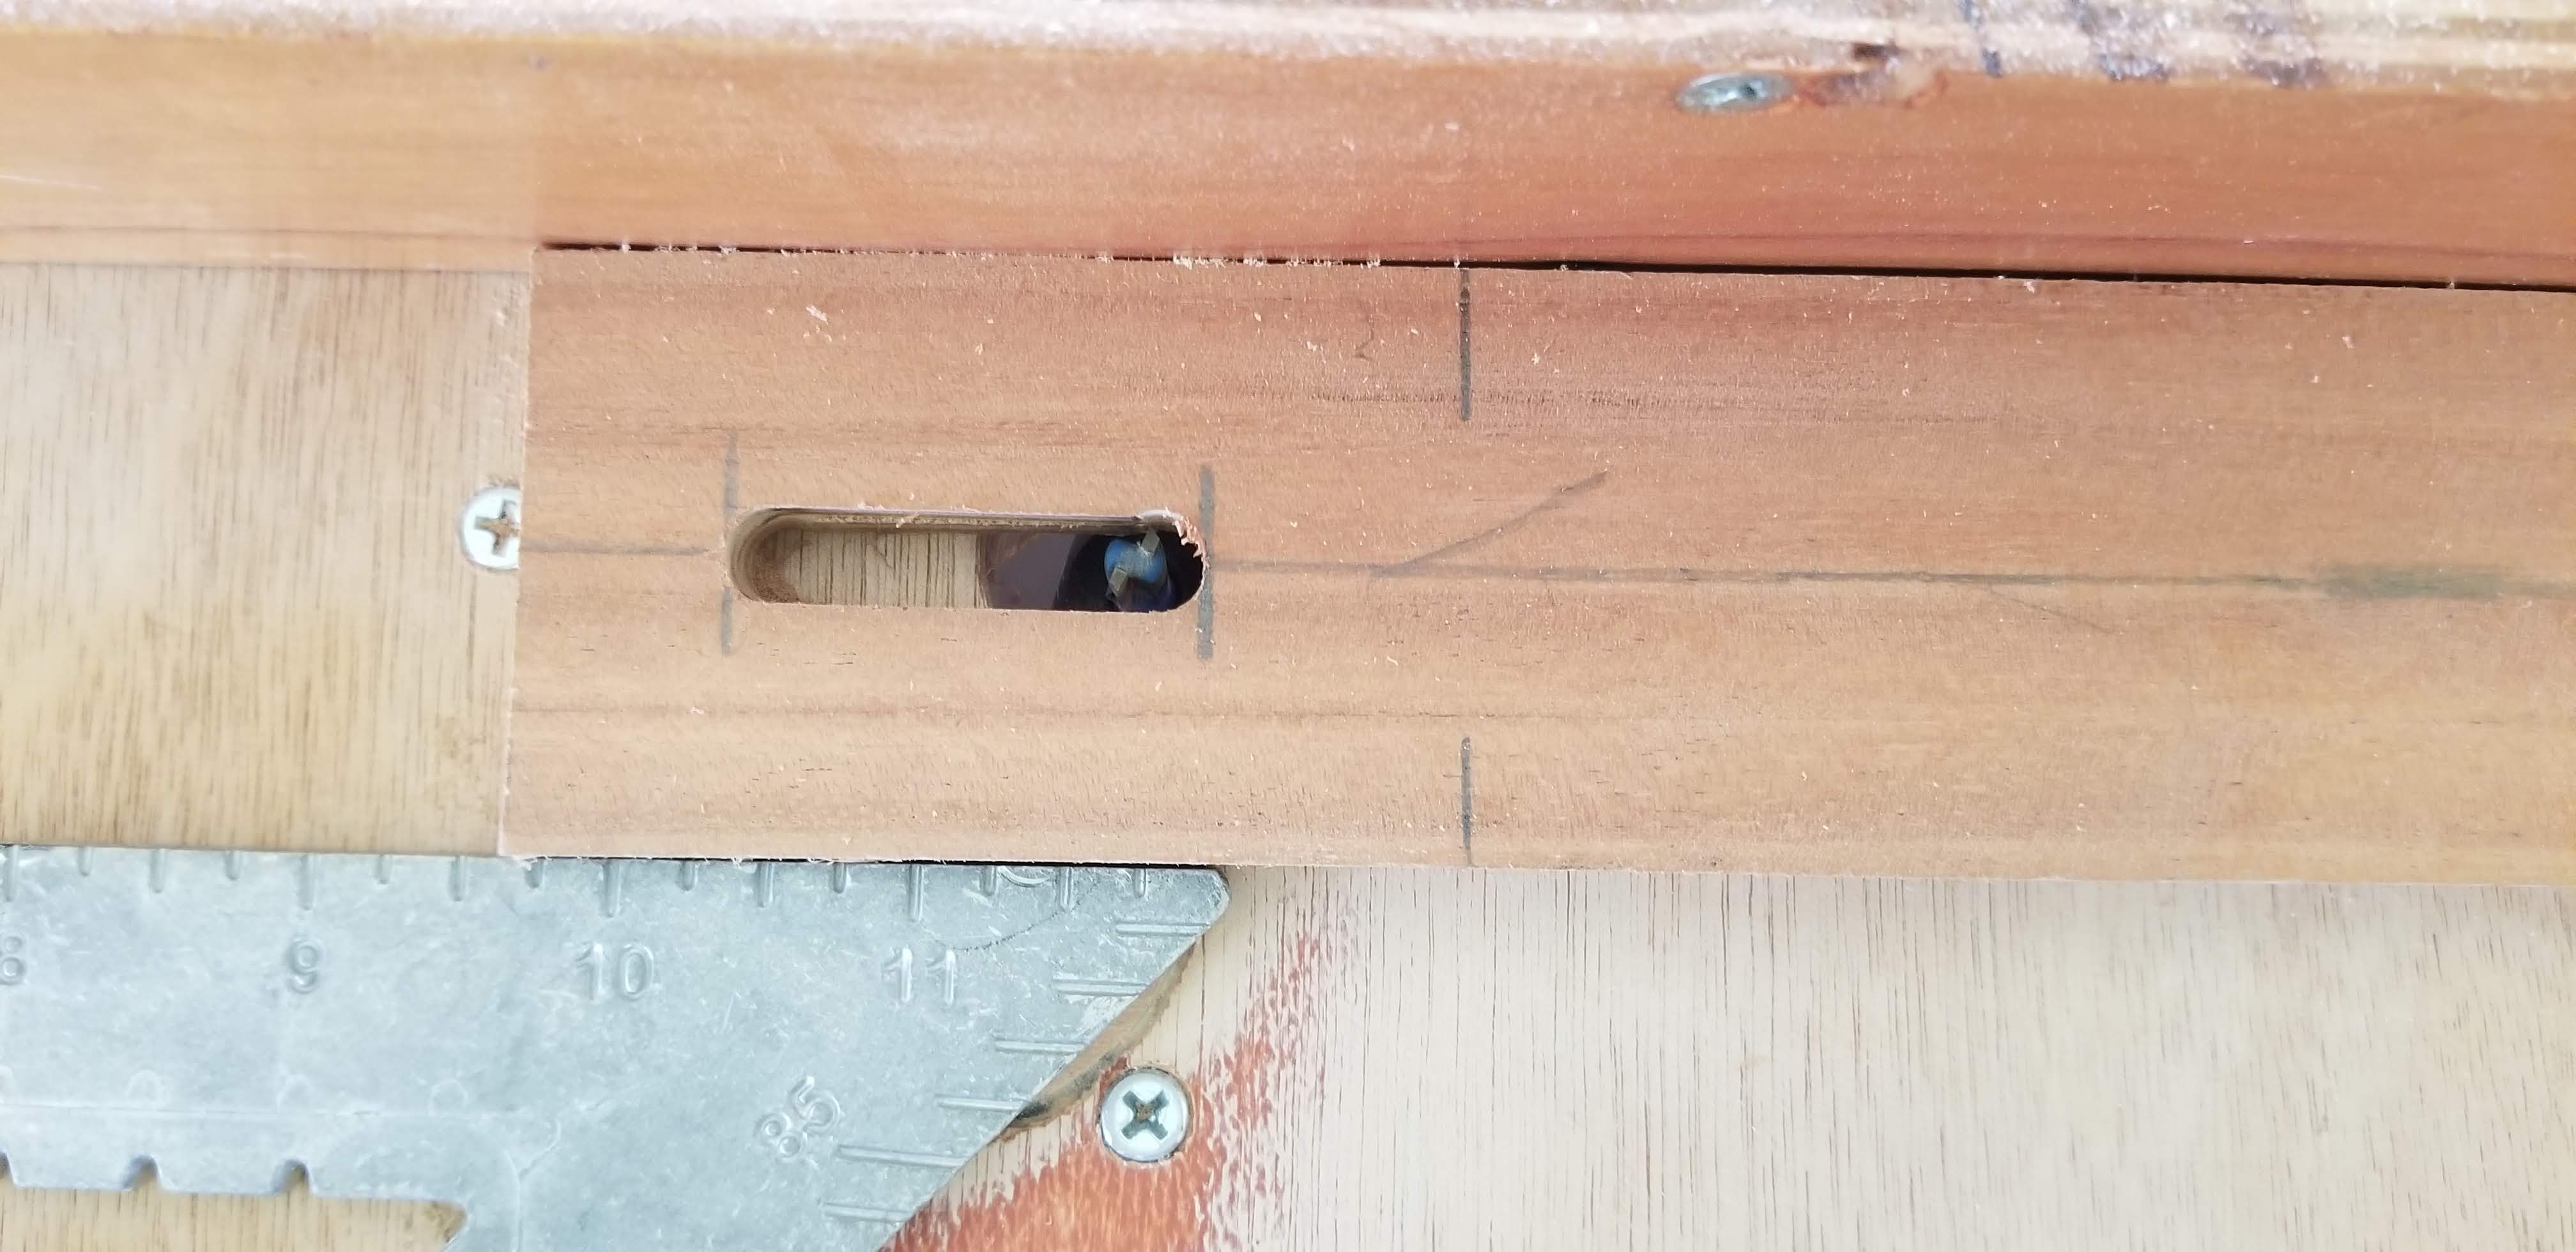
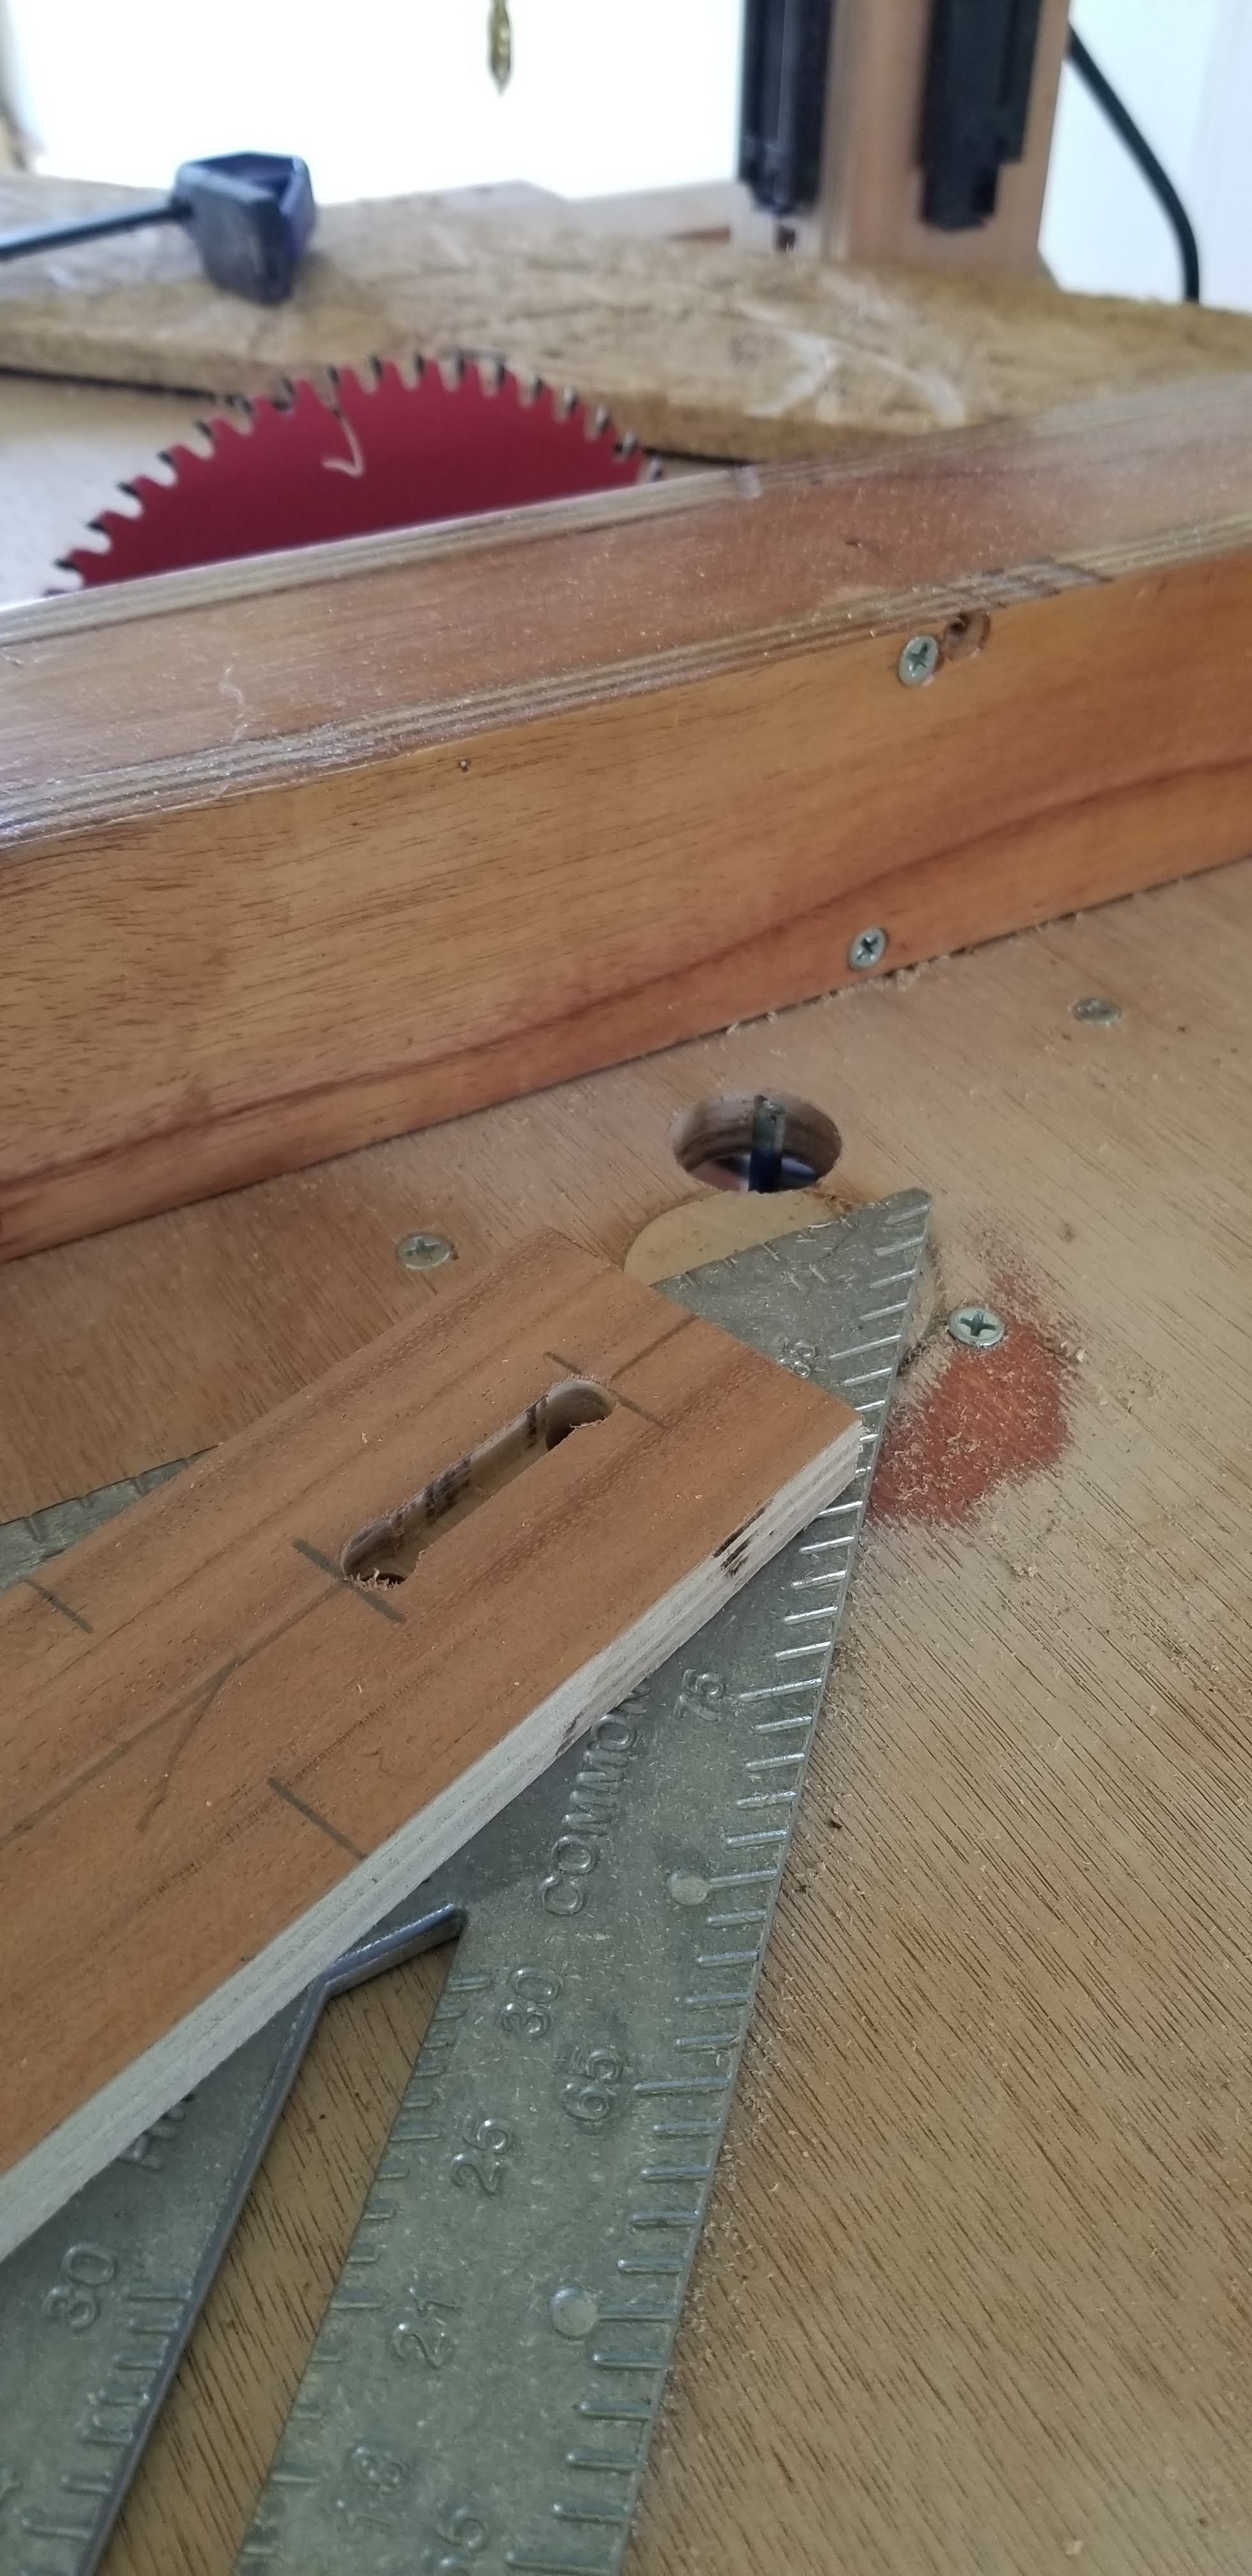
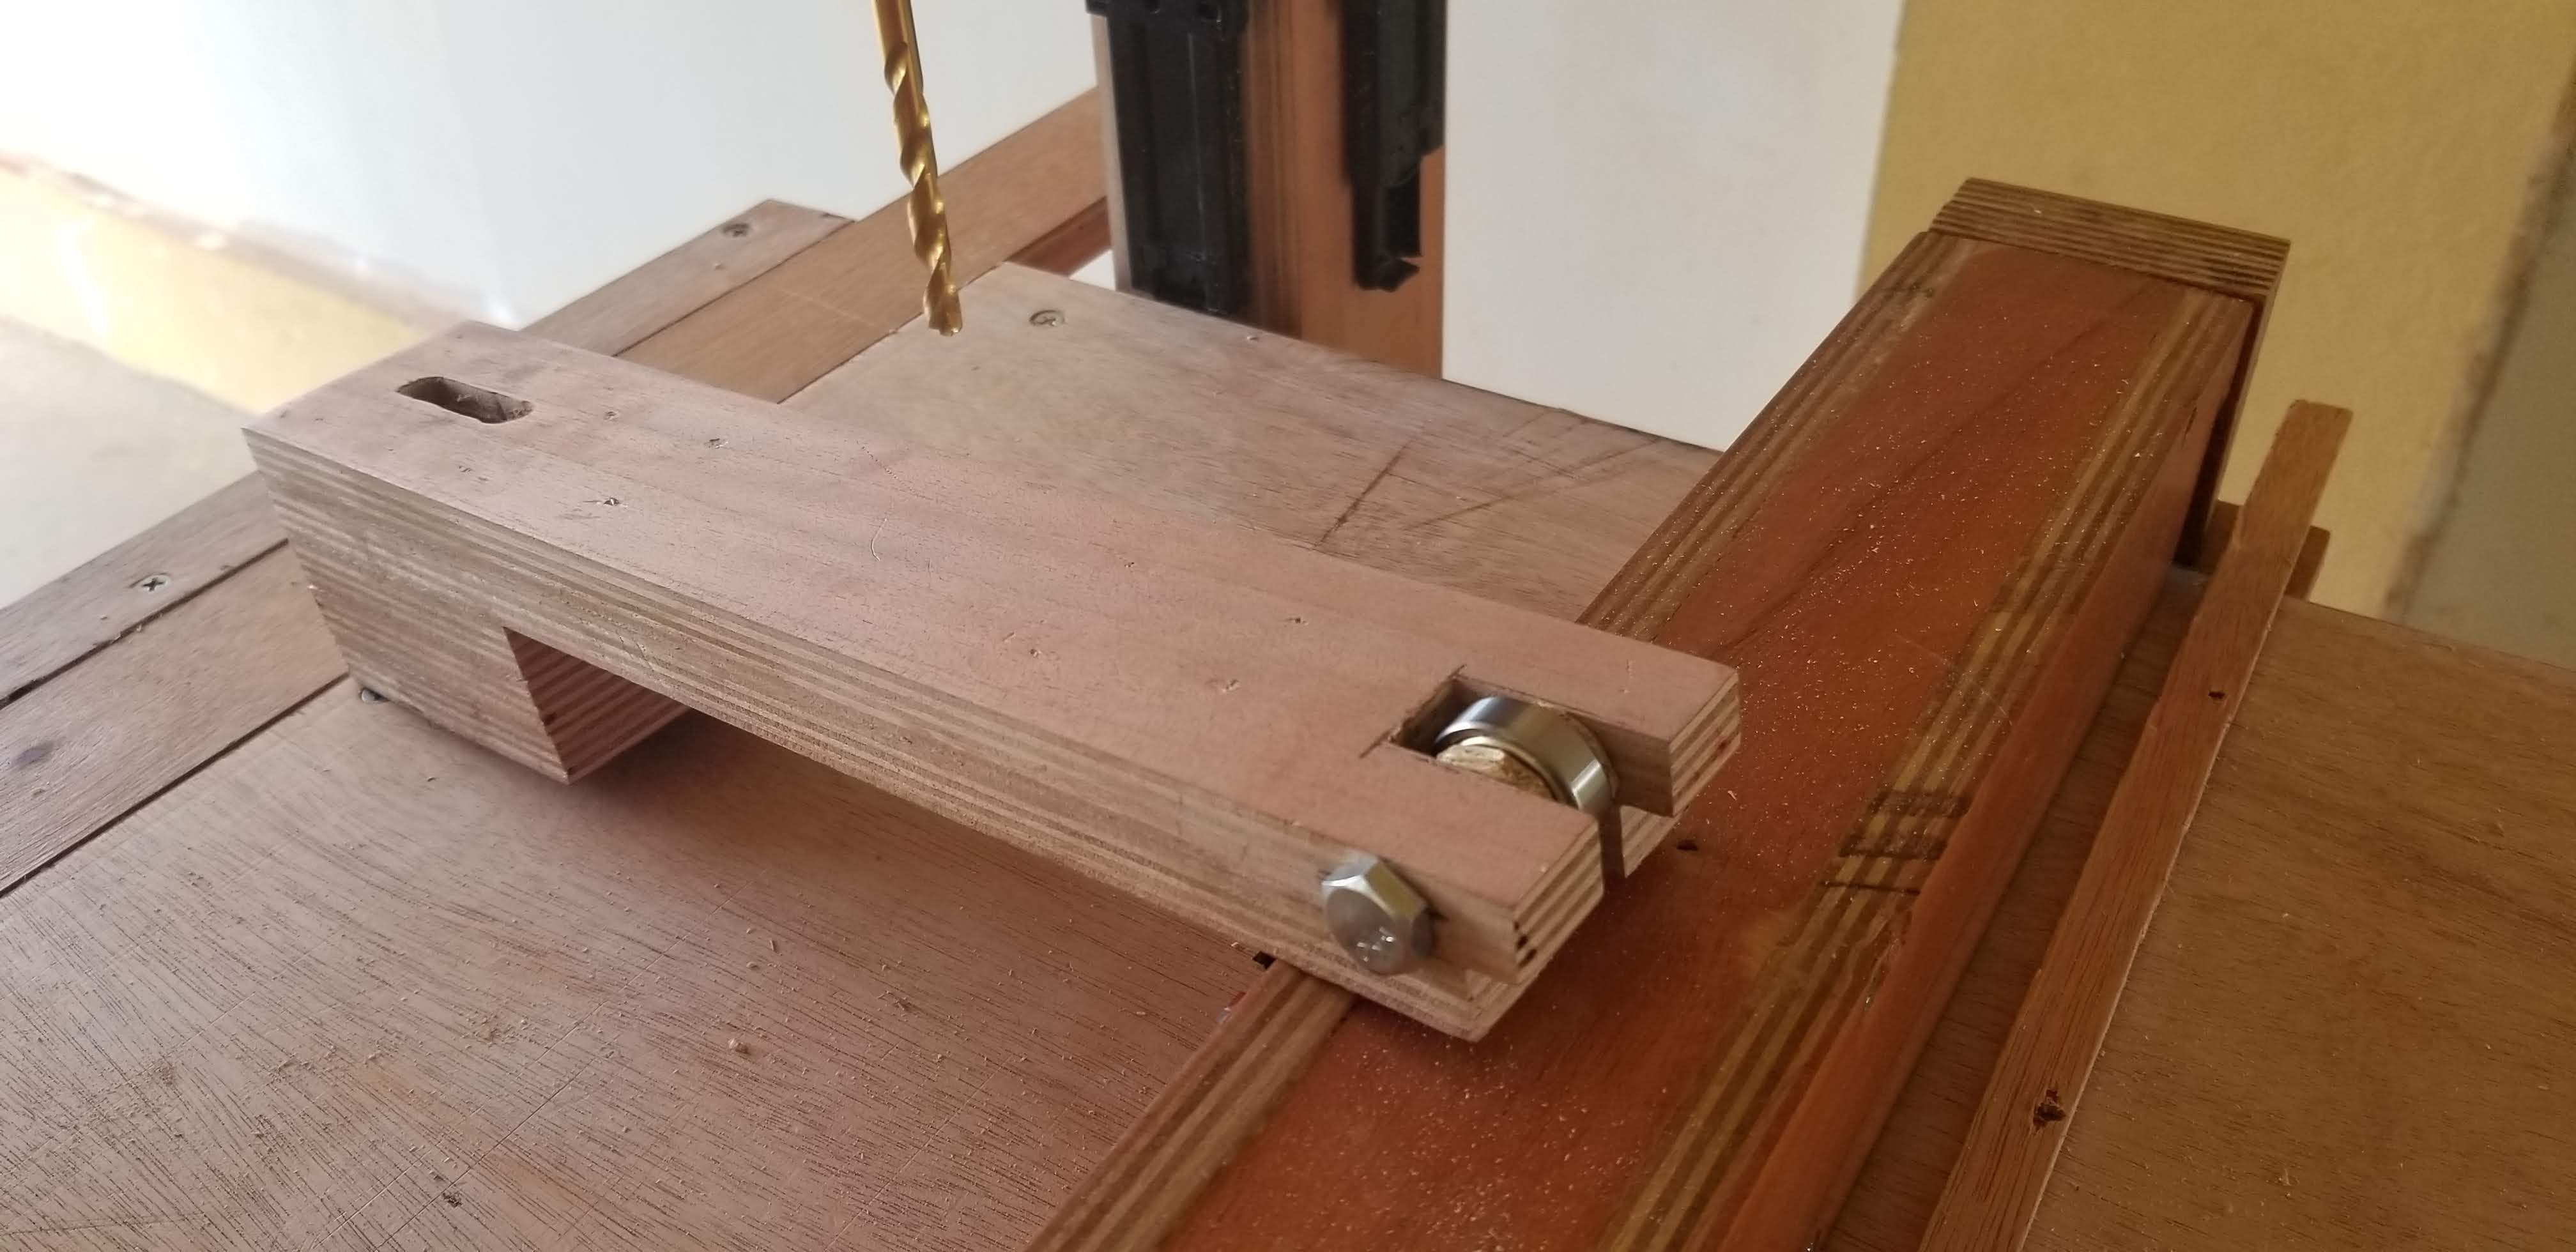
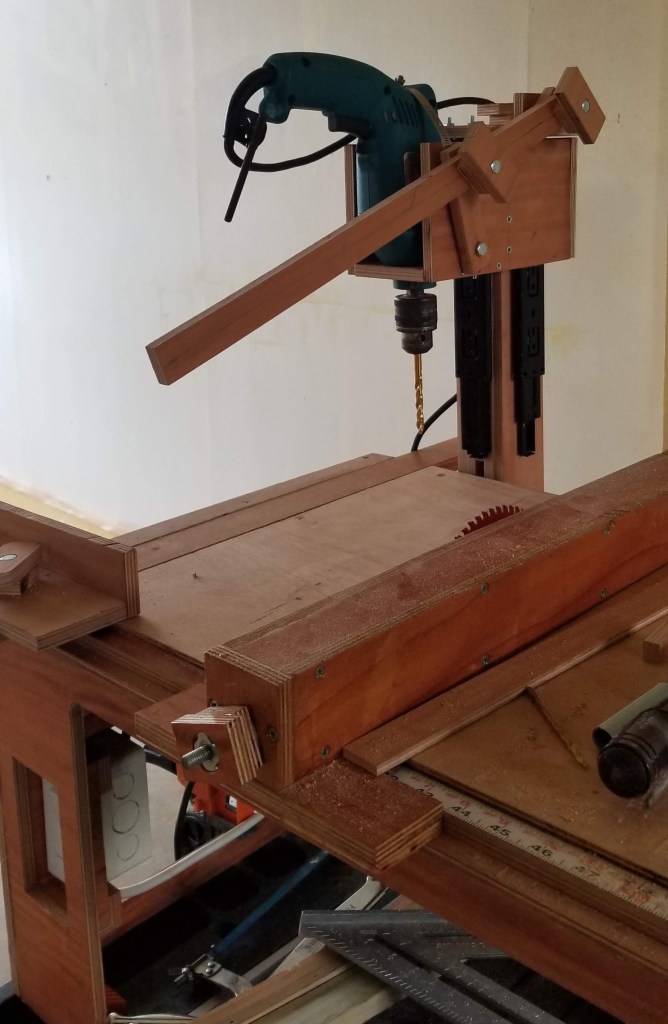
Finished the drill press.
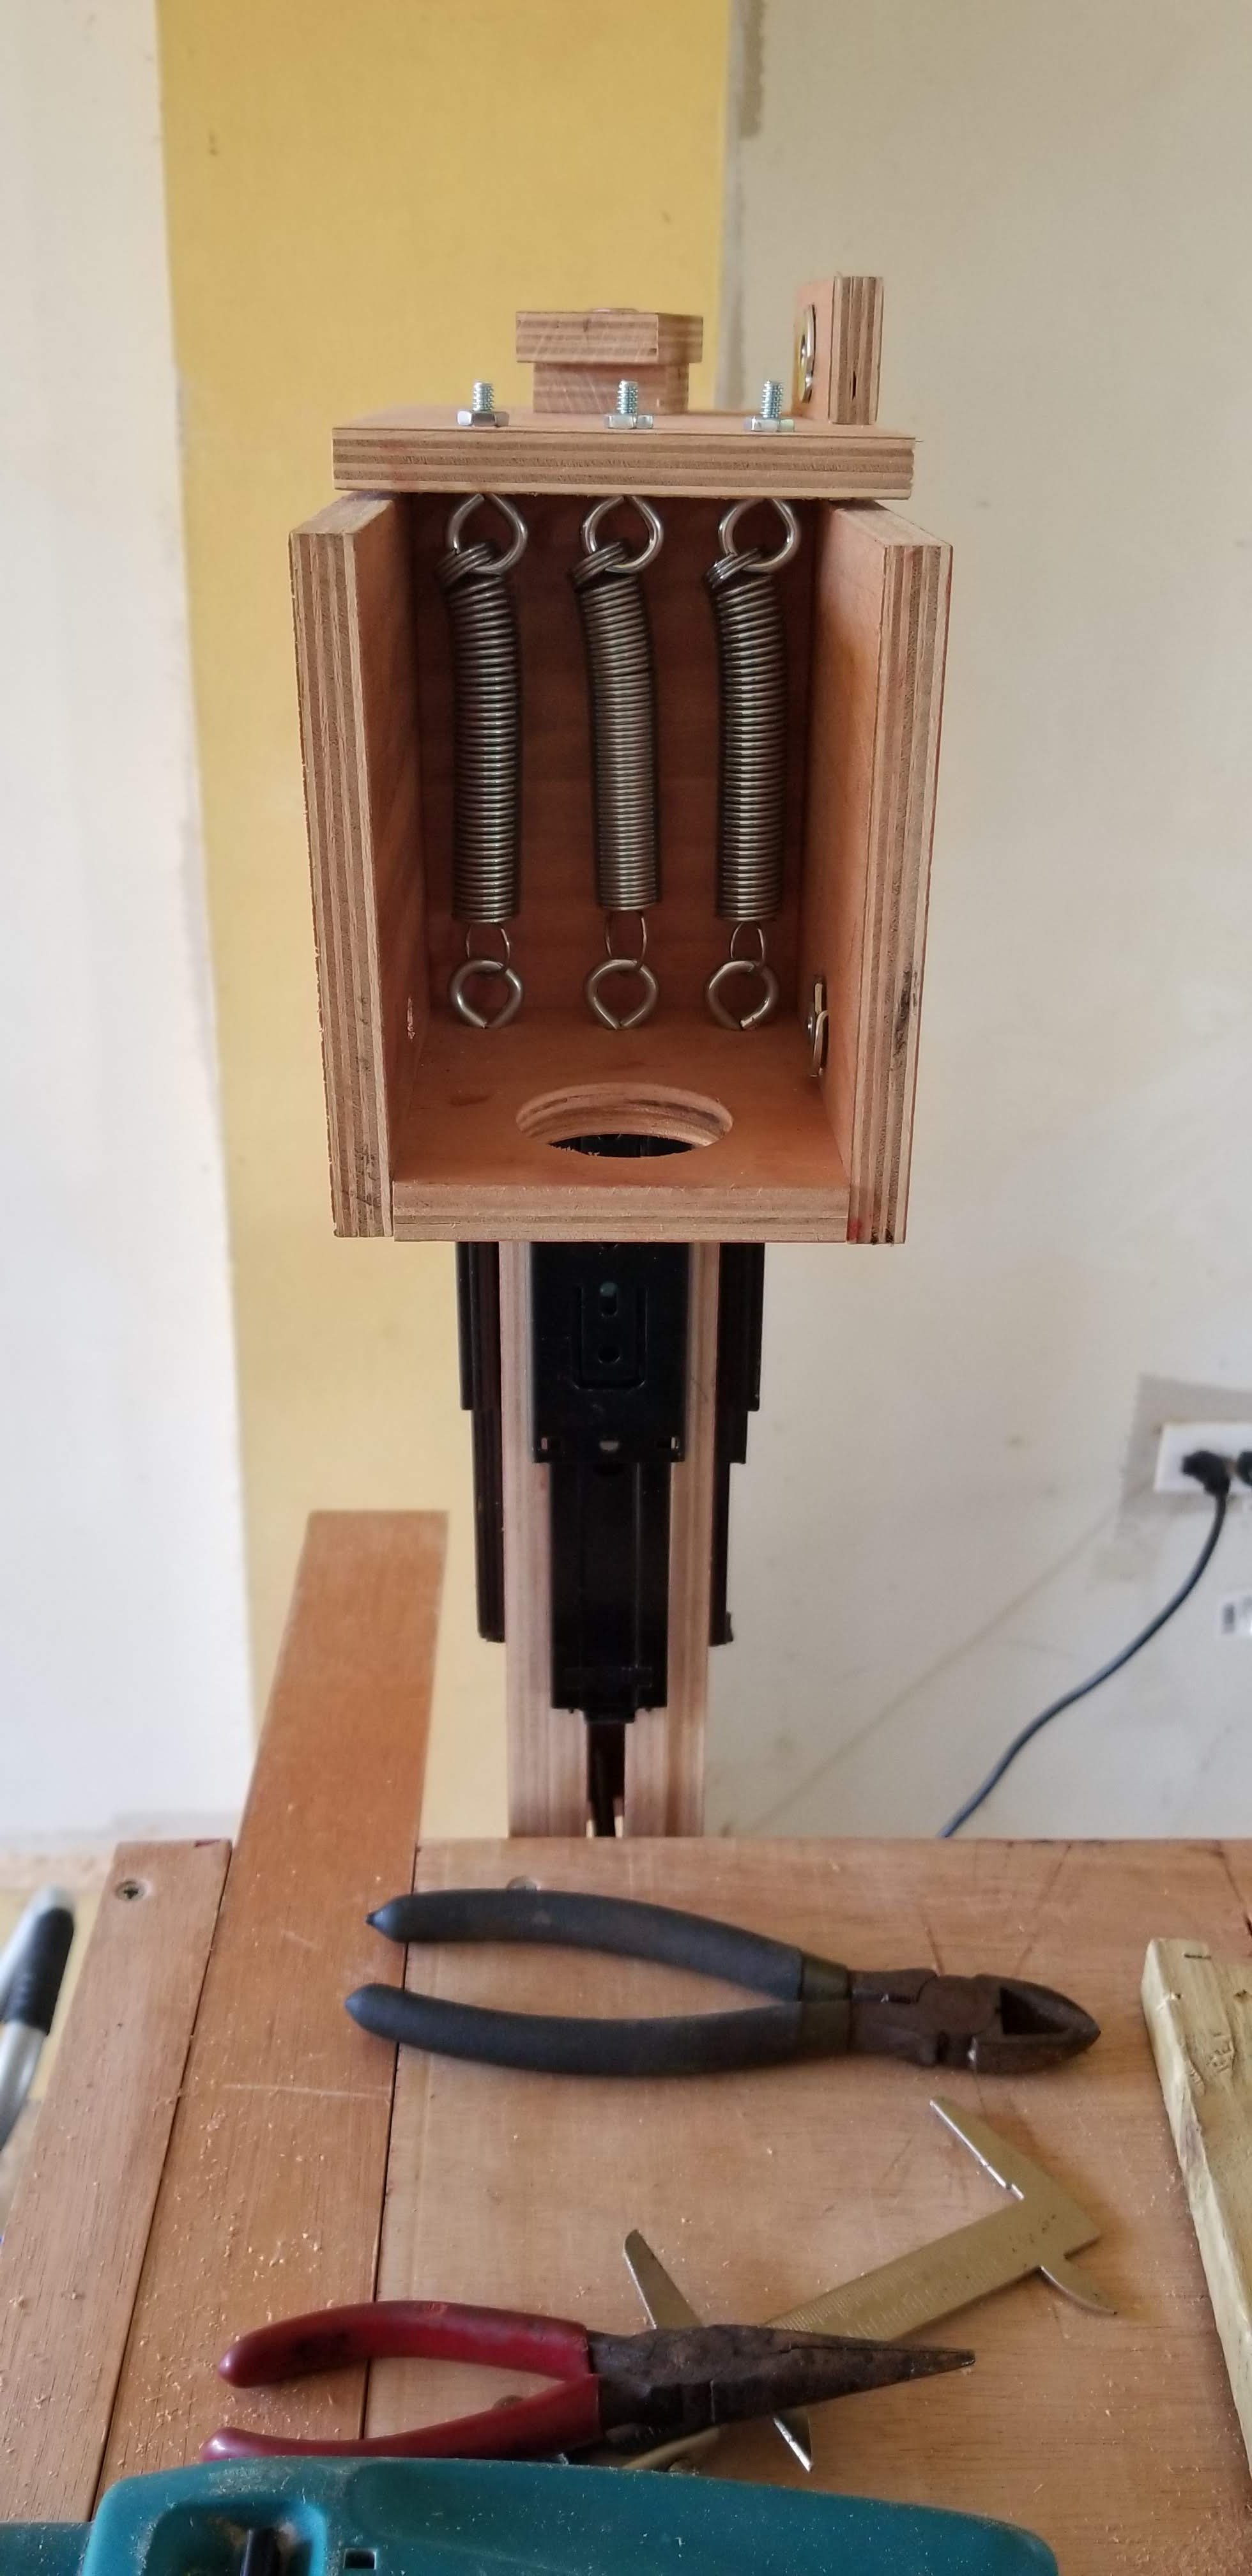
Did some test drills, the press is easy to operate and it produced straight drills. Very happy with the results. Spent 7 hours, so far 36 hours on the Microshop.

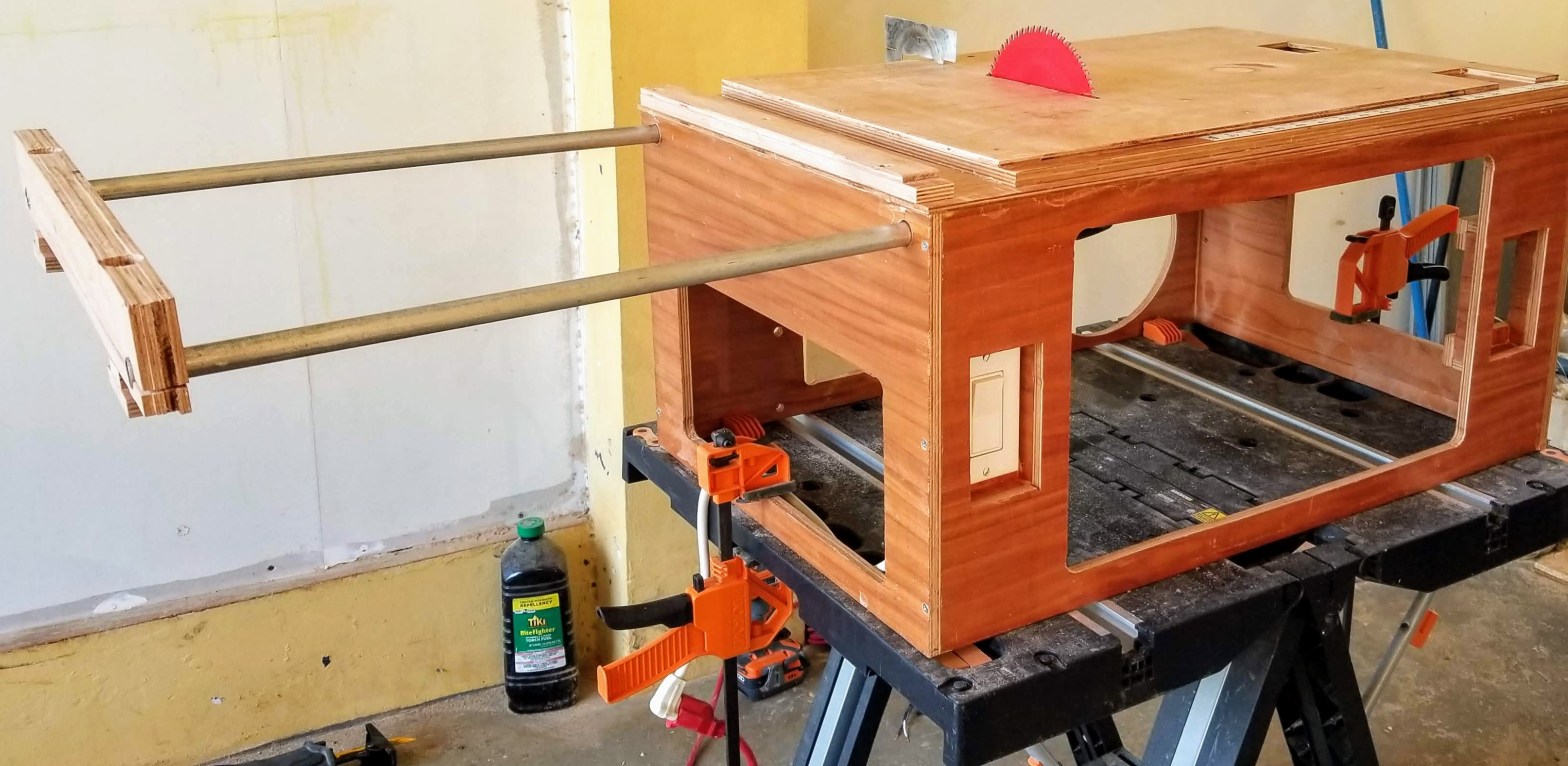
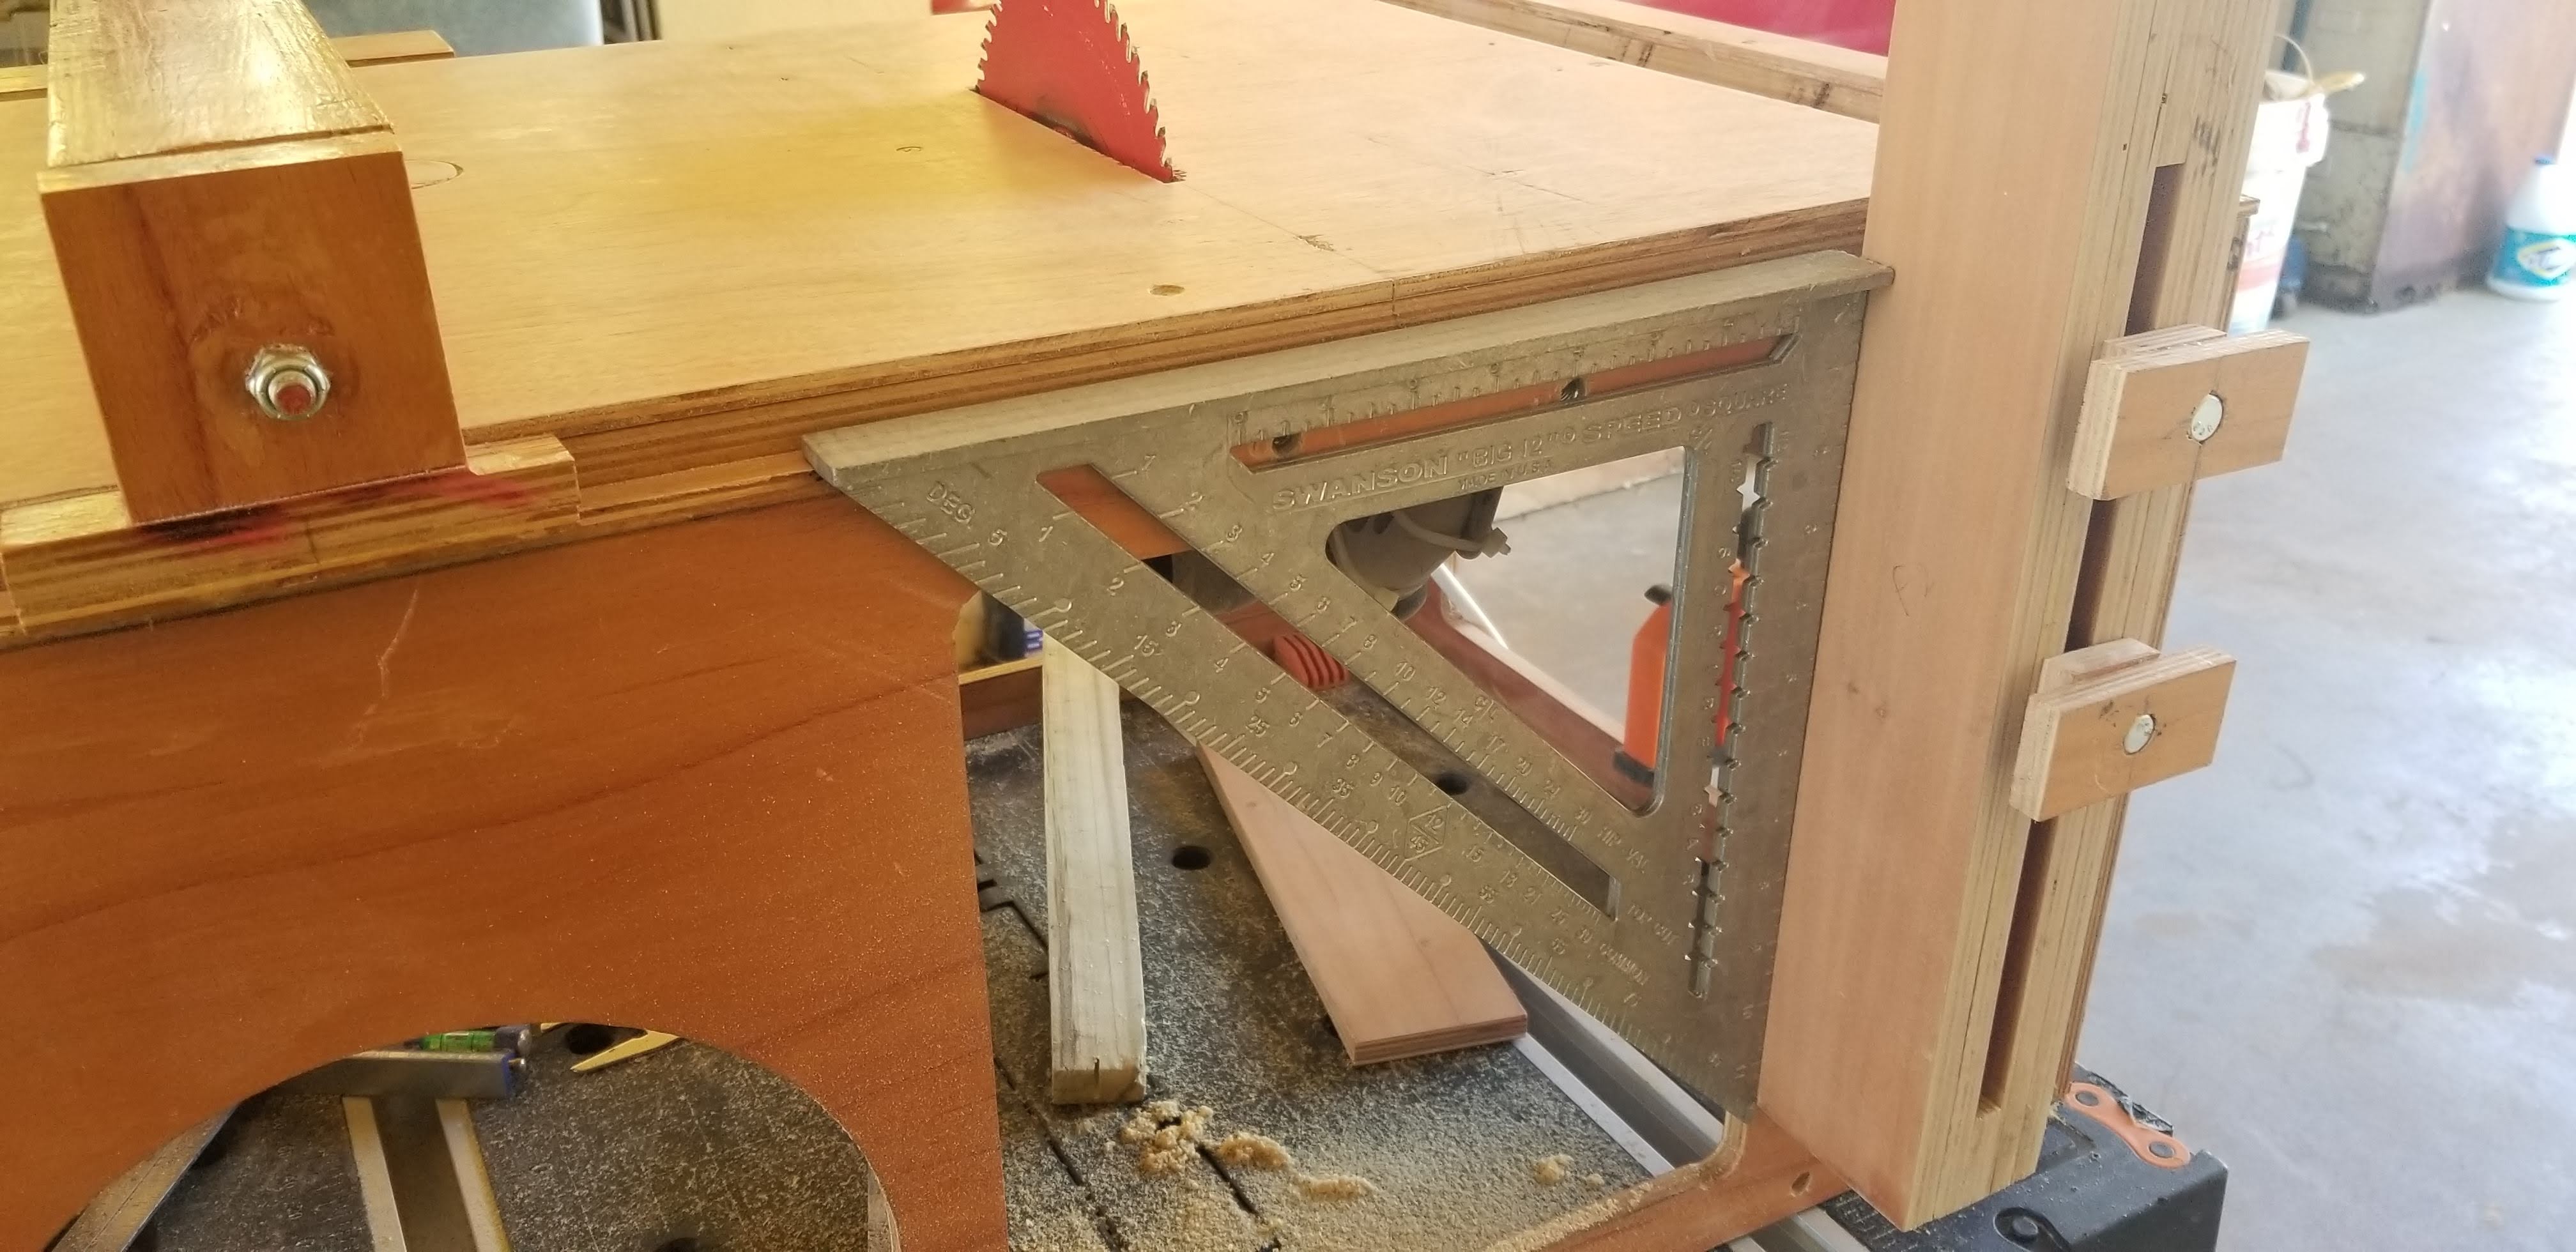
Continued working on the table saw. Installed the top layer, and secured the saw.
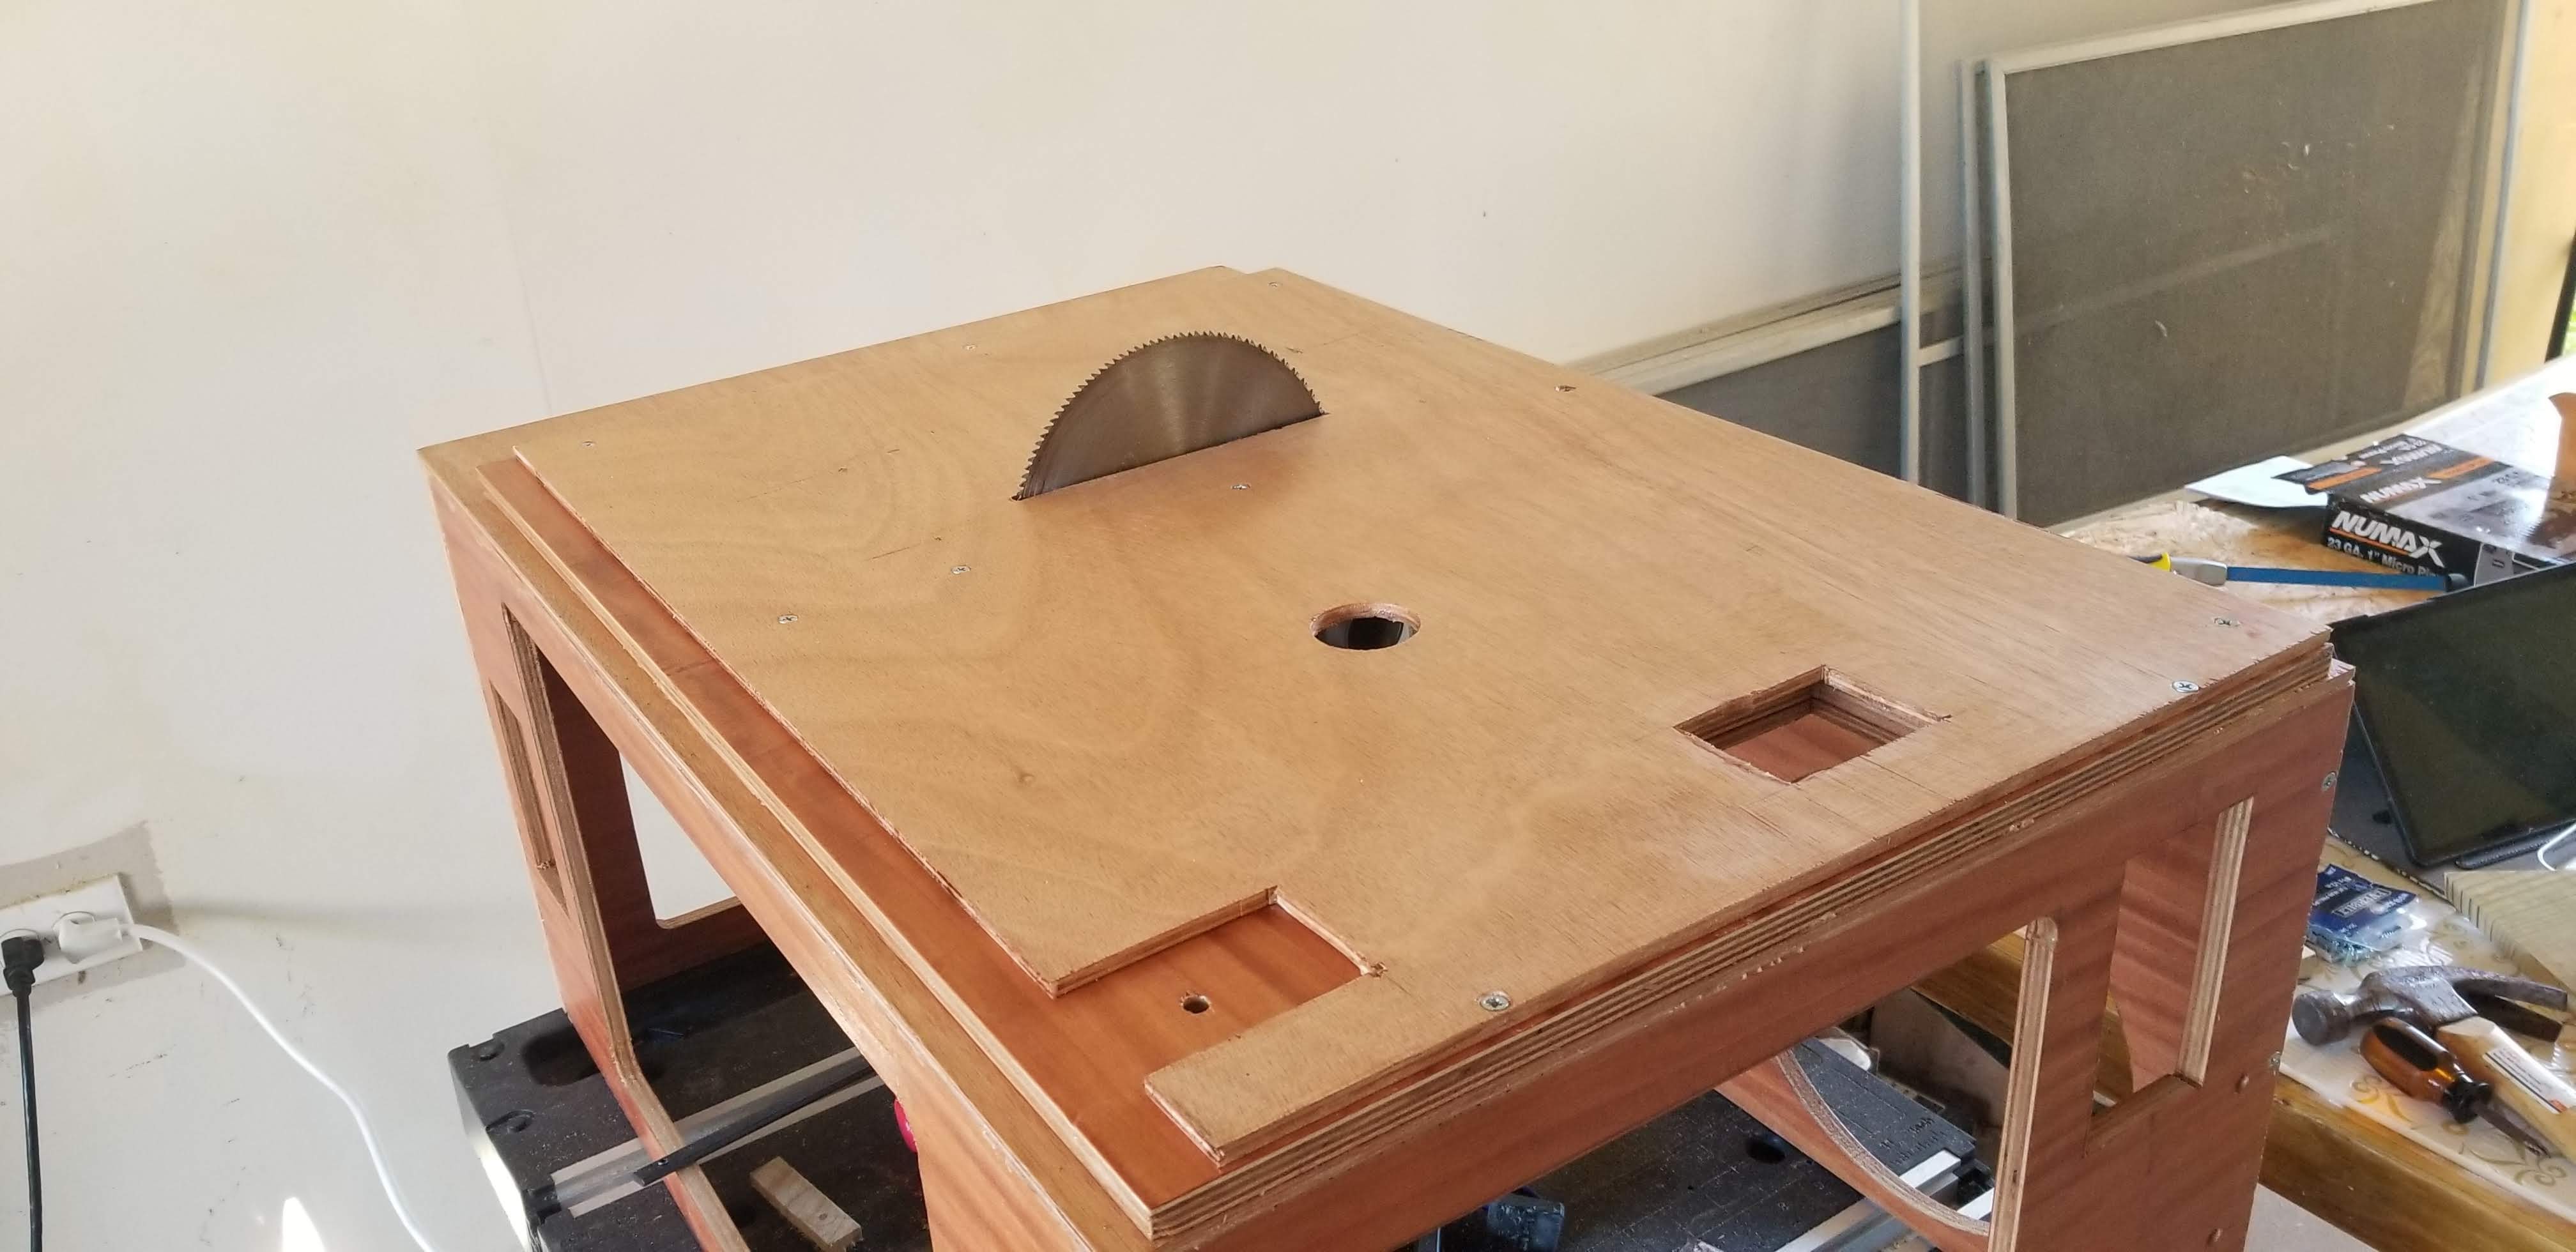
Then made the miter’s gauge.
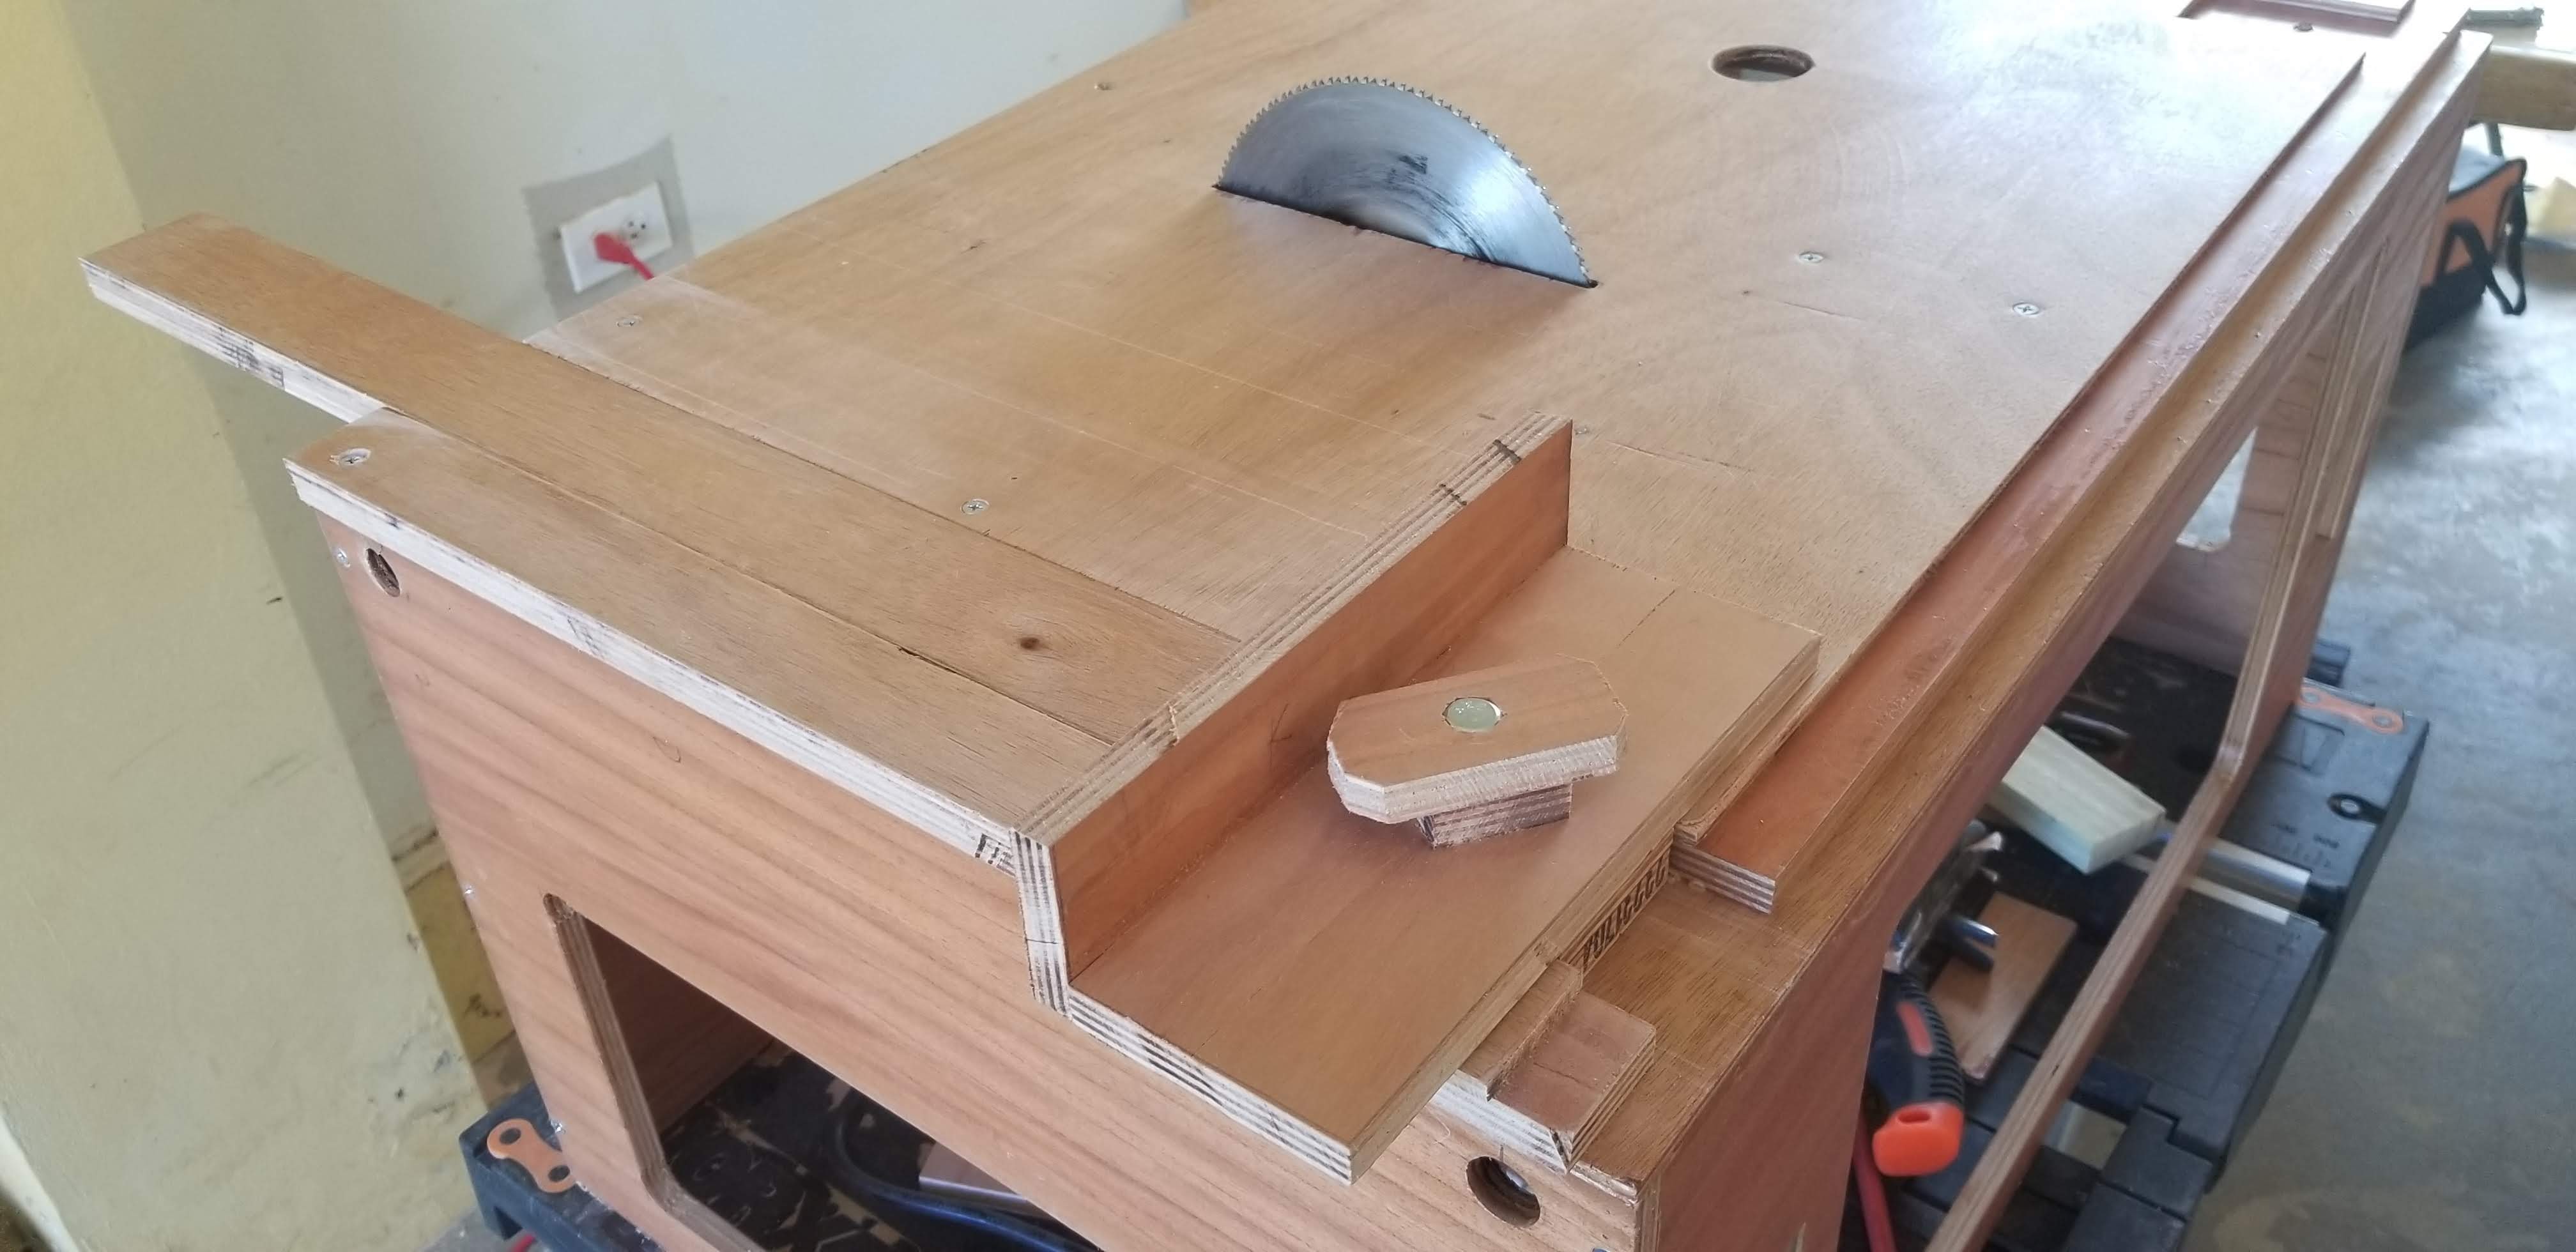
Started to build the table fence. This part consumed most of the time and effort. Lot of measurements, and alingment to make it as straight as I could. Almost finished it , but after 8 hours of fun, decided to continue on another day. So far 19 hours on the project.
Here are the One Minute Workbench videos that cover most of what I did today.
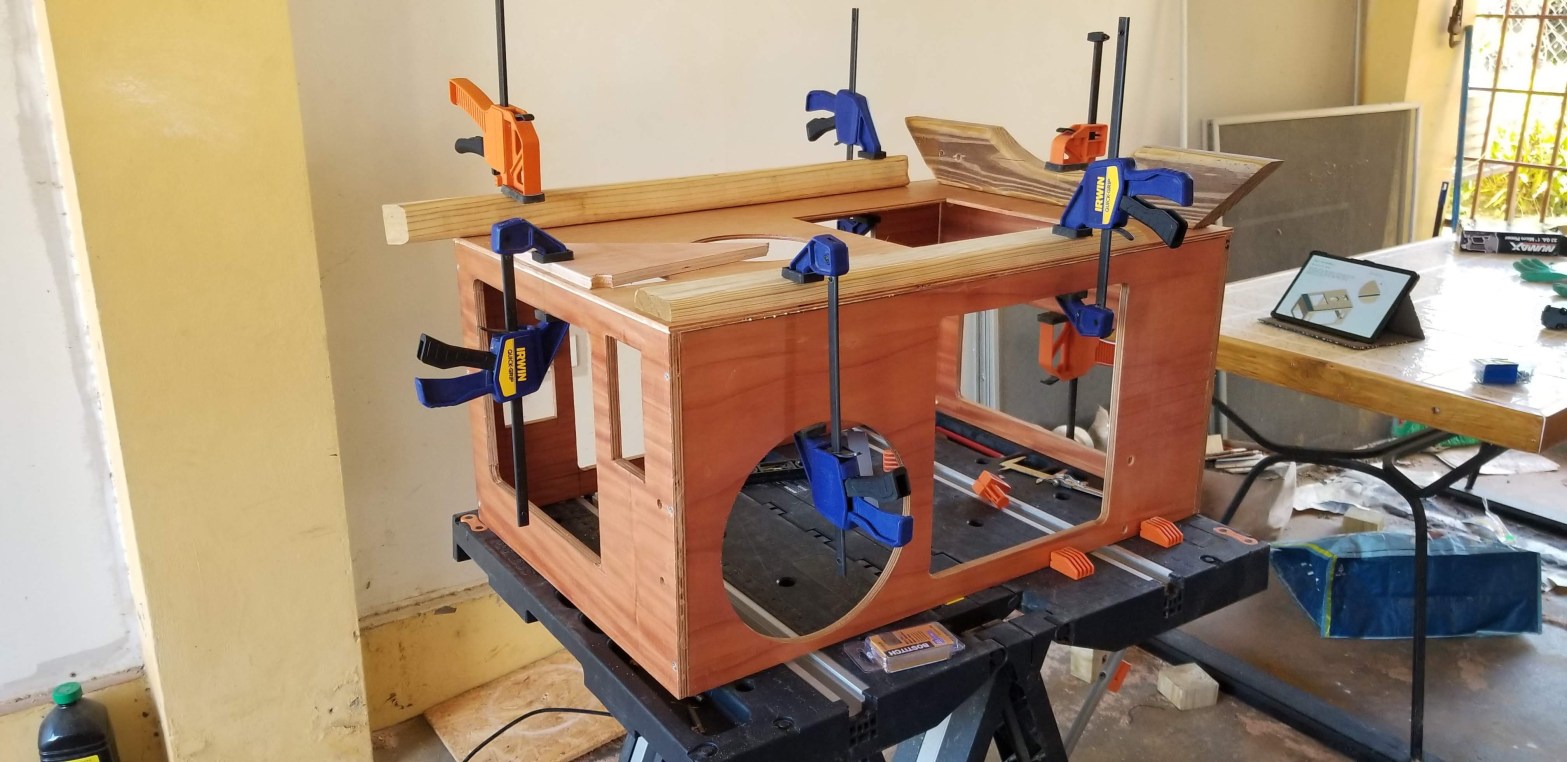
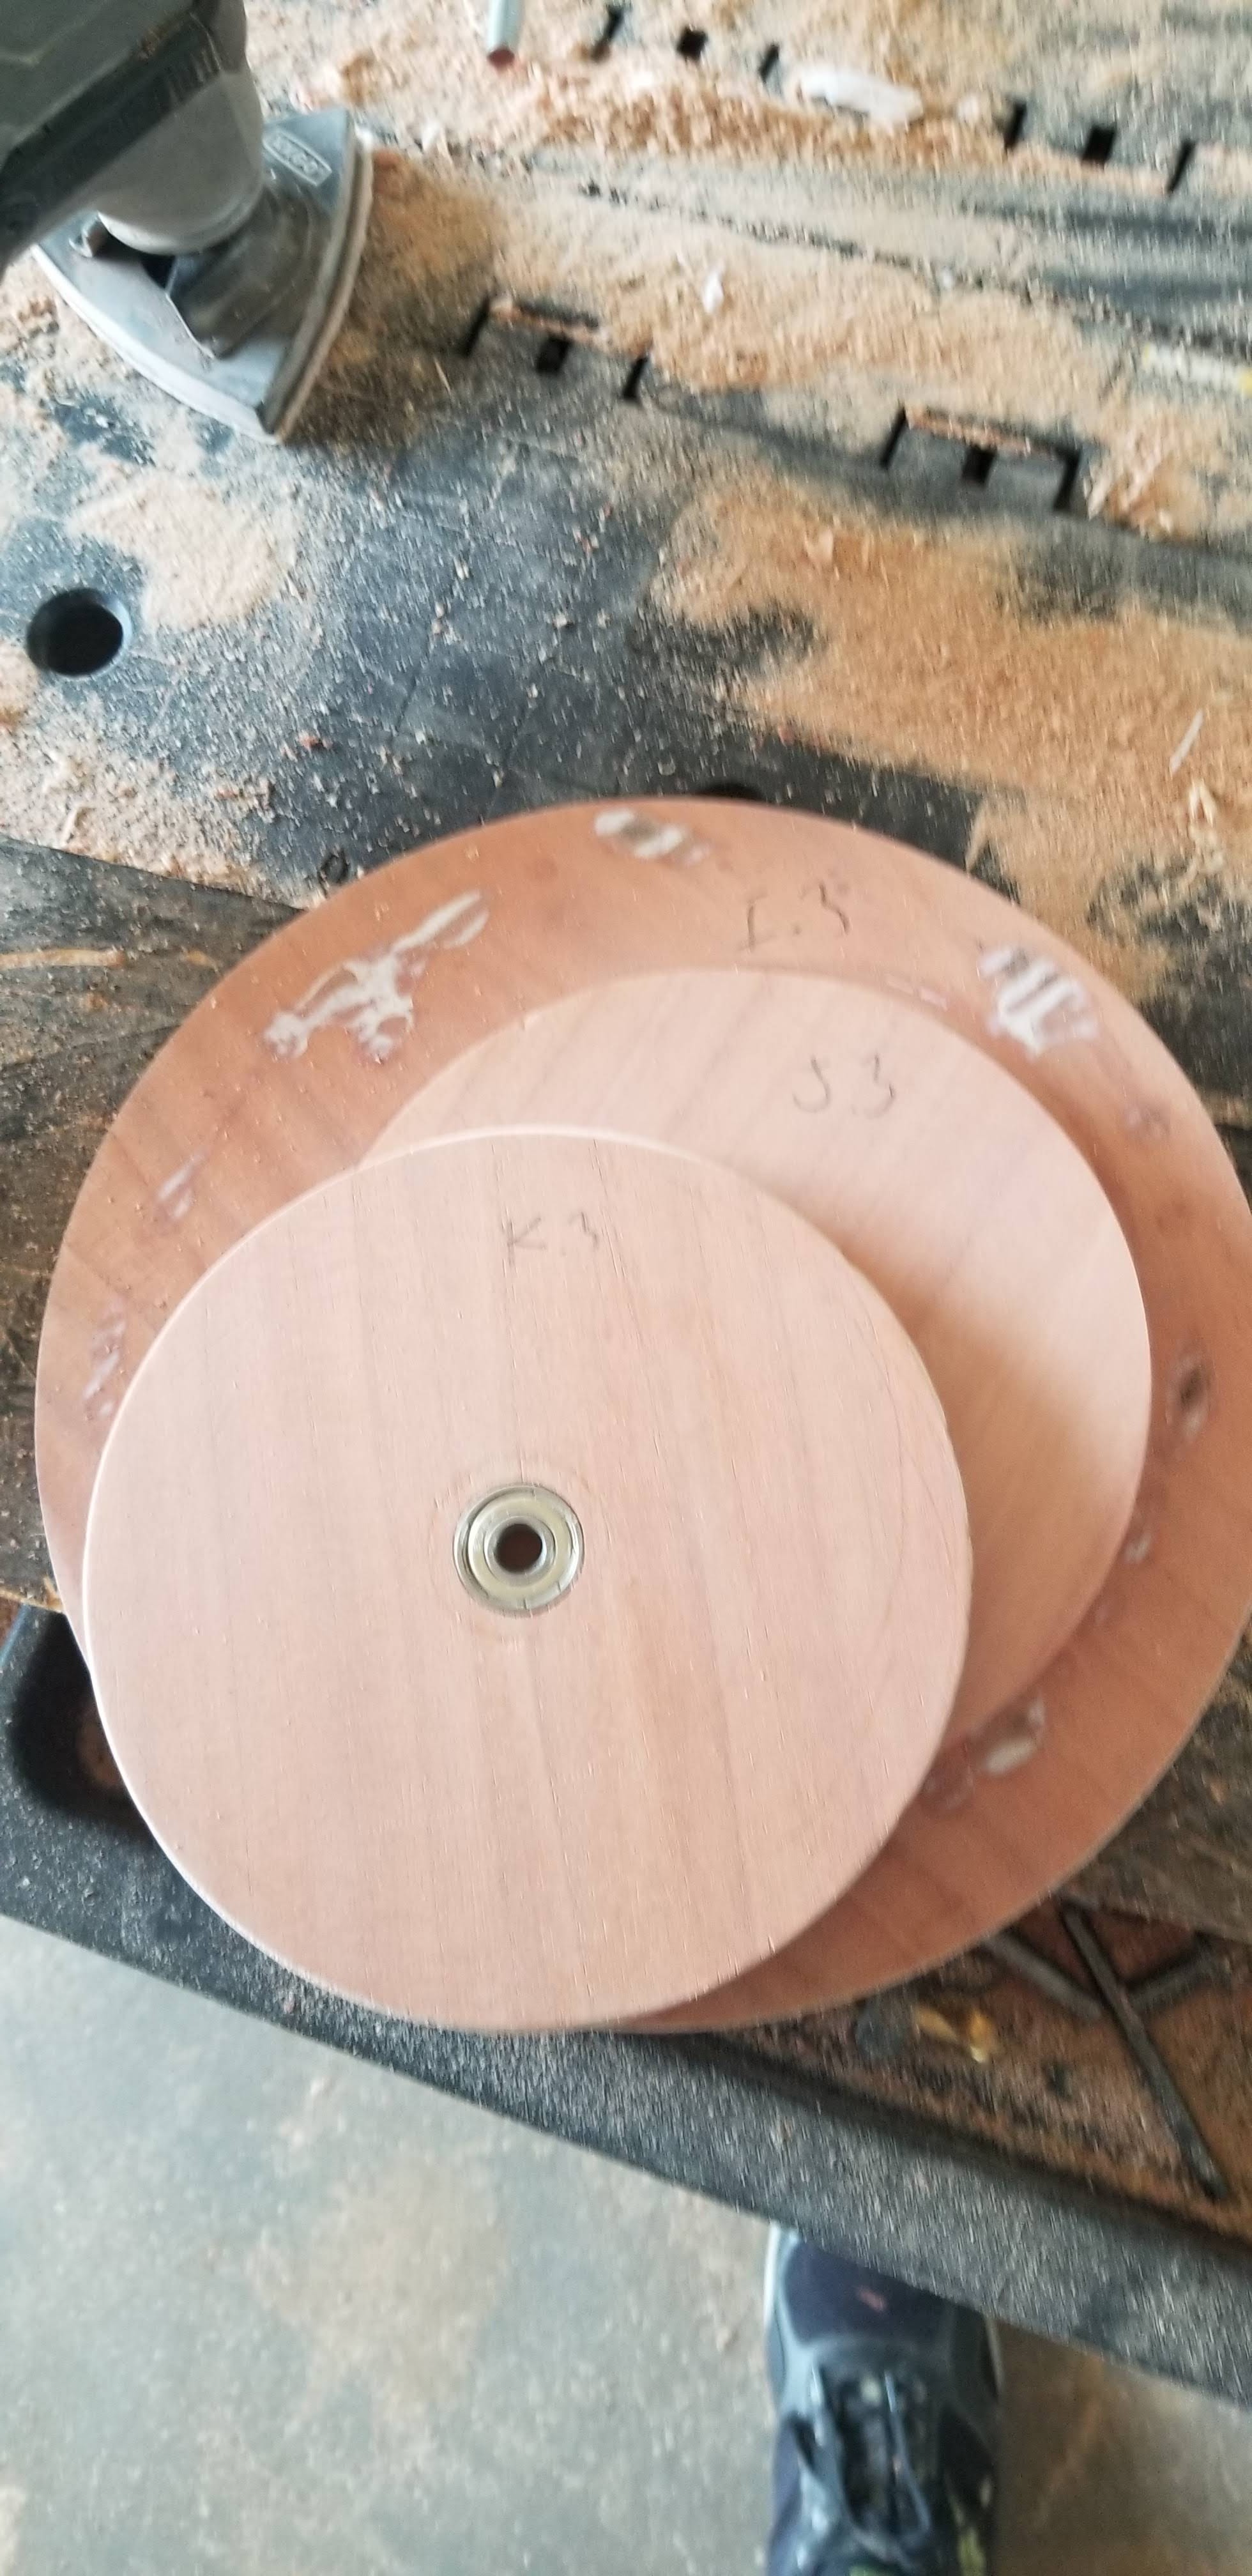
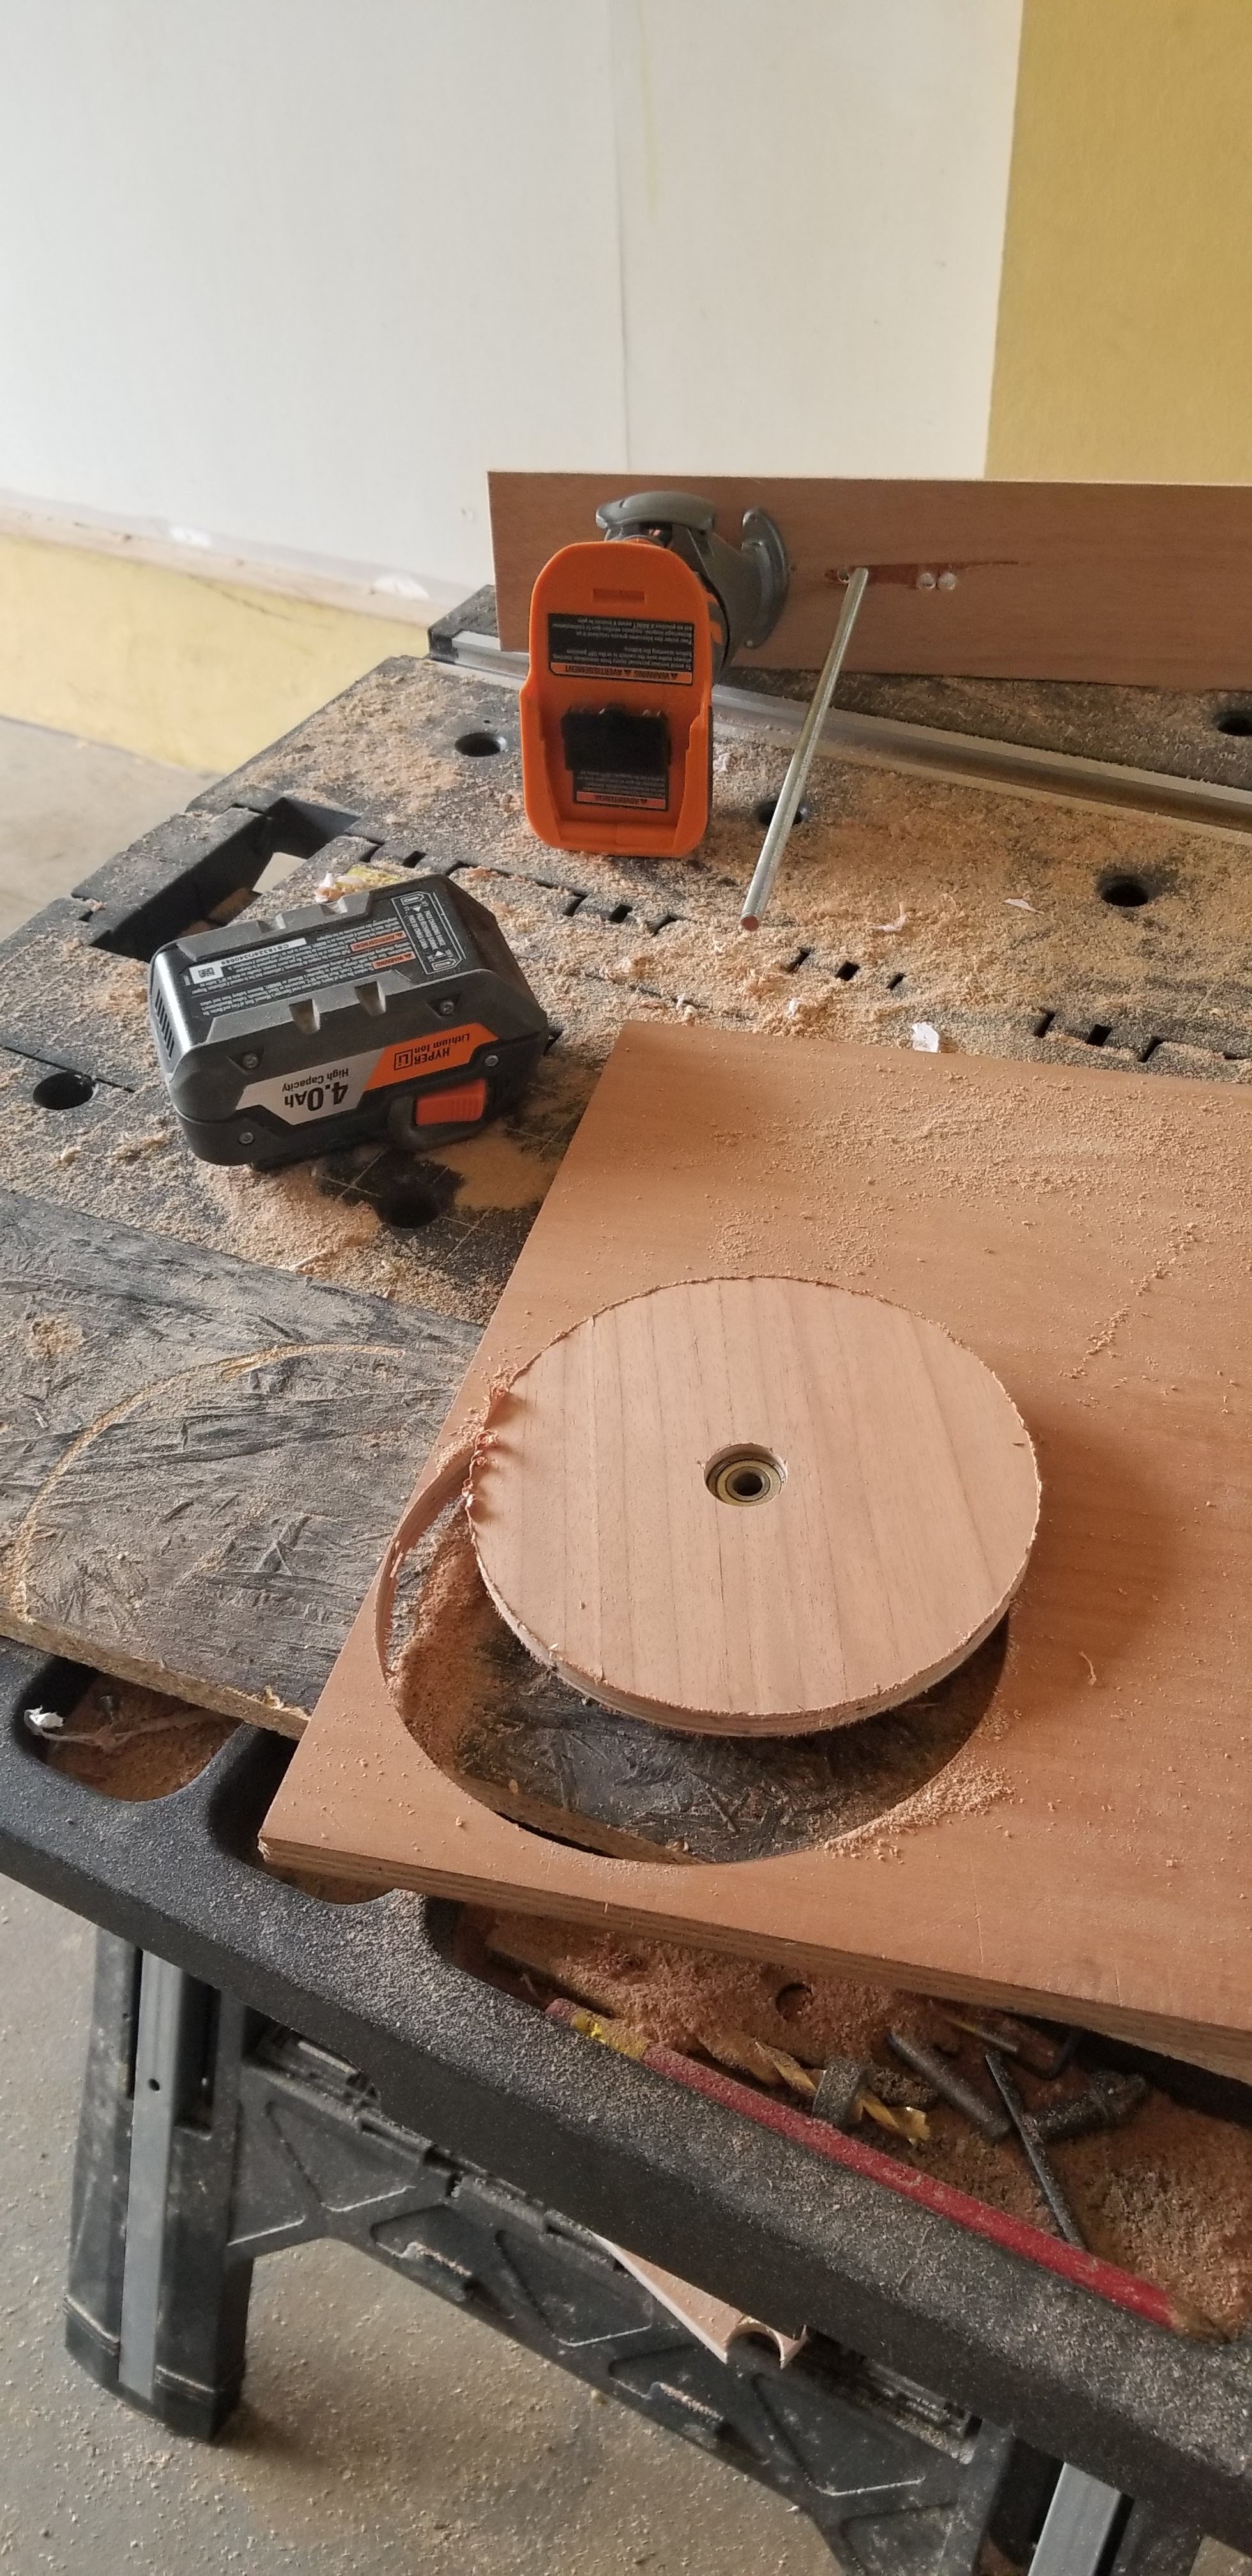
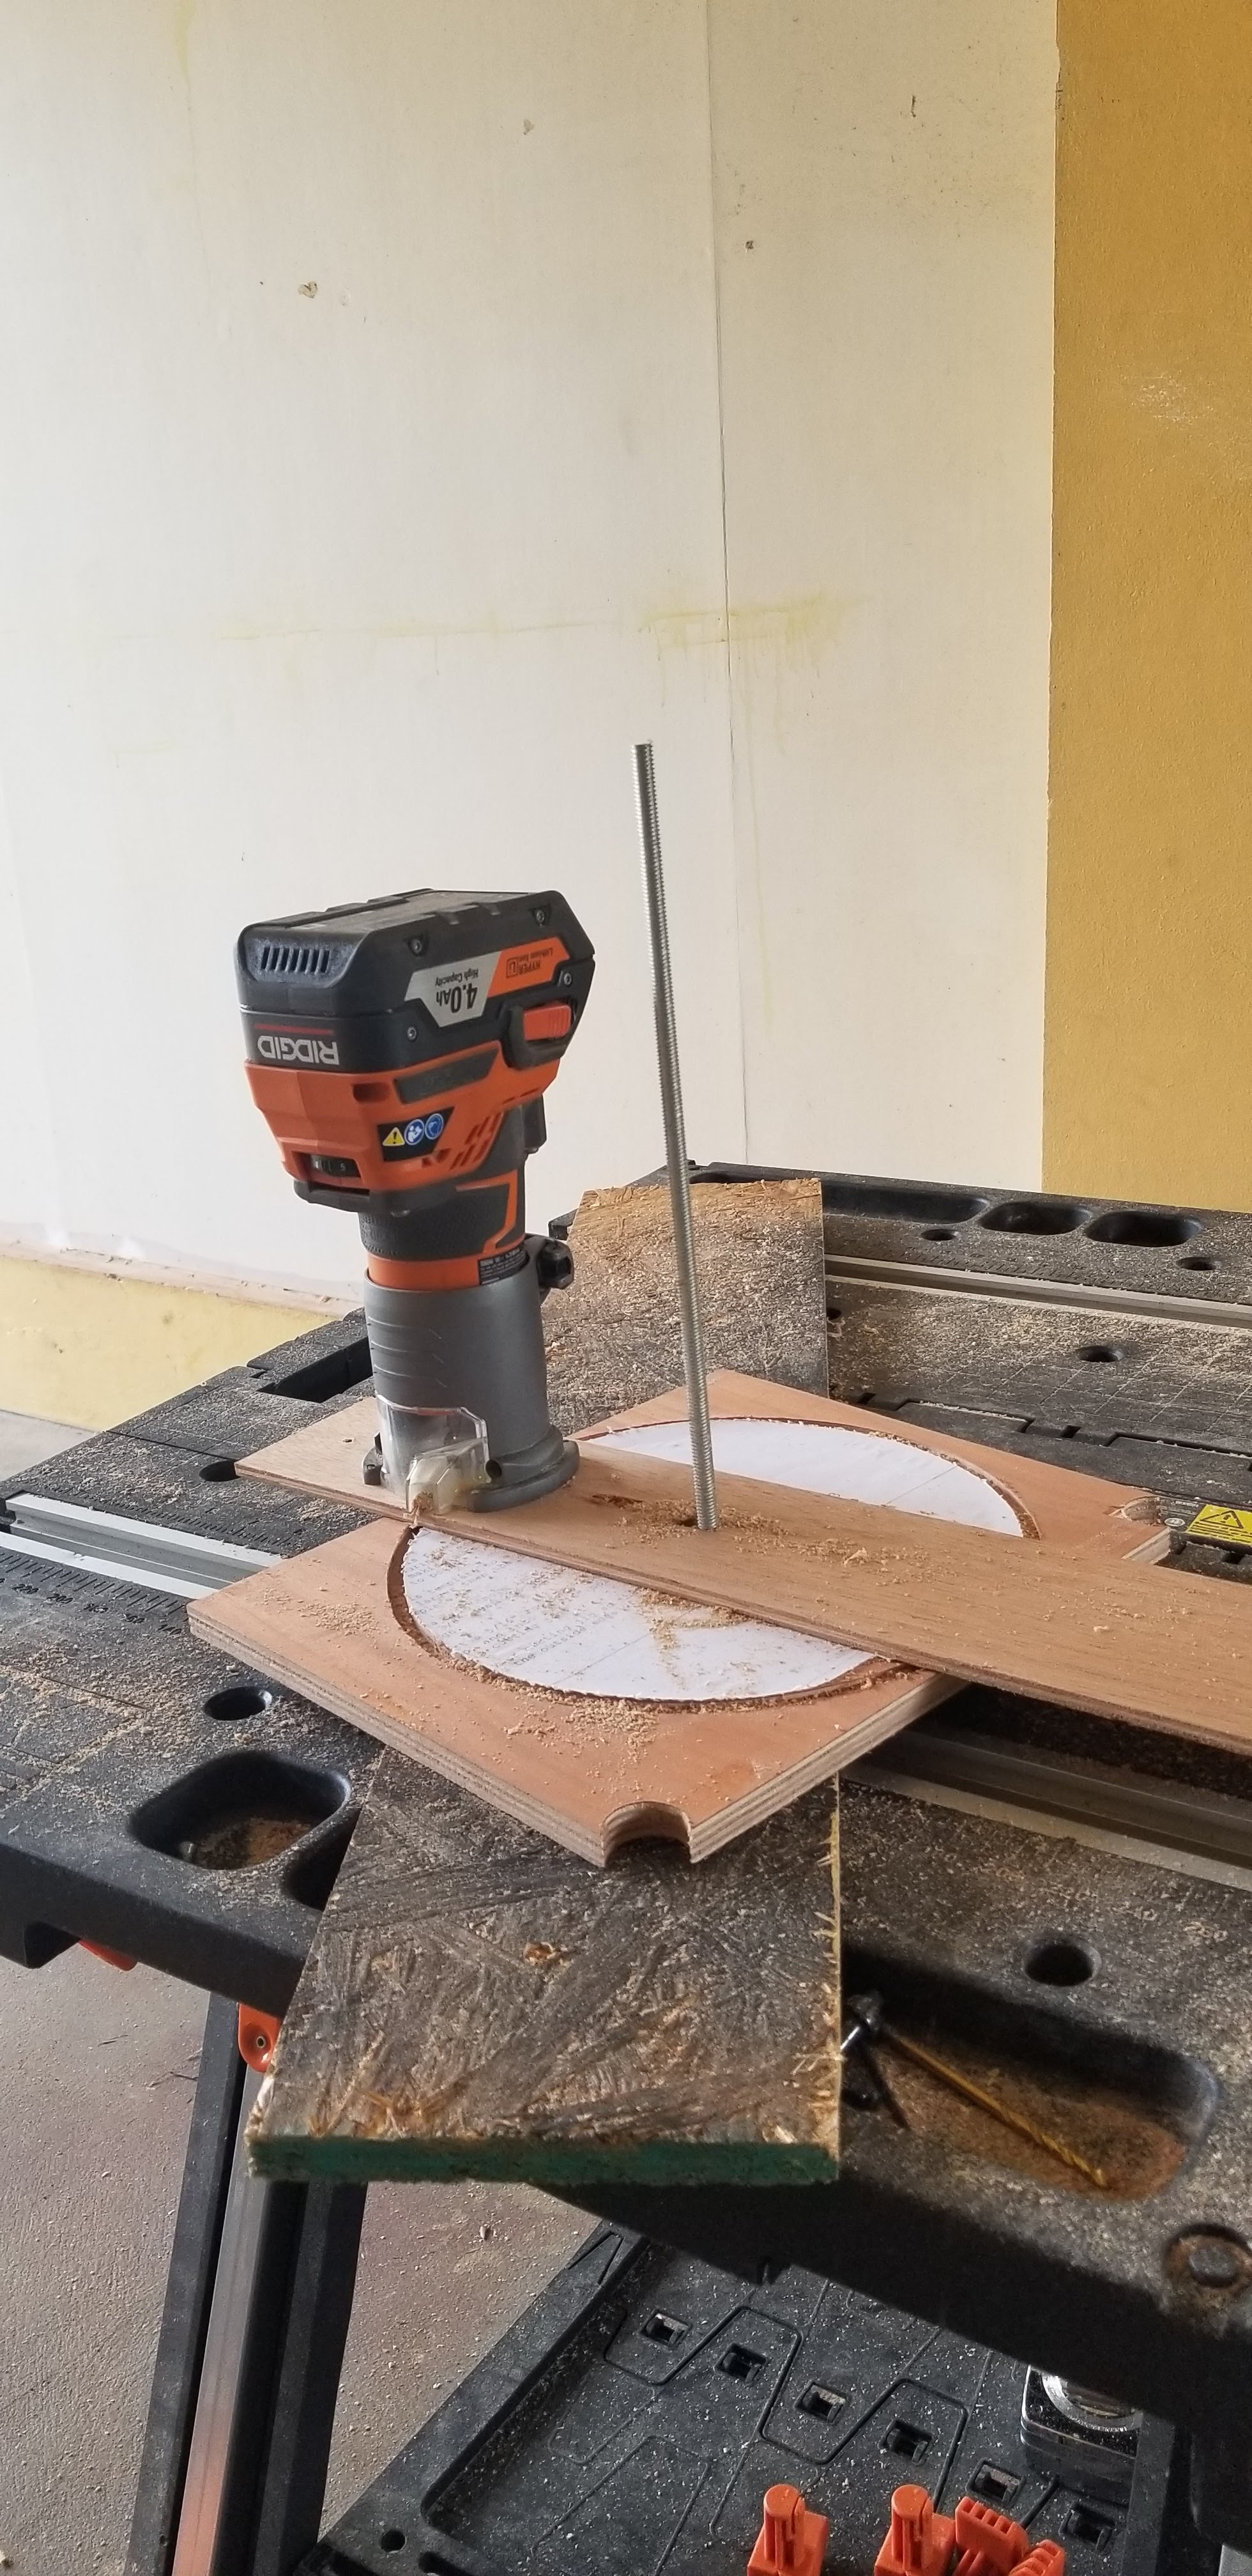
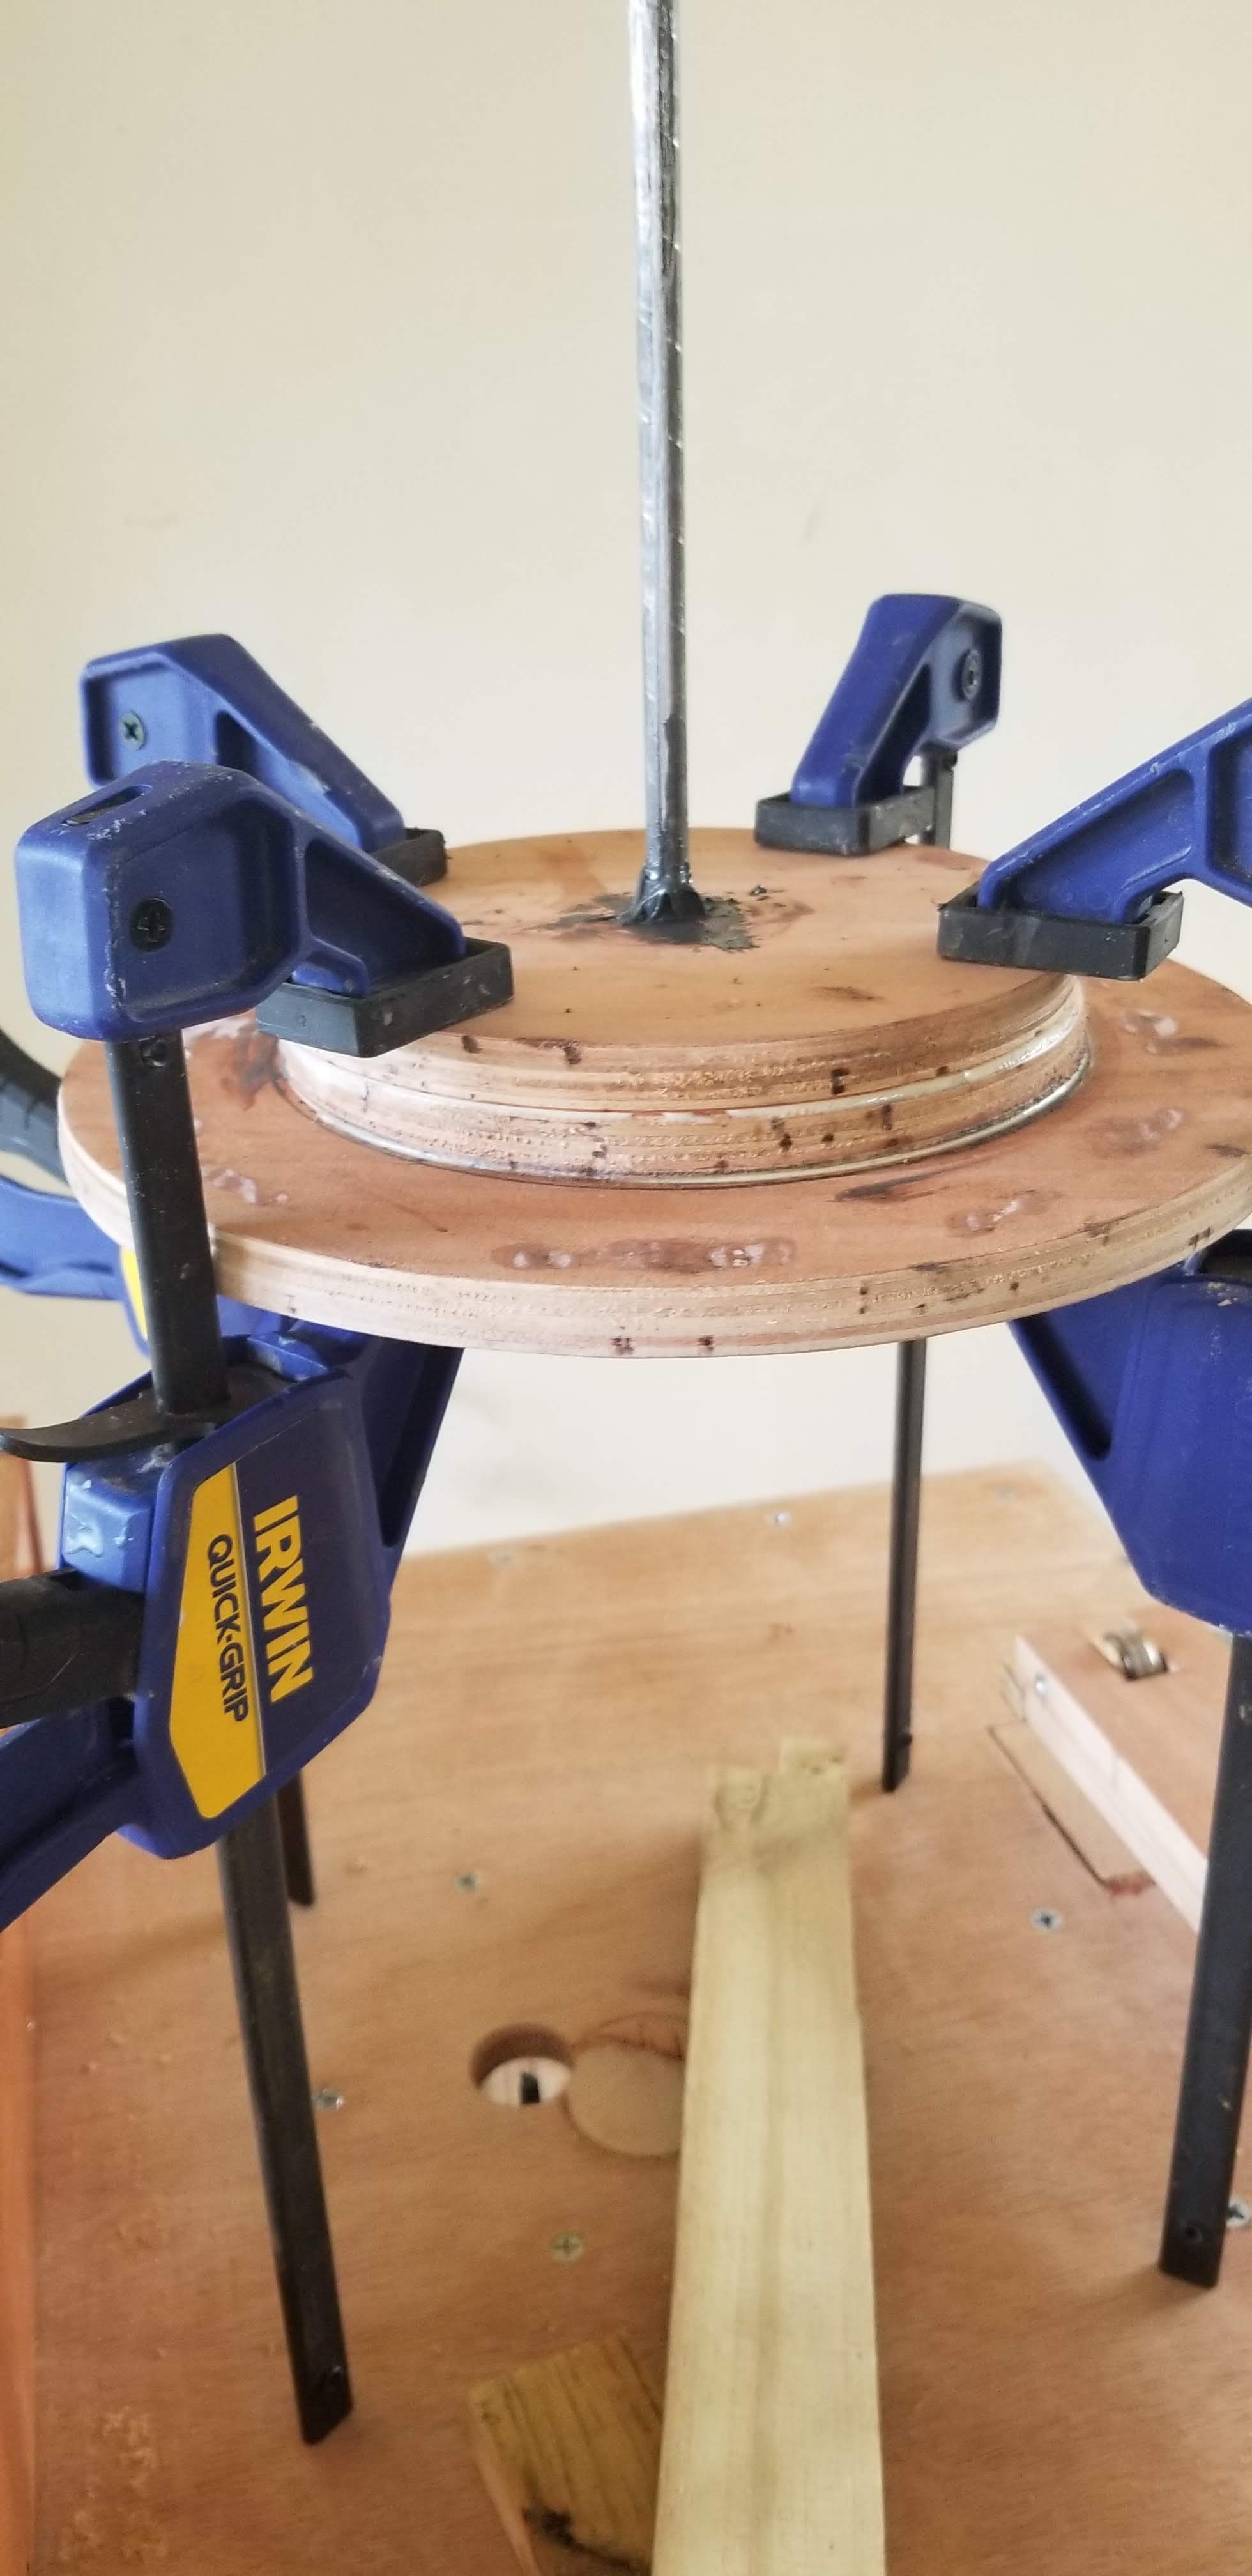
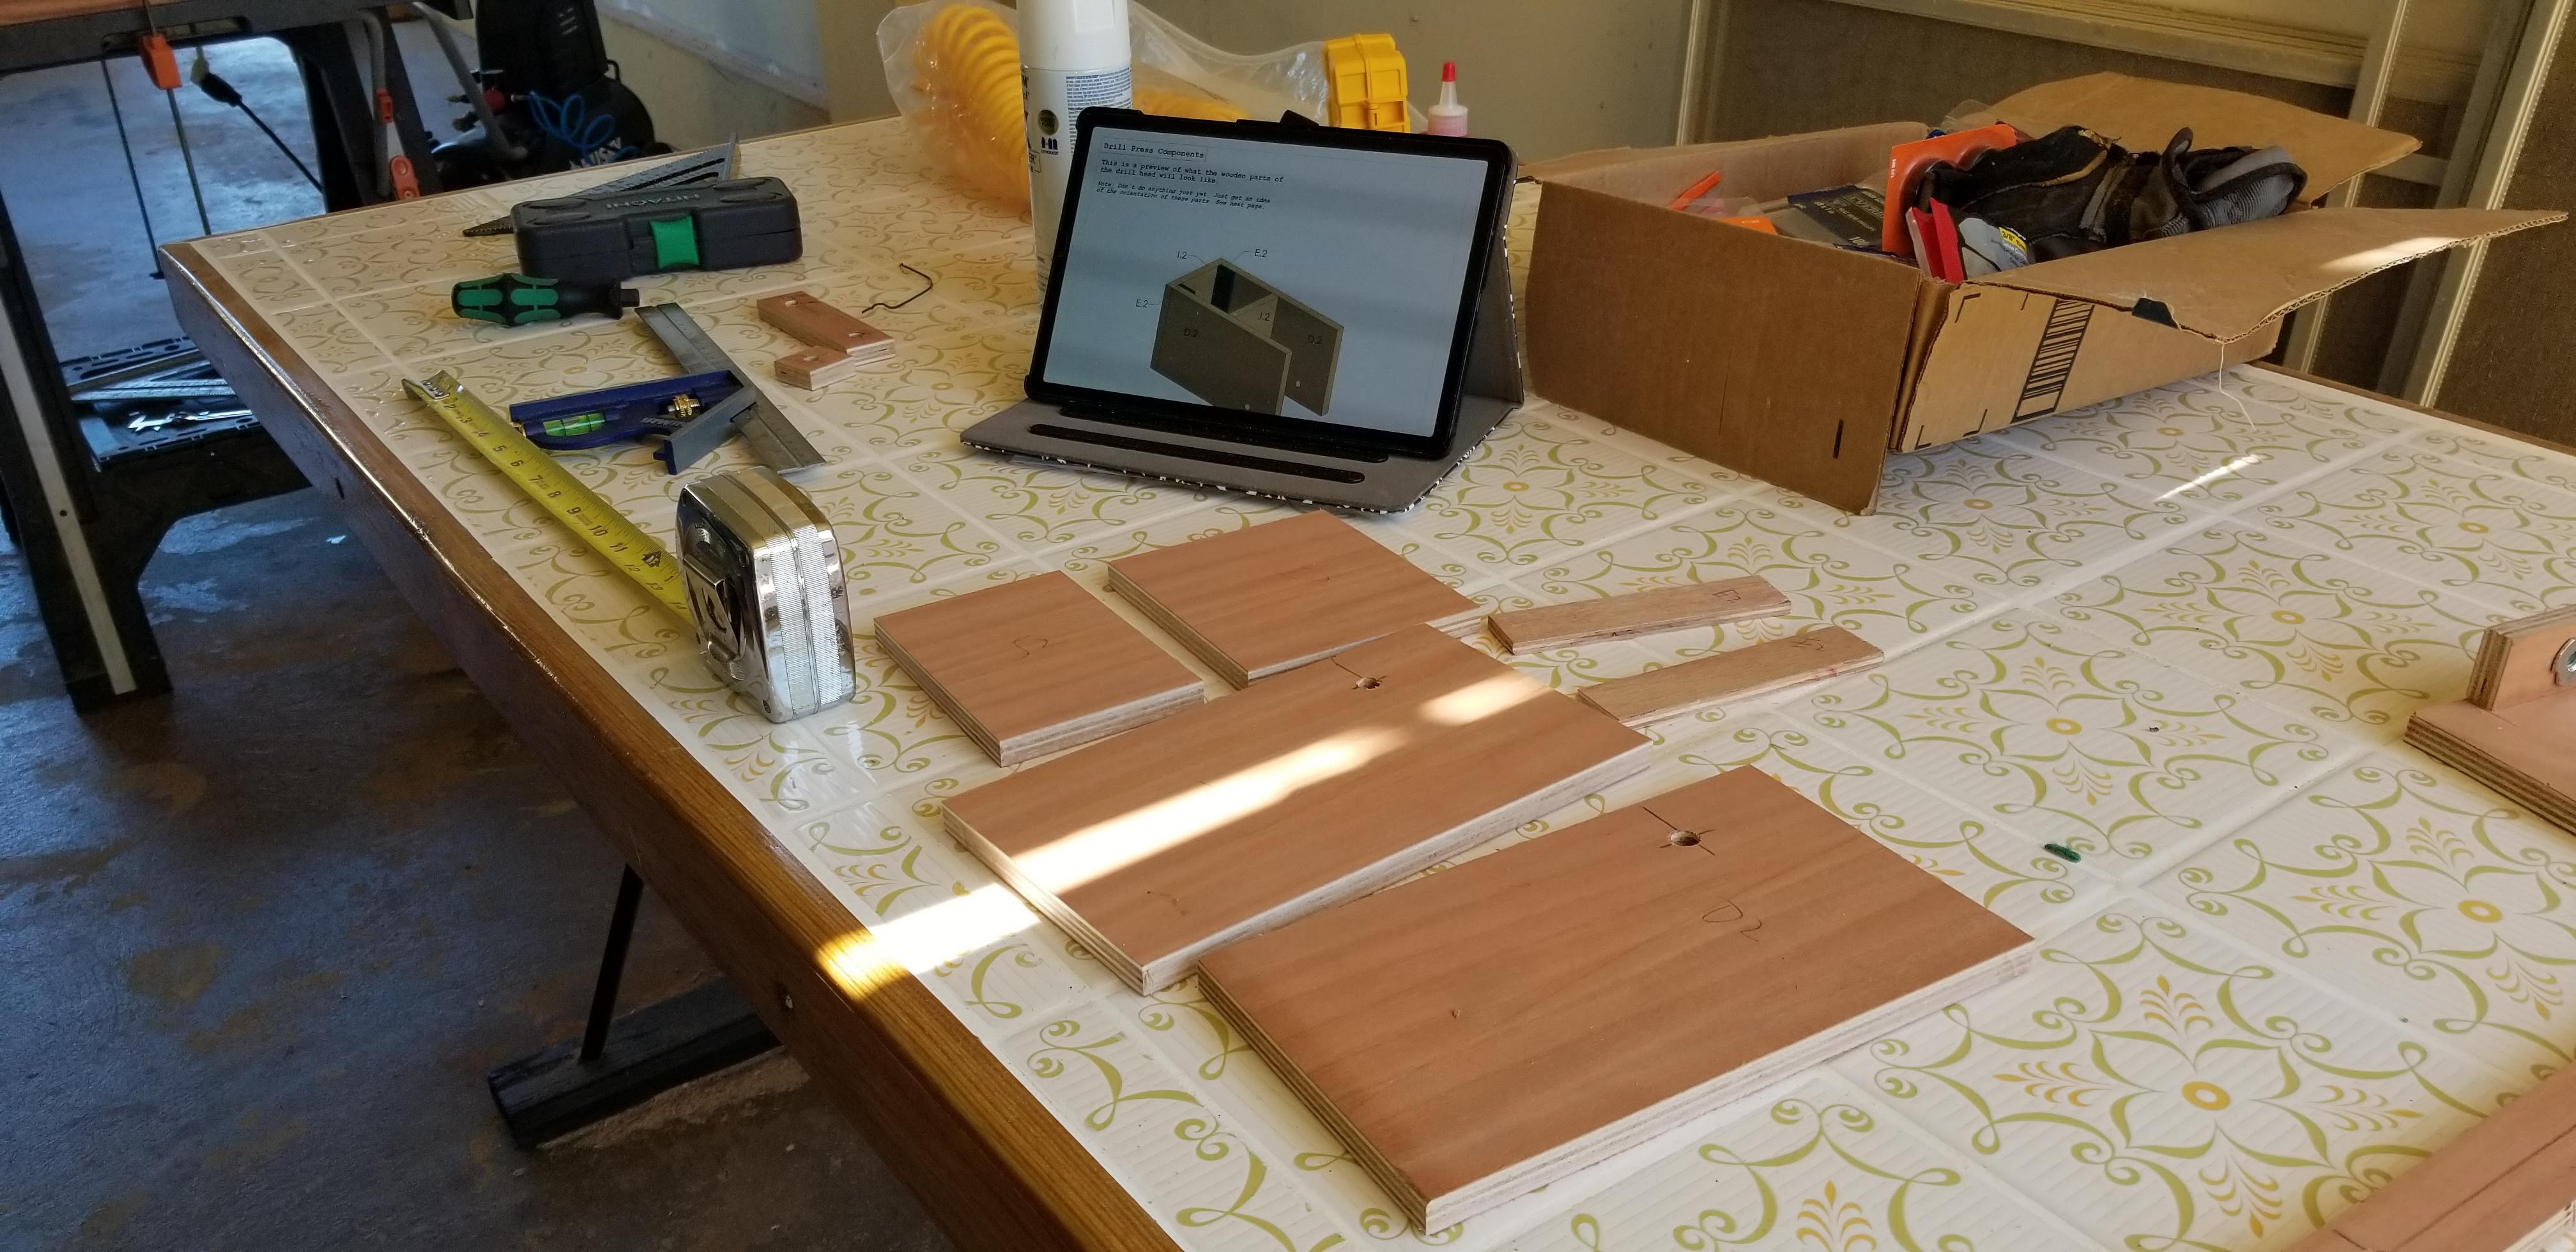
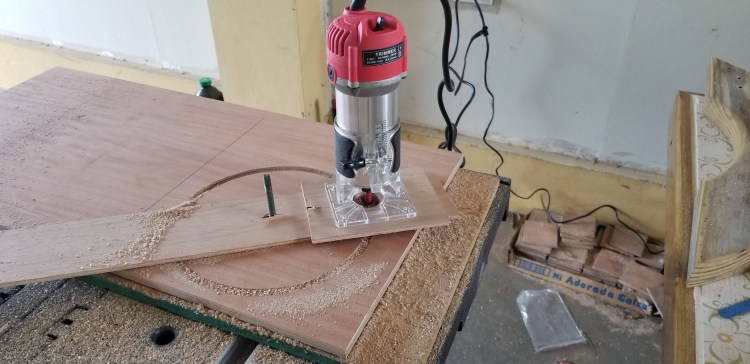
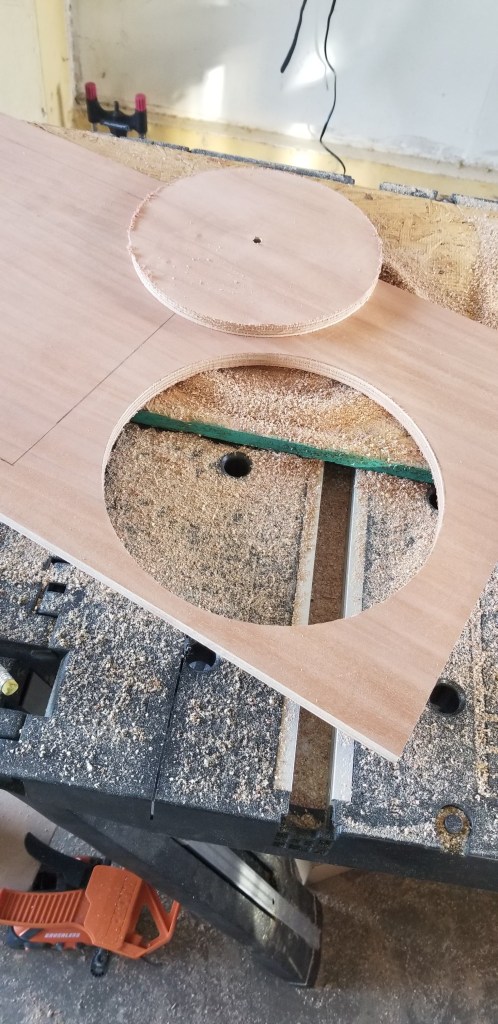
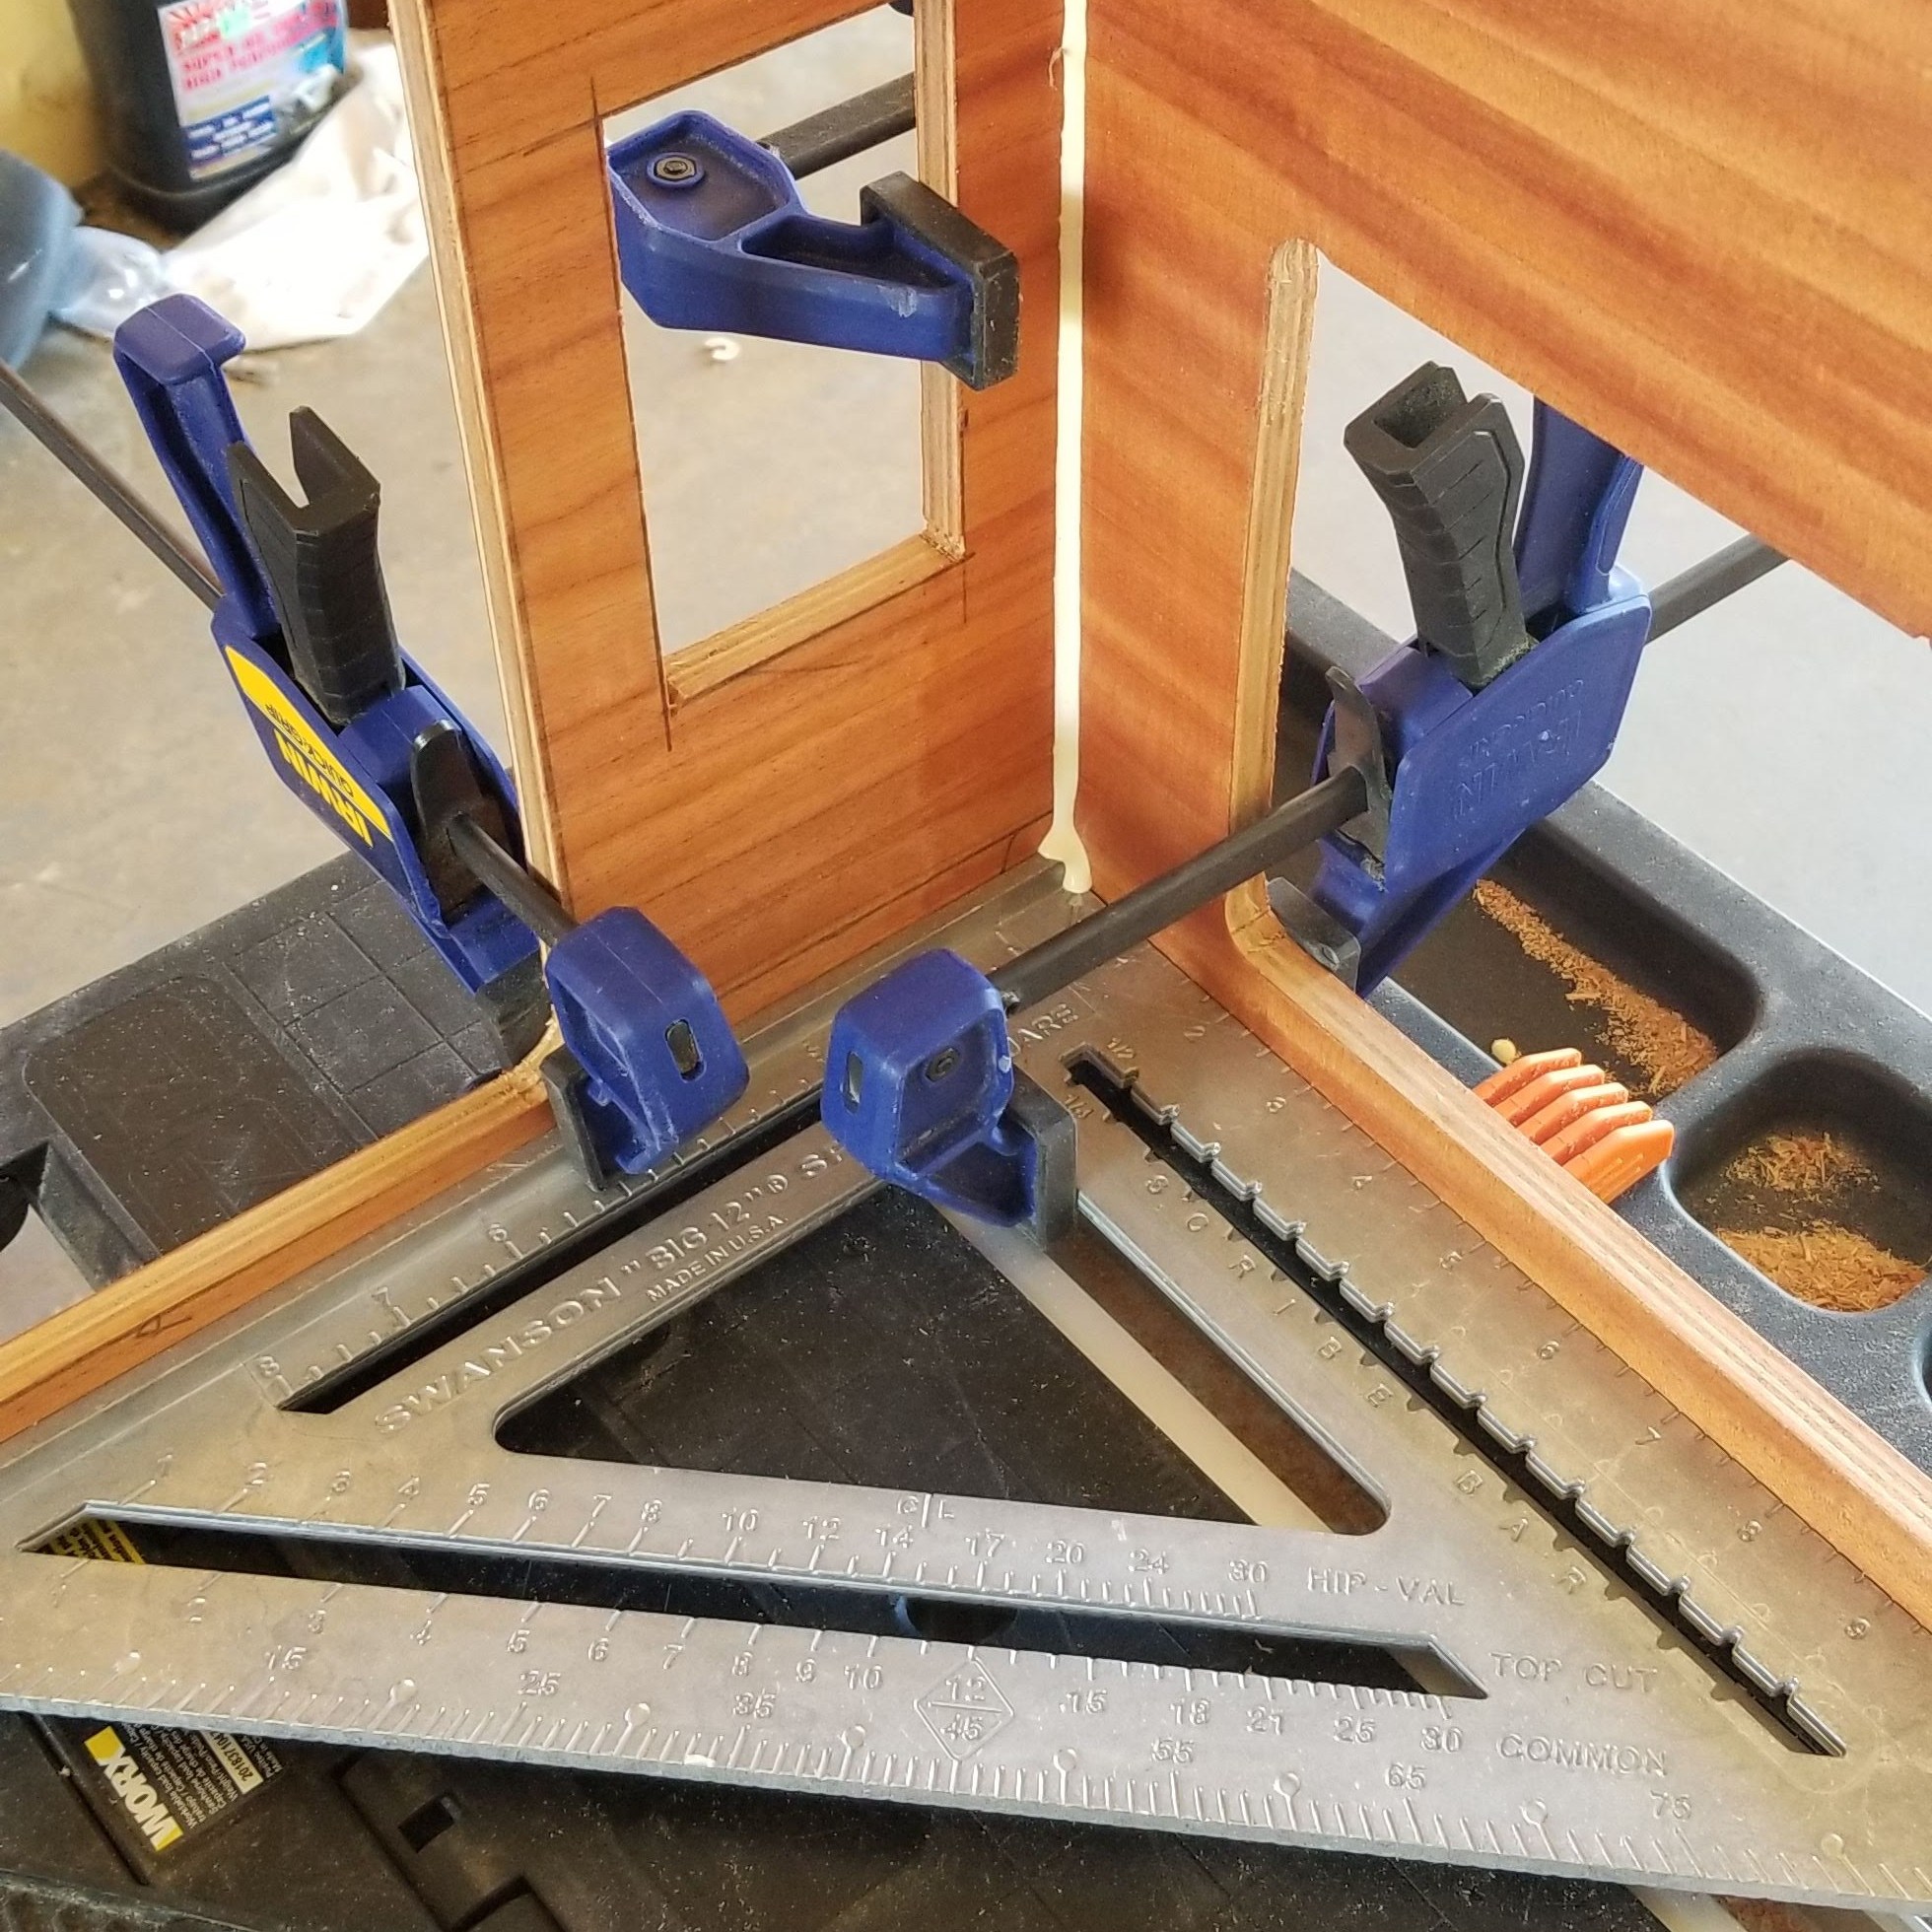
I continued making the remaining parts to assemble the bench body. Some were more challenging since they required perfect circles. I followed the One Minute Workbench advice for making circles with the router (see video embedded at the bottom of this post). Had great results!

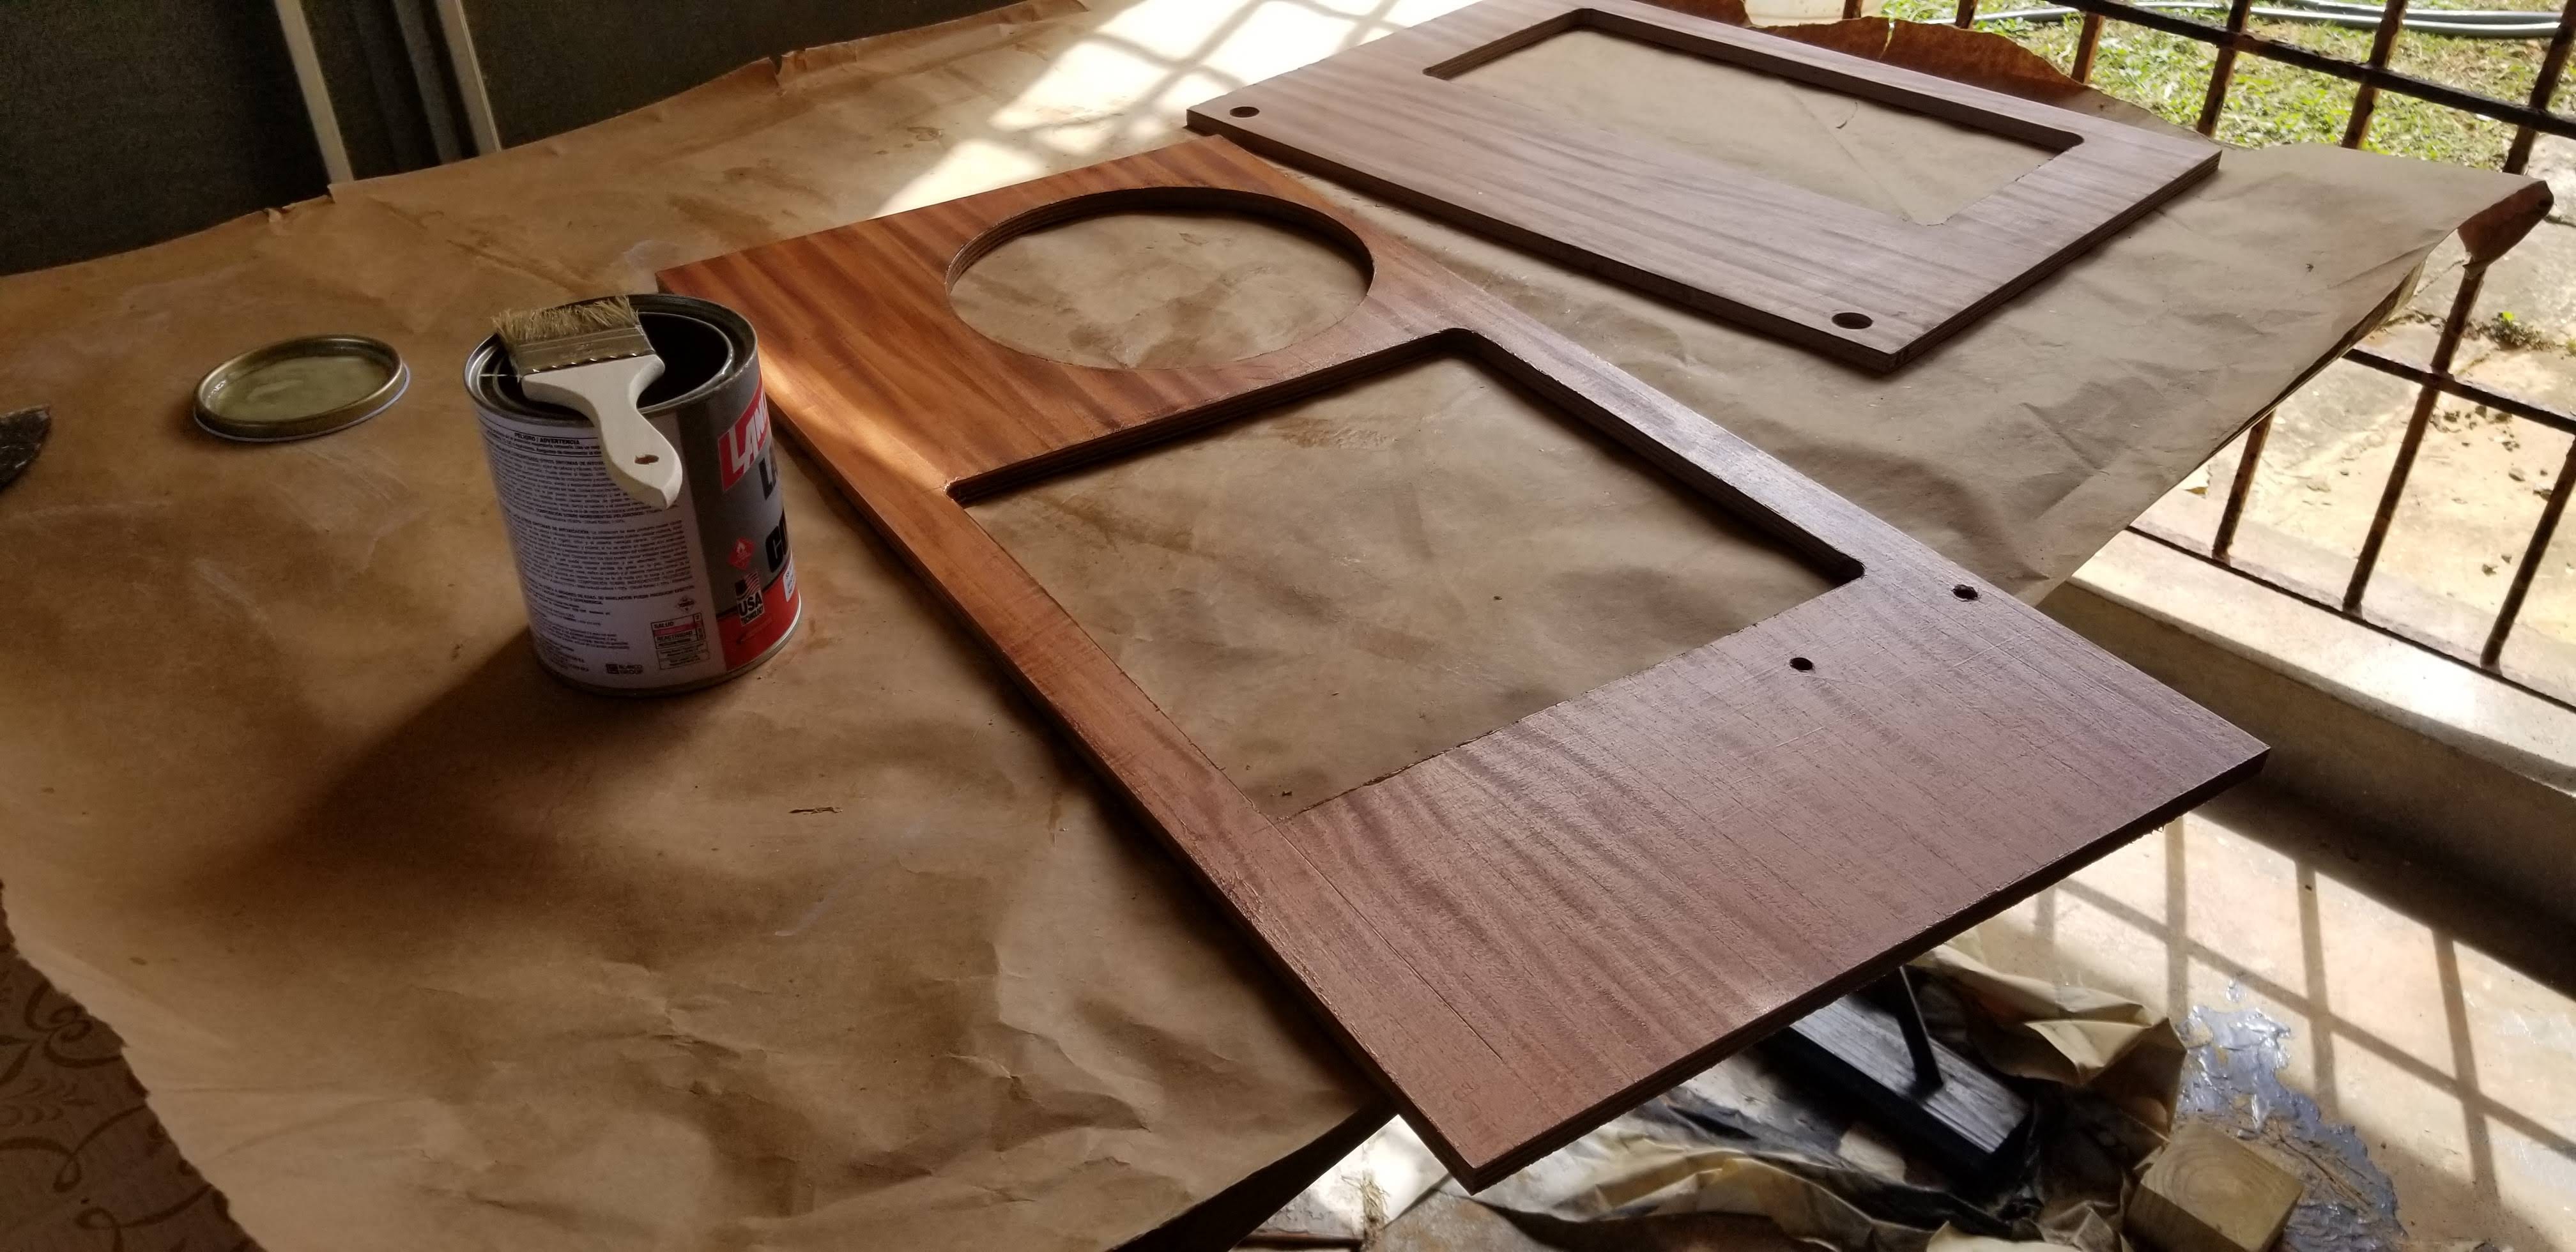
A friend suggested to give a coat of sanding sealer to each part before assembly. It will protect the wood even under the joins and it is easier to apply than when it is fully assembled.
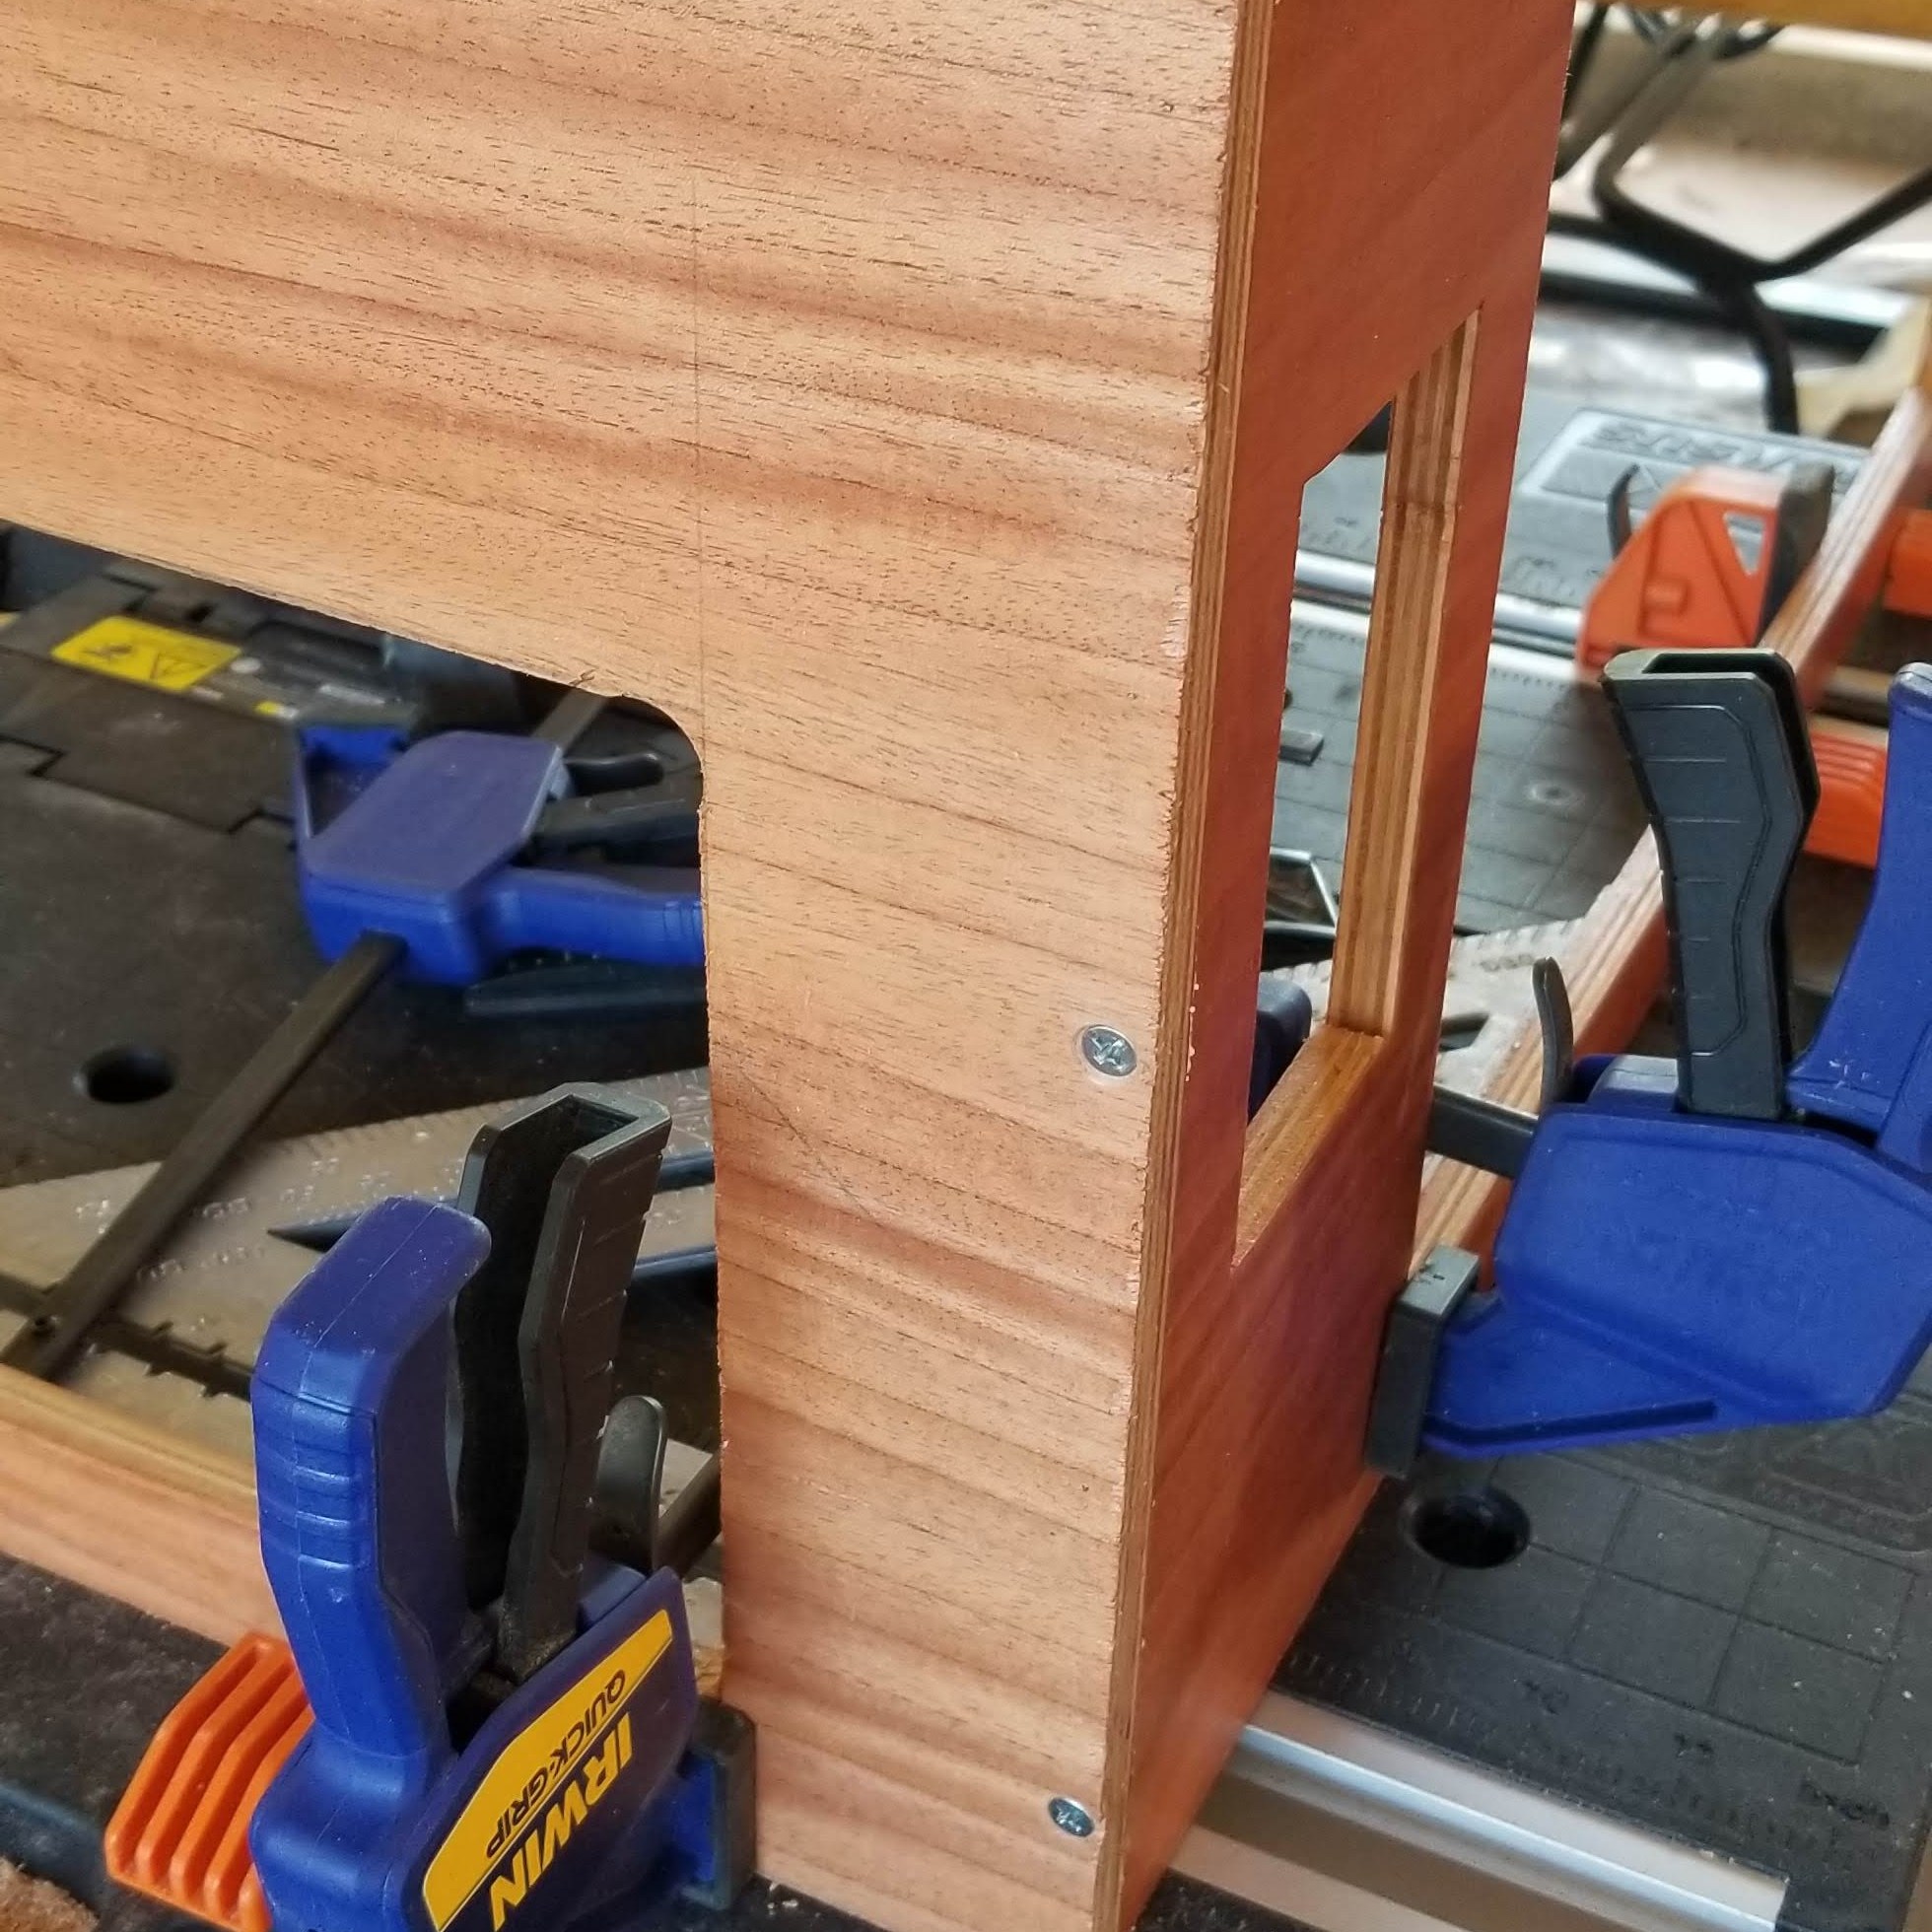
Then I was ready to assemble it. Used glue, hold it with clamps and the square to align it. Then pin nails and screws for the side joins. For the top layer just glue, pin nails and clamp it until next time.
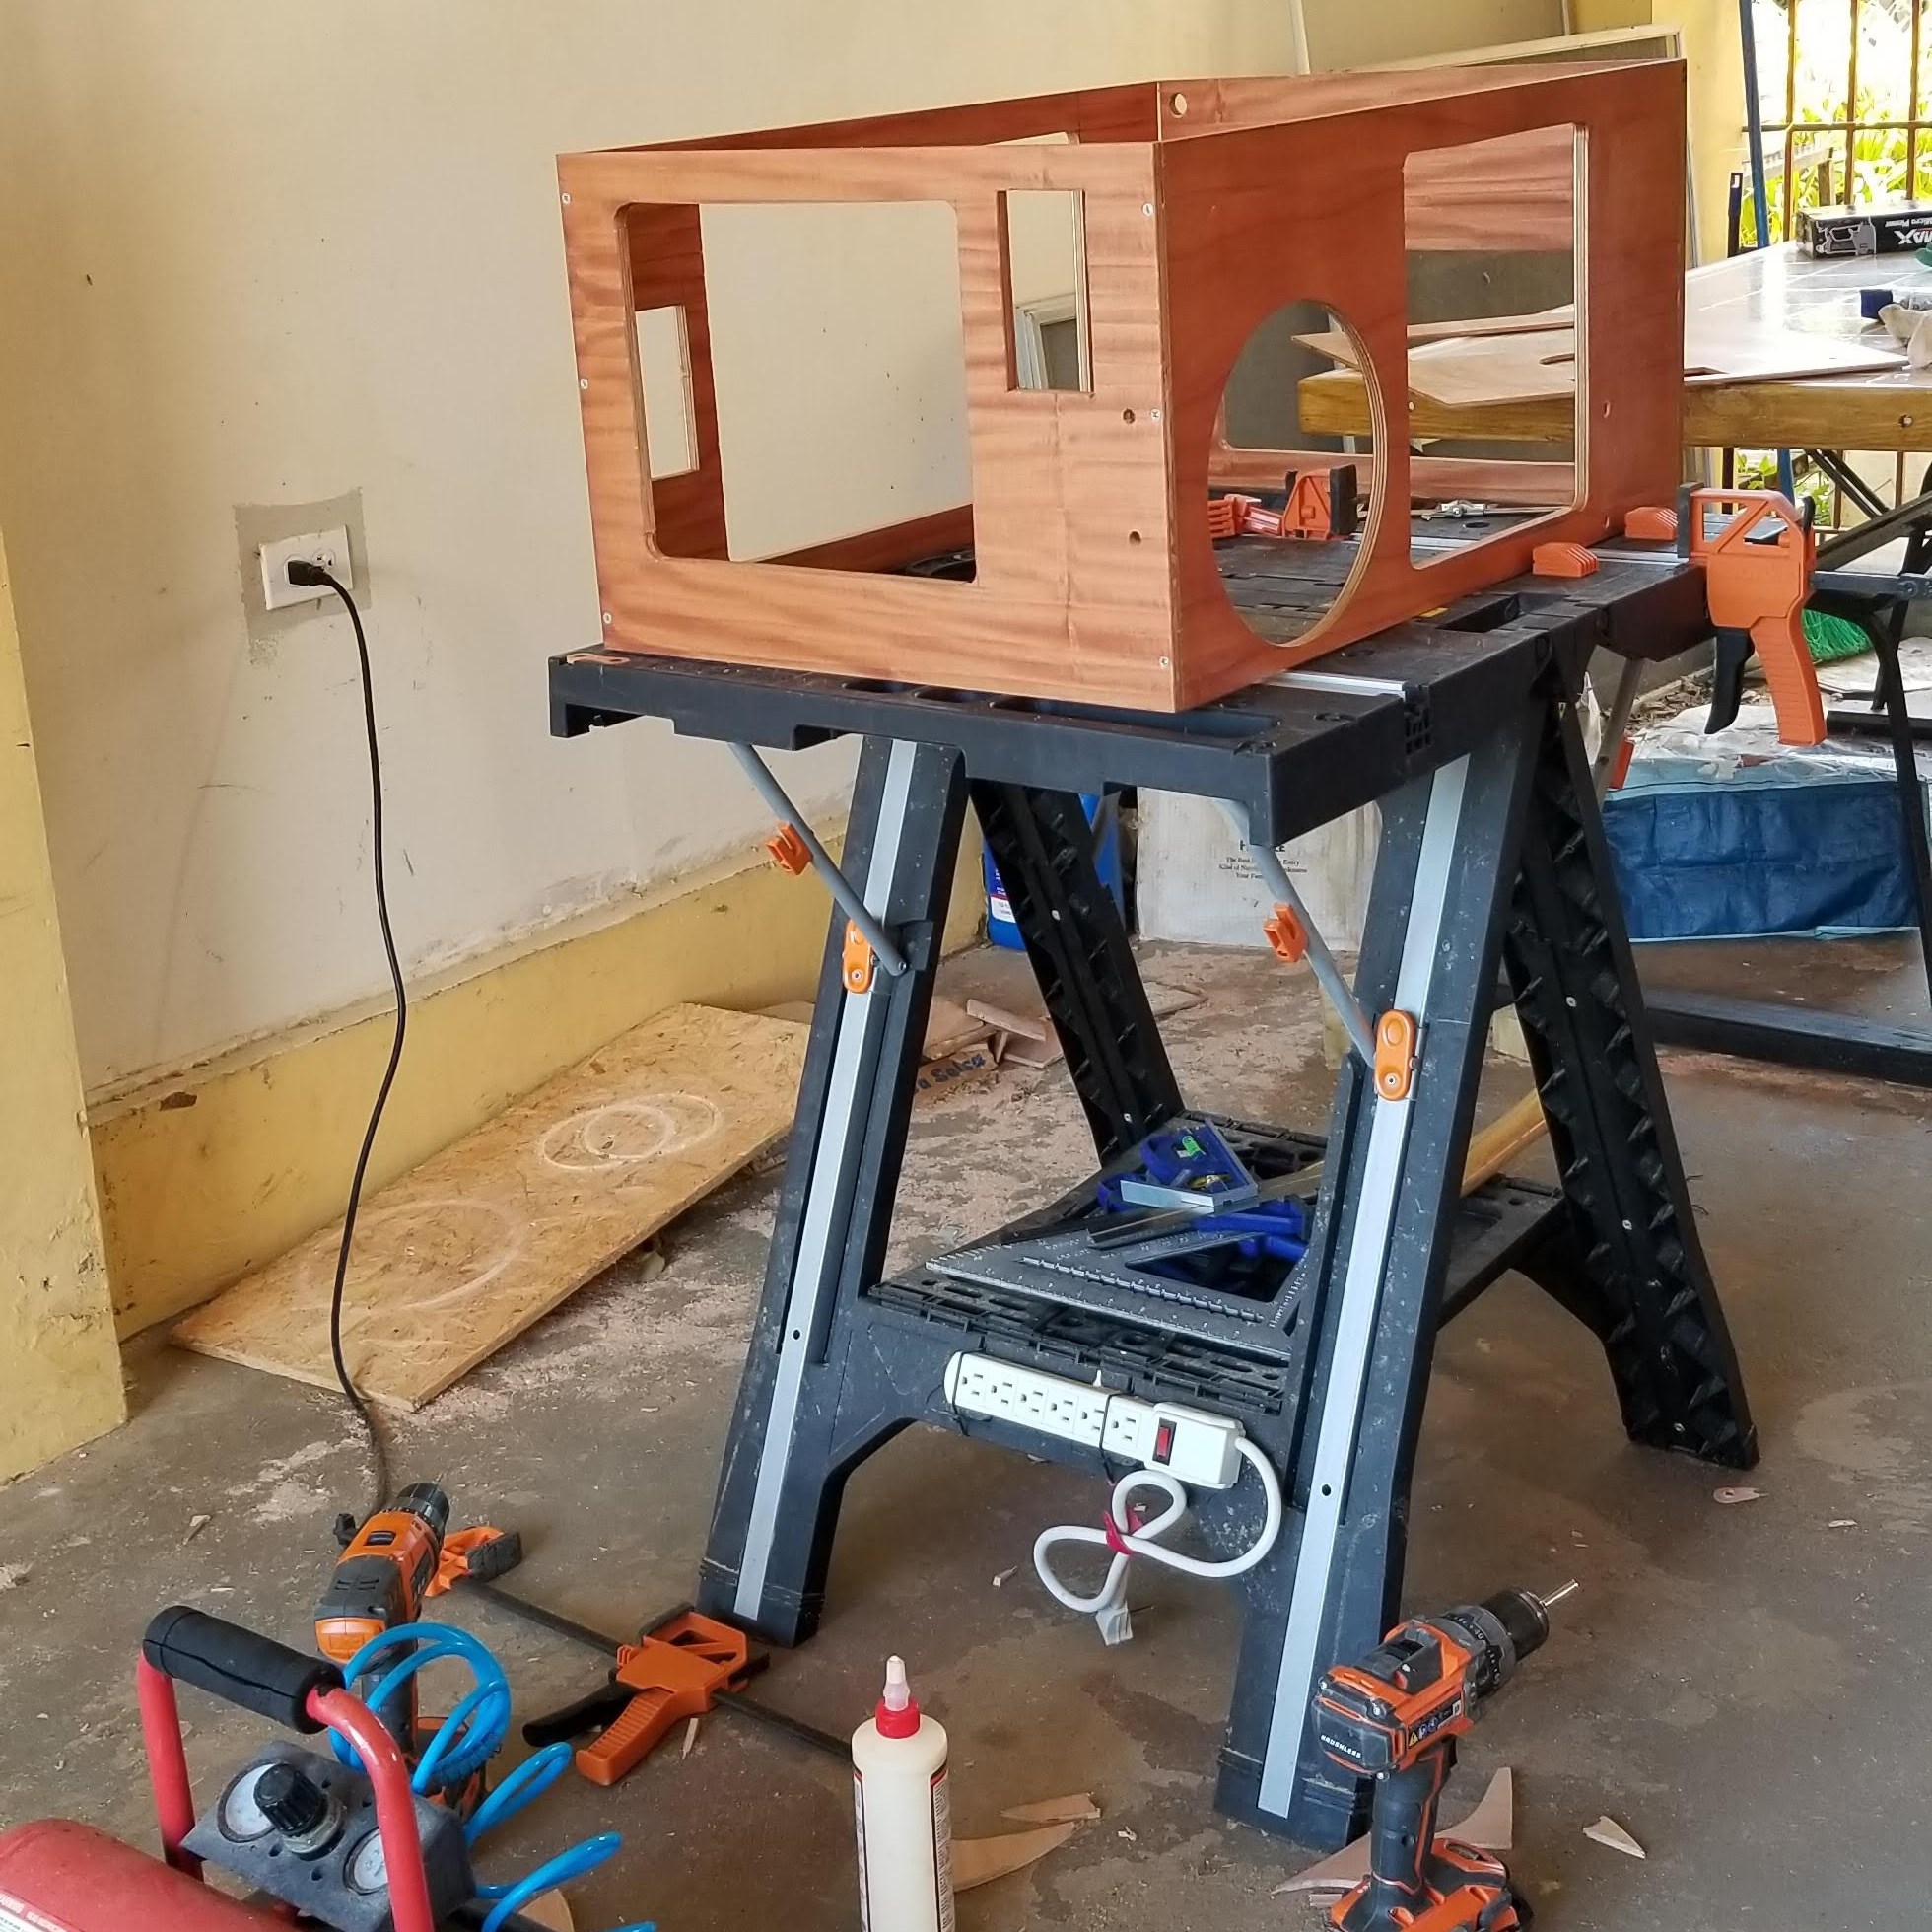
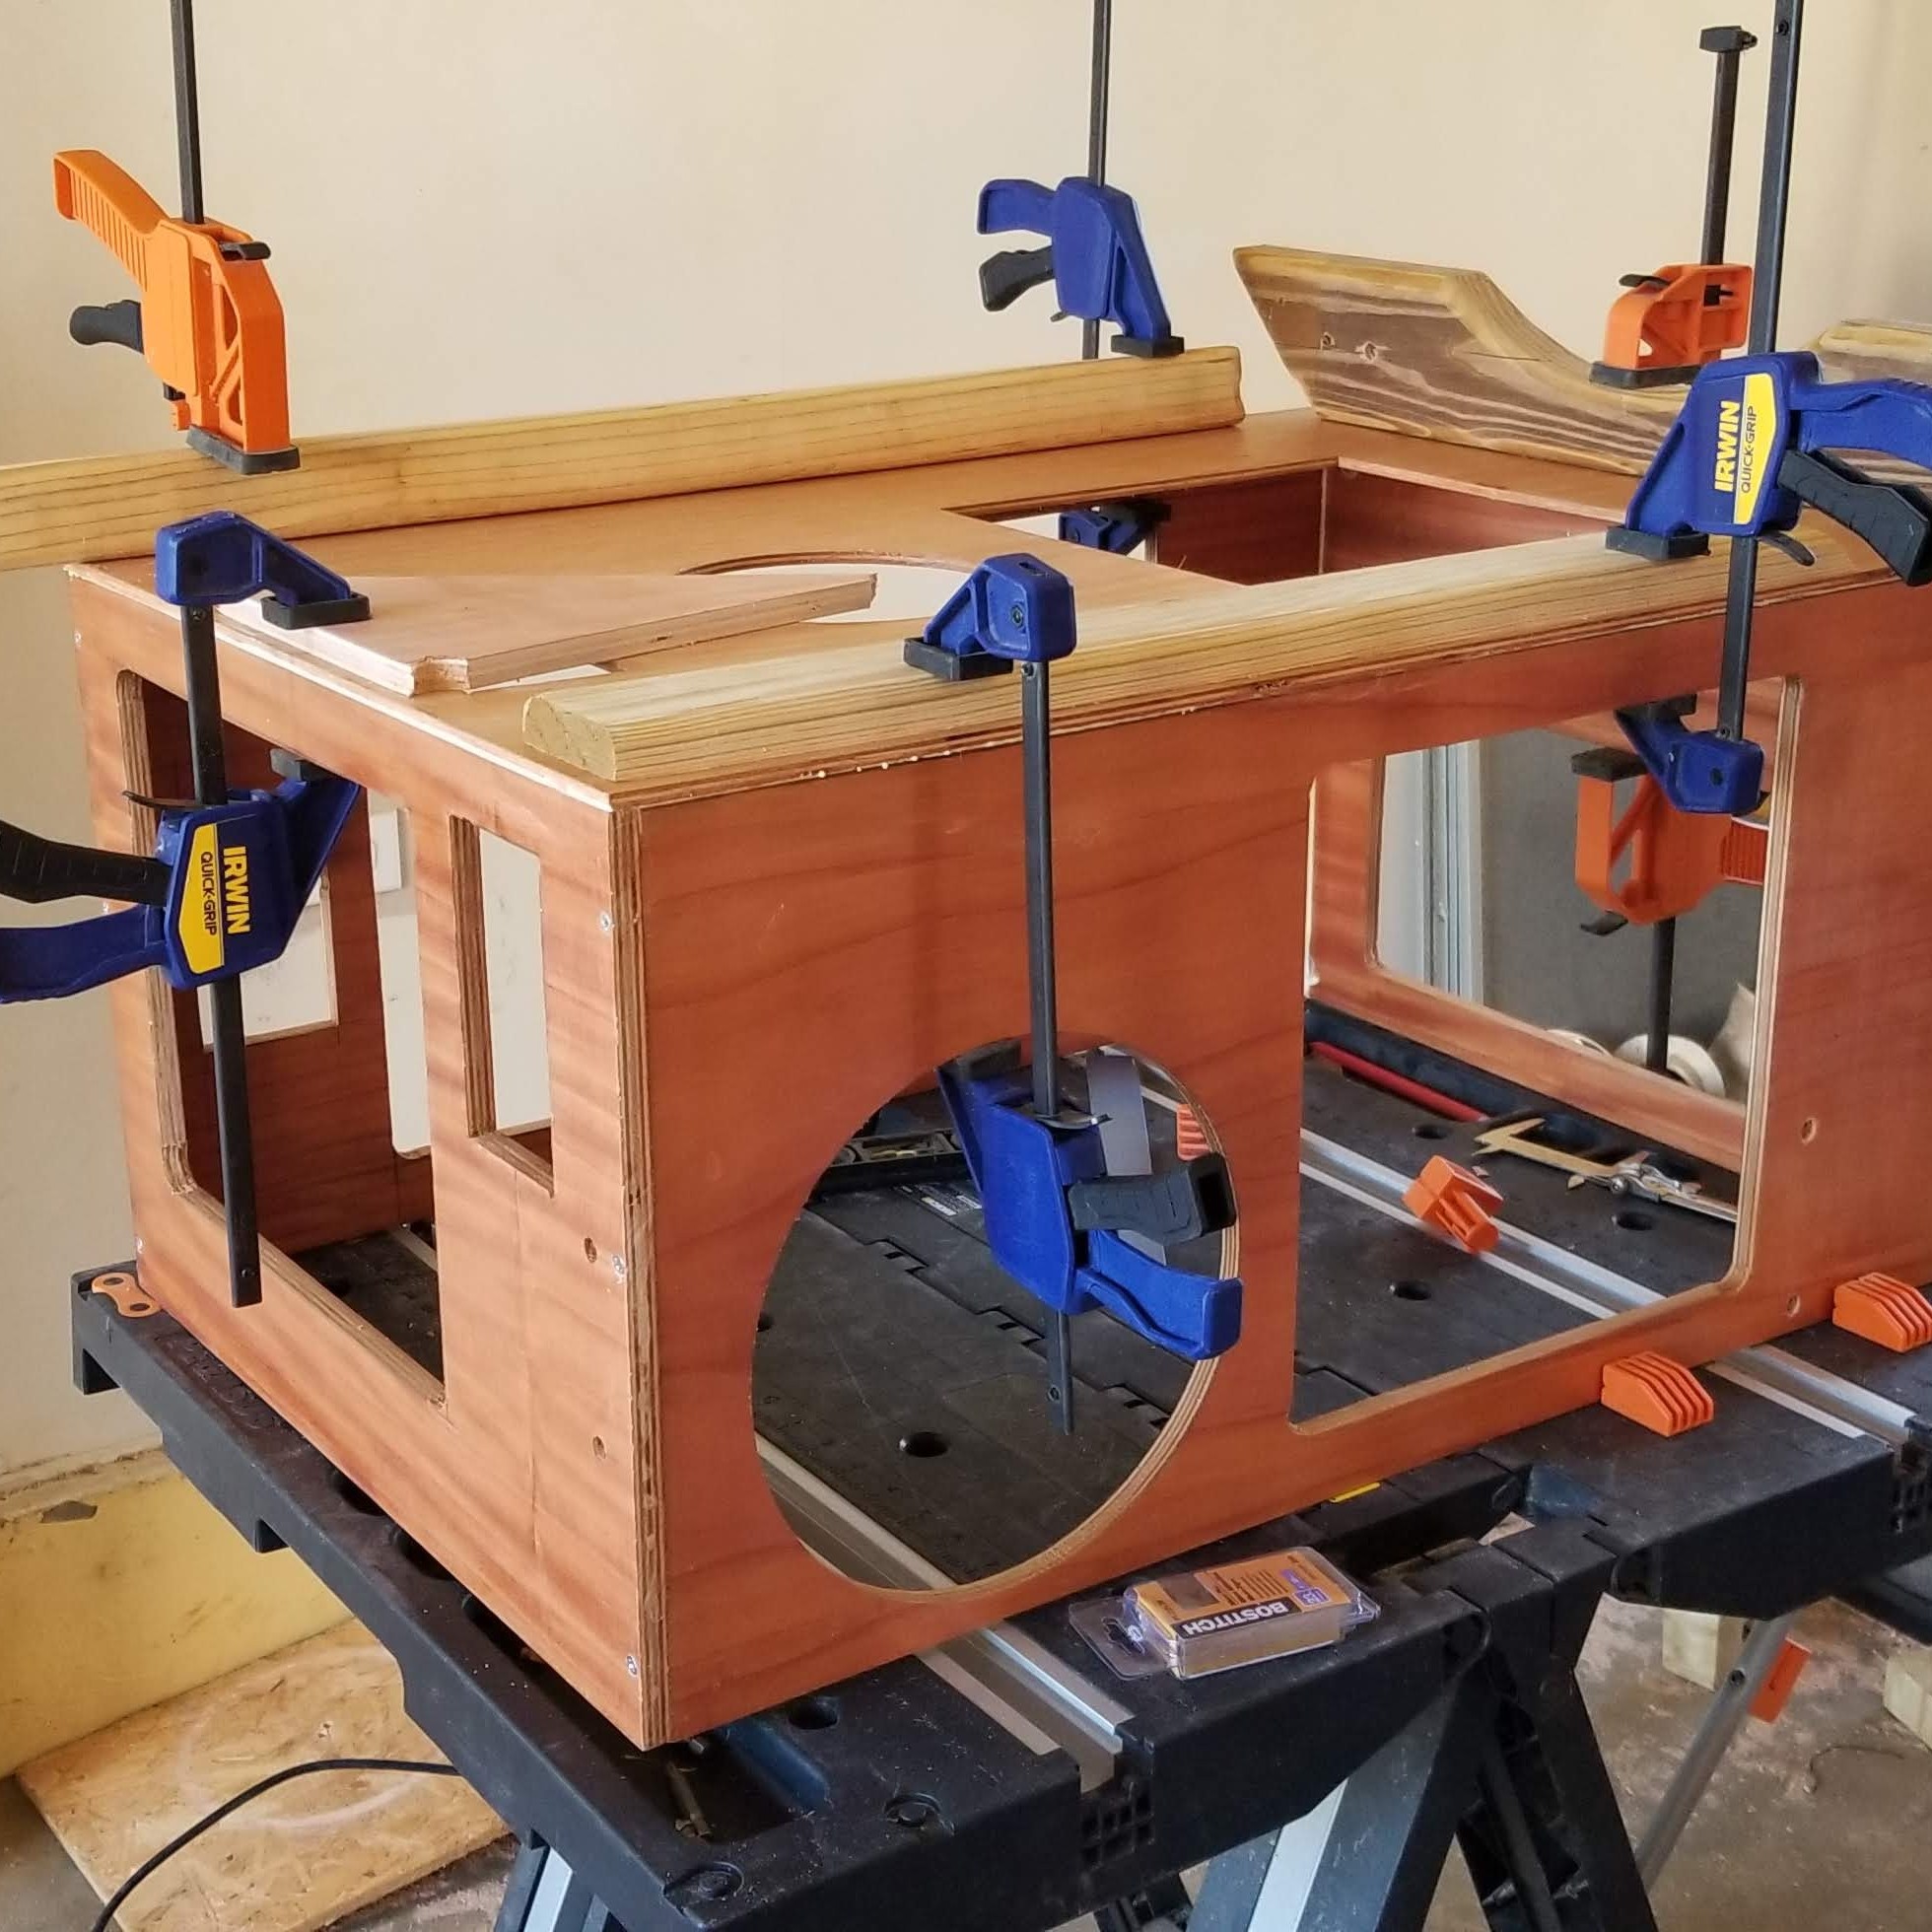
Now that I’m looking at the pictures, found a mistake. I attached the side for the sander upsidedown. The glue dried, so it is going to stay like that. It will need some adjustments to the design when I make the sander and it’s bench. I will probably need to use a chair while sanding. Still I had a lot of fun! Spent around 7 hours on this today, so far 11 hours on the project.

I have been doing woodwork projects using some basic tools drill, circular saw, jacksaw, etc. Now I want to build a custom workbench with a bench saw, drillpress, table router, and some other tools. The bench also needs to be small, since I have limited space to work. I think I found what I want to build on the One Minute Workbench YouTube channel.
So I ordered the project instructions from his website. This is the first time I try one of his projects. I really liked the instructions, very detailed. Let’s see if I can build it!
| Item | Quantity | Cost | Comments |
| 4′ x 8′ x 1/2 ” Cedar Plywood | 1 | $43 | Best material I could find |
| 4′ x 8′ x 1/4 ” Cedar Plywood | 1 | $29 | Best material I could find |
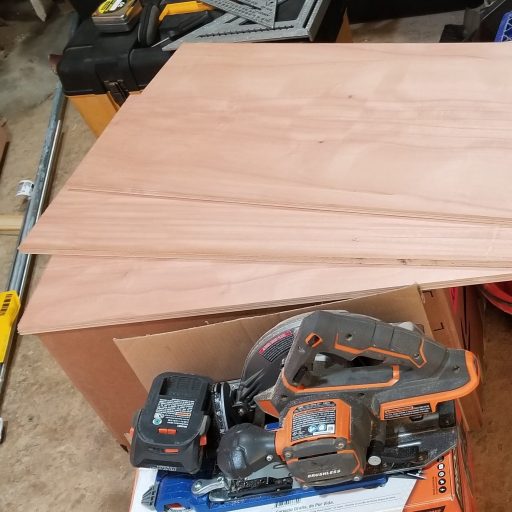
02/07/2020 –
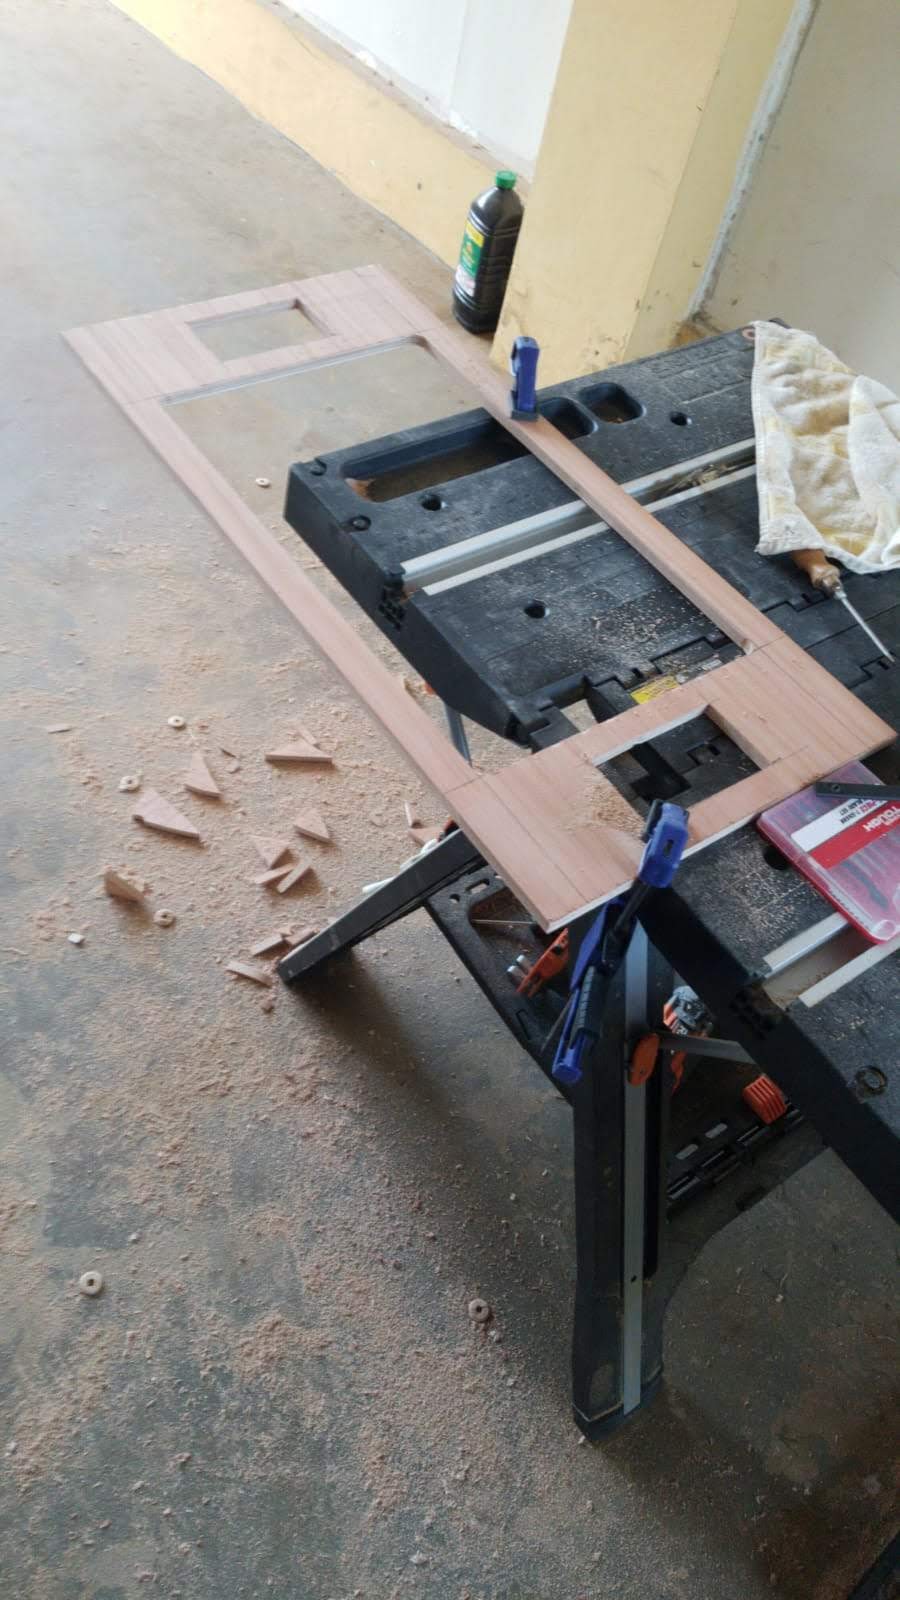
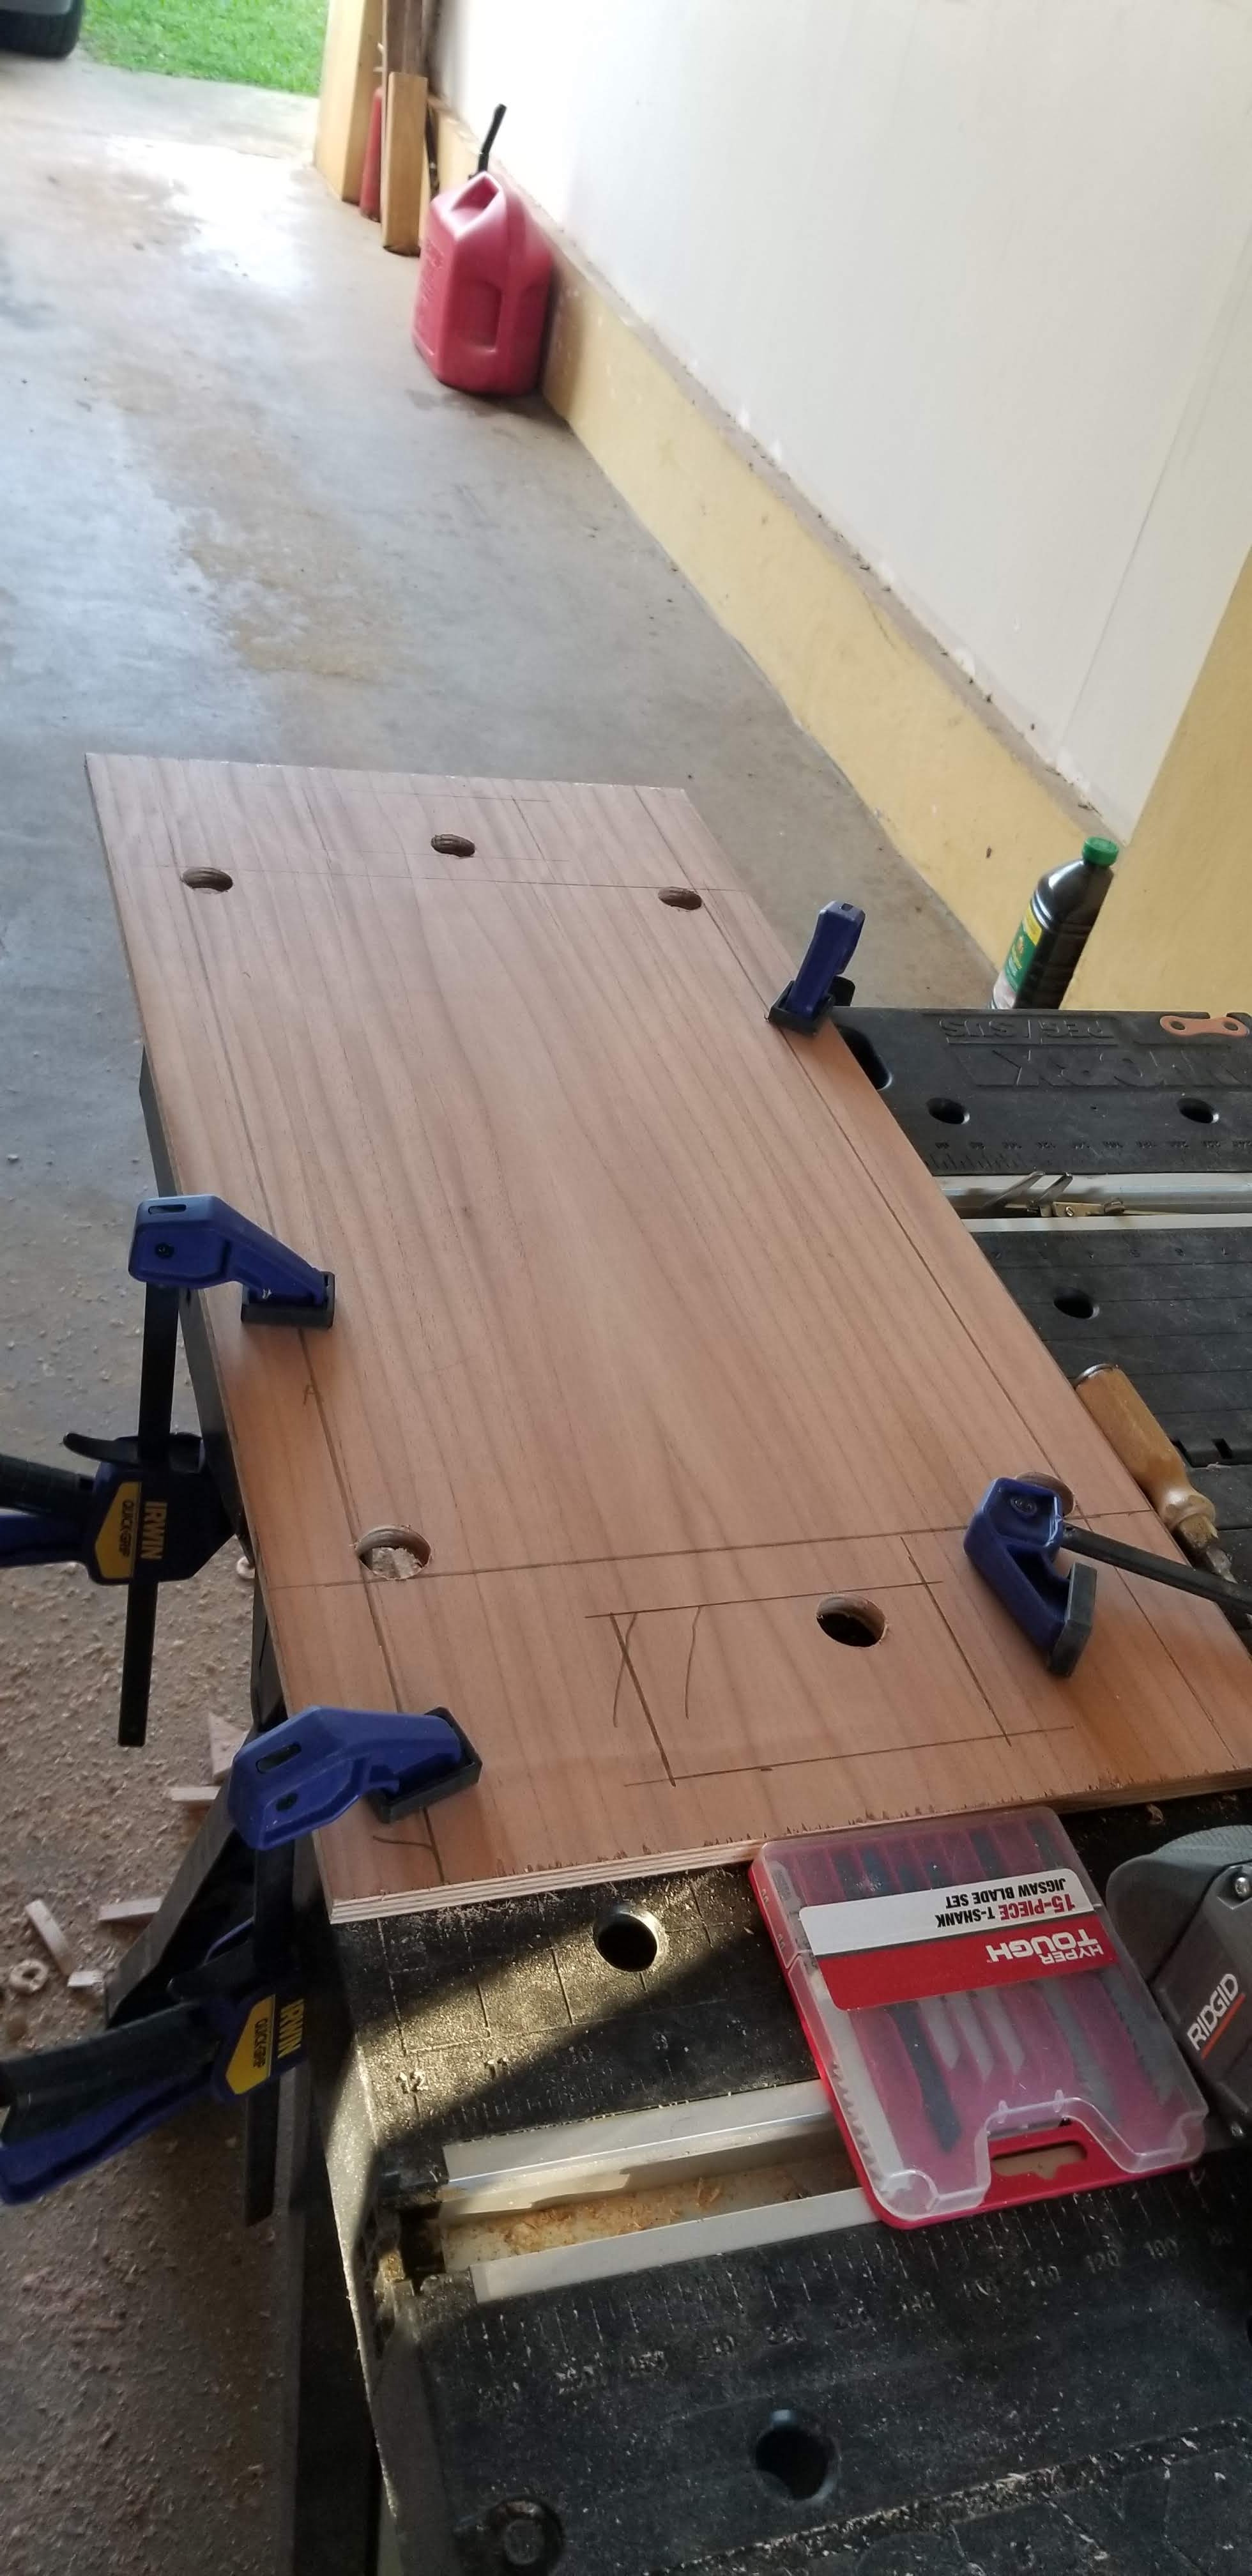
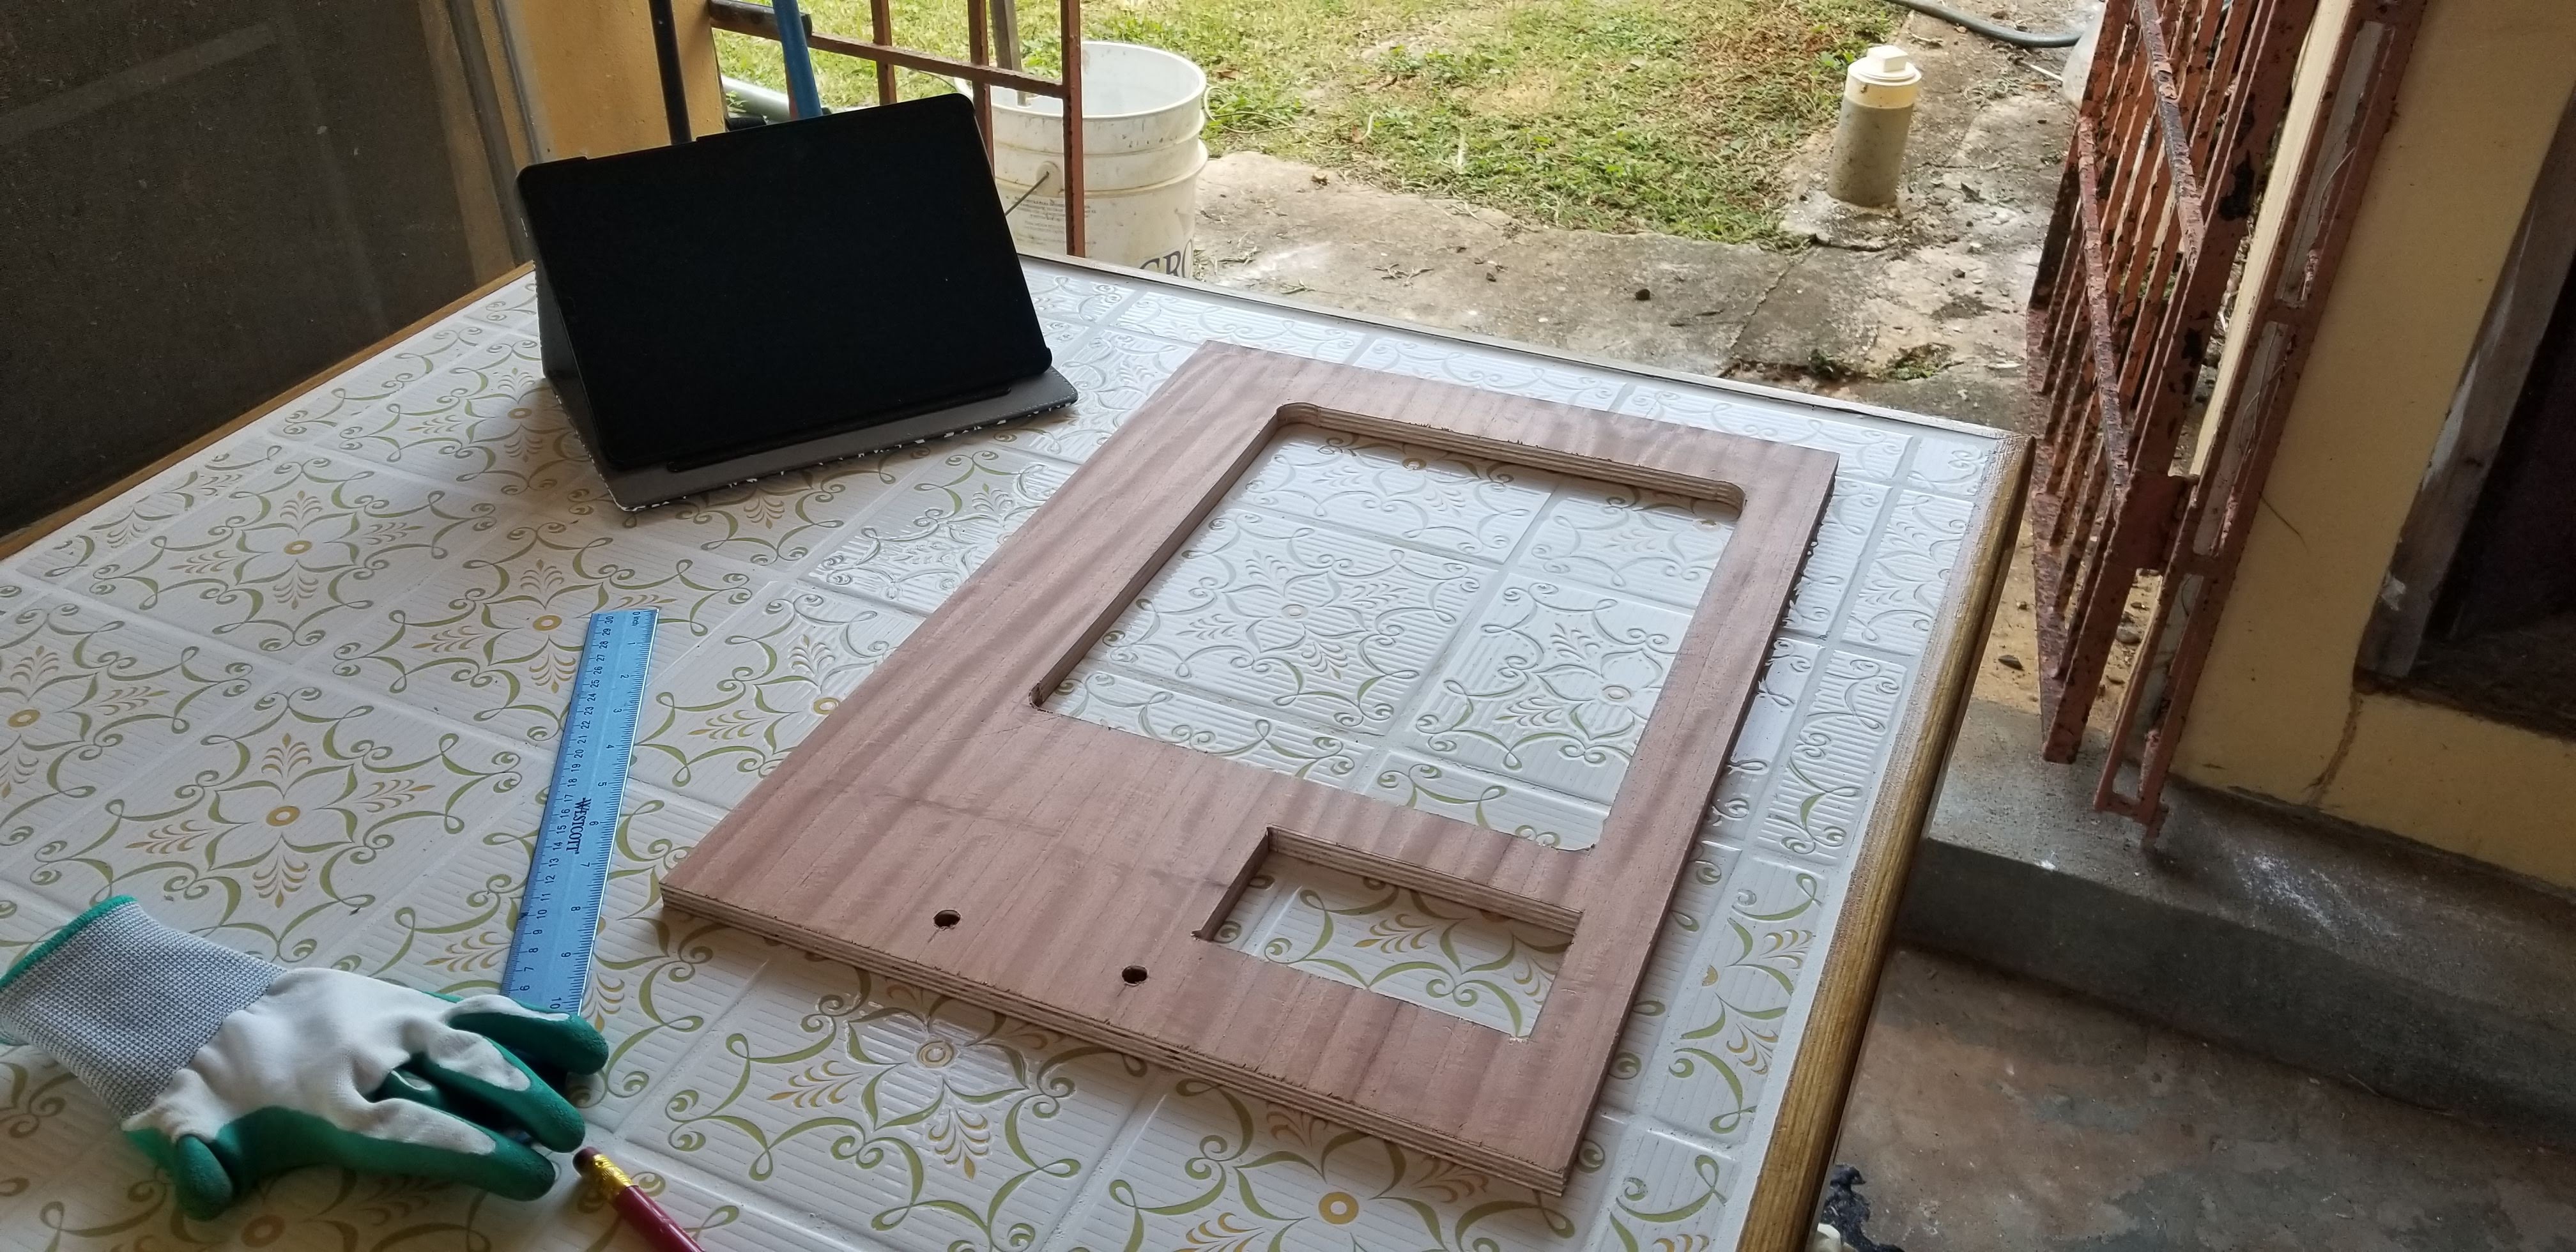
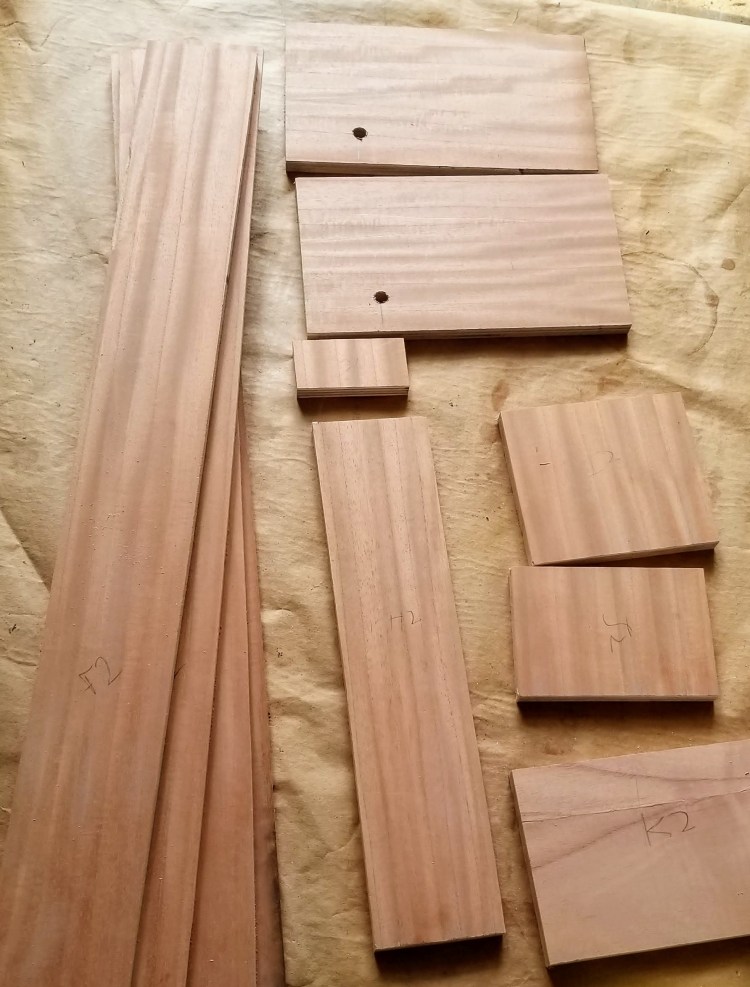
Today I started with the initial cuts and marking the wood. Rechecked all the measurements and marks. Then I was able to finish two pices. Was very careful on cutting as straight and precise as possible. Took me about 4 hours.